(5 years and 3328 days ago)
1 Source:
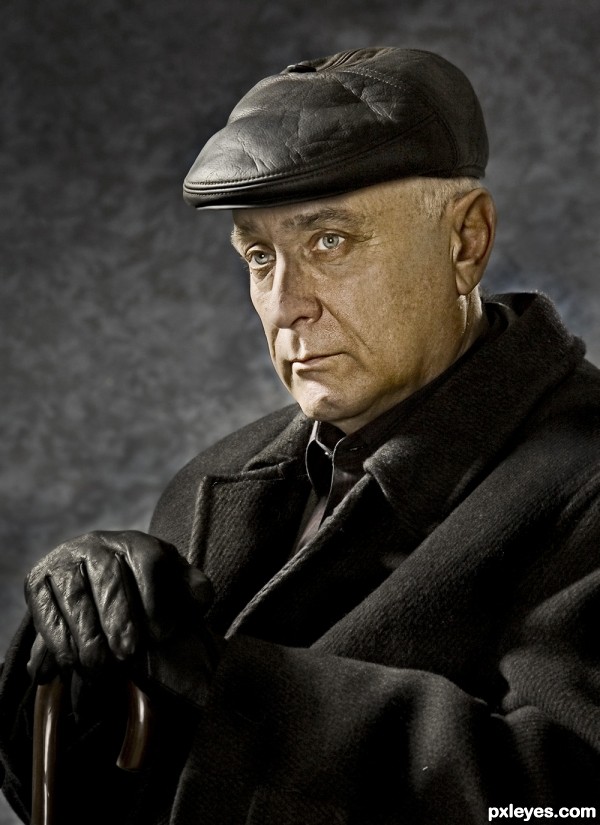
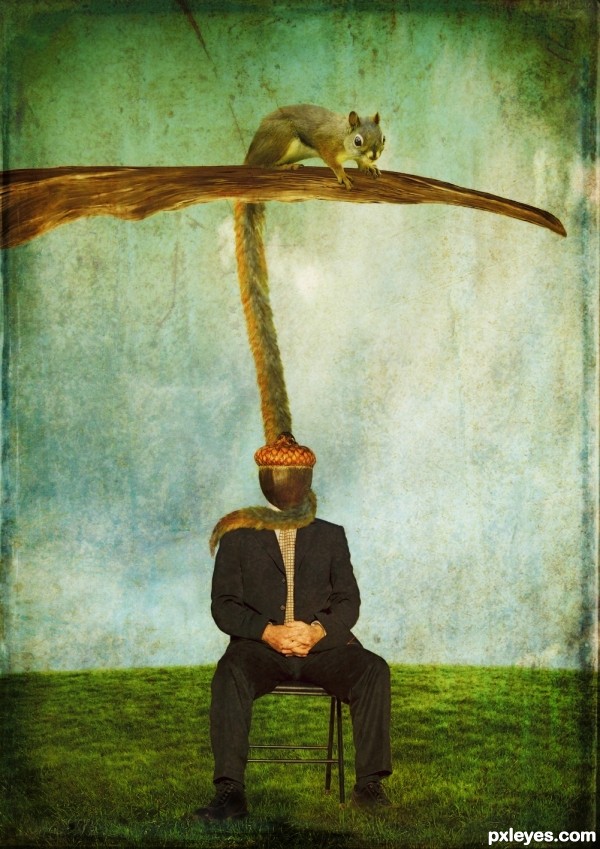
- 1: model
Because I flatten the layers by mistake I cant provide step by step layers, but I will describe the process.
For all this I used a graphic table.First on a duplicate layer use liquify tool to make changes on the face contour.
Duplicate that layer then adjust the color with selective colors and make a selection around the hand and with curves get rid of the reddish color.
Then I used healing spot tool to get rid of big wrinkle and to uniform the colors on the face a little.(you can use in this step noise/dust and scratches is useful too in this cases ).
Then with a soft brush opacity pressure sensitive I used the mixer brush (cs5) on moist light mix settings, but you can use the smudge tools as well if you don't have cs5 with short strokes and 30,50 strength.
Then I make a mask and I paint with black to bring the pores on chicks nose...
On other layer I colorize the hair in soft light , I draw the line on eyes the eyelashes and with dodge and burn tool enhanced the eyes colors.
Thats it, hope it was useful!
(5 years and 3349 days ago)
(5 years and 3352 days ago)
go to nanaris's profile
Photography and photoshop contests
We are a community of people with
a passion for photography, graphics and art in general.
Every day new photoshop
and photography contests are posted to compete in. We also have one weekly drawing contest
and one weekly 3D contest!
Participation is 100% free!
Just
register and get
started!
Good luck!
© 2015 Pxleyes.com. All rights reserved.
 But nevertheless looks good to me! GL author


Congrats, brilliant!!
Very nice!!
great work good luck Author
This is beautiful work, author, and a different way to achieve the effect. Kudos.
this image has a 3d feel to it.

I feel like he going to look out my computer.... good background choice
very nice concept ,,nicely done GL Author
thank you !
I want to say my opinion about Dragan effect. I saw the works on his site, each one is beautiful but on photoshop I think that each photo had a different treatment , on very accurate shots he worked on raw, then photoshop.So the "dragan effect" is a little over much said, is the HDR effect over a portrait .
great work, very well done effect
great work
great work
gl author
Great work! Best of luck!
cool and greaaaaaat..........!
very very nice work..GL!!
Congrats - great job!
Congrats
thank you !!
Congrats beautifully done
thank you all !!
Congratulation!
Felicitaaaaaaaaaaaaaaaaaari pentru locul I!!
Tine-o tot asa!
Conngrats on your First Place Win
Howdie stranger!
If you want to rate this picture or participate in this contest, just:
LOGIN HERE or REGISTER FOR FREE