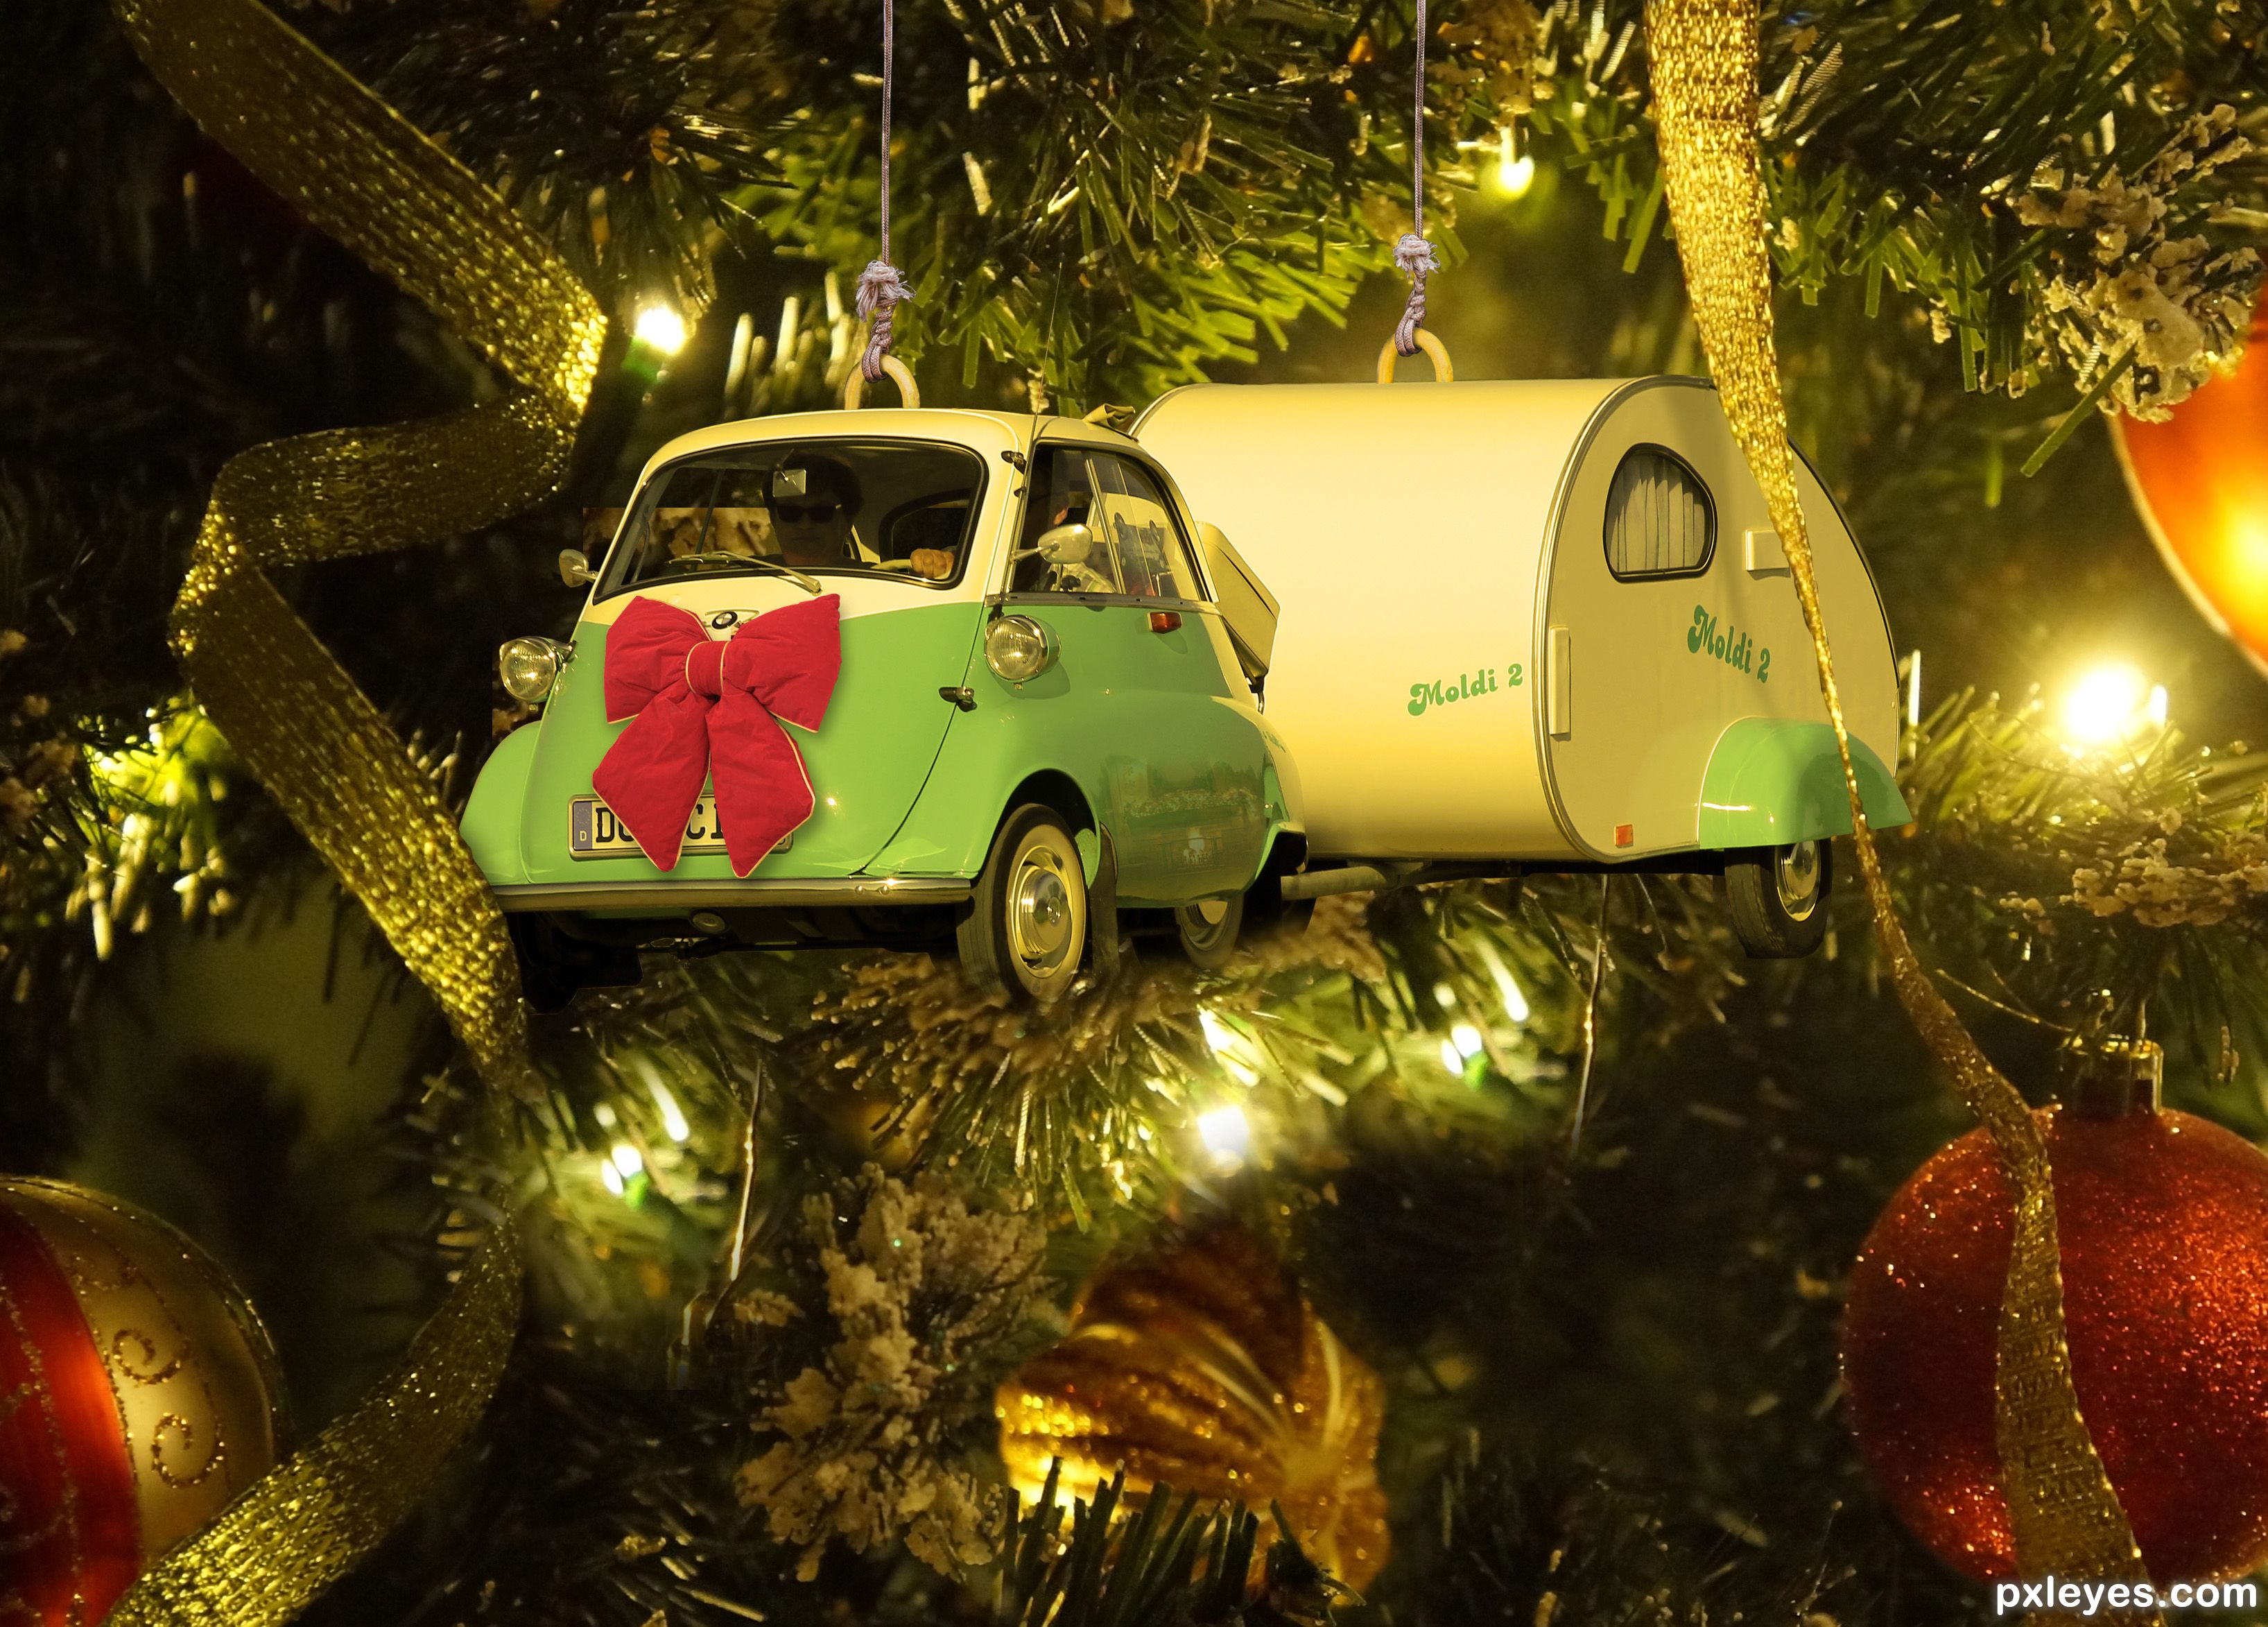
Isetta Ornament (5 years and 582 days ago)
5 Sources:
(5 years and 862 days ago)
dope
I take it as a compliment.
Very nice work author.
Nice eMatoma. Congrats.
Congratulations. Well done.
Howdie stranger!
If you want to rate this picture or participate in this contest, just:
LOGIN HERE or REGISTER FOR FREE
Entry edited :
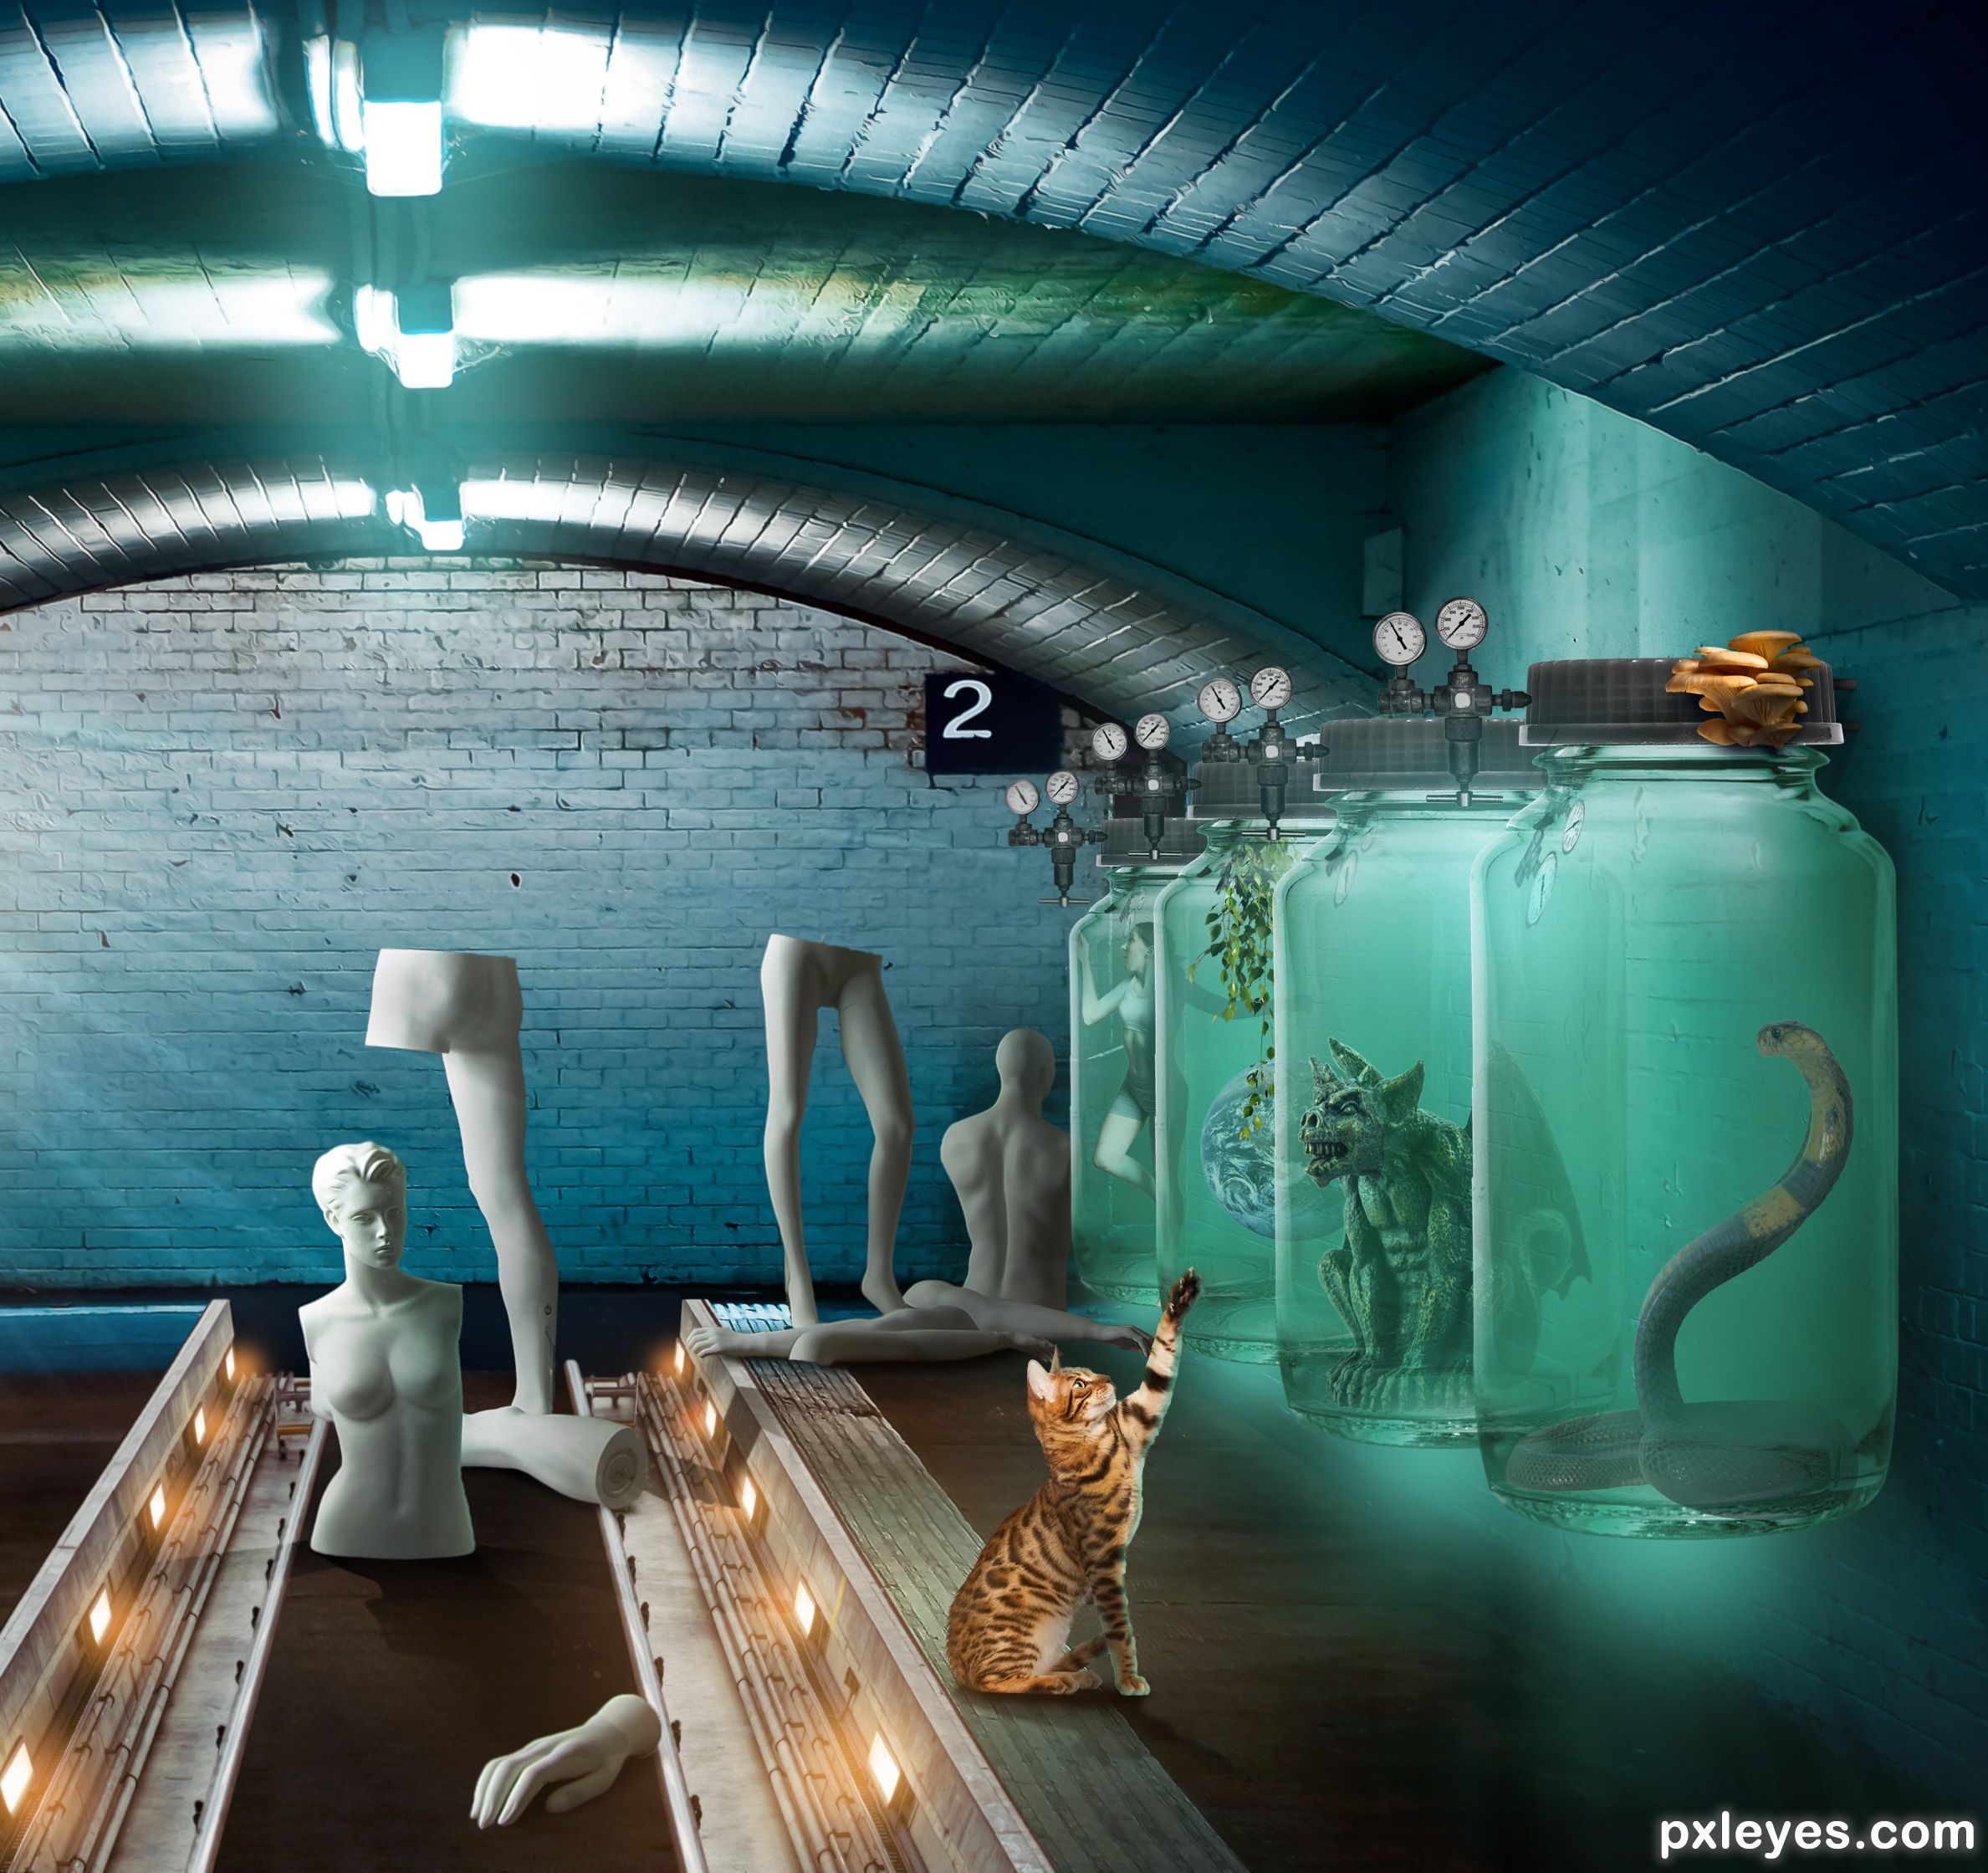
- I cropped it because the left part was boring
- I increased the shadow behing the bottle cap, where I also added 2 small metal rods so the bottle is officially not floating anymore ;) (I don't want them to be on the floor or had chains that would attract the eye).
1 more source:
https://pixabay.com/fr/la-terre-globe-terrestre-plan%C3%A8te-1179212/ (5 years and 863 days ago)
It is a good work... but the experiment jars or bottles, look like they are floating.... if you add a shadow underneath, would look better... good luck...
Or maybe add wires/rope attaching the jars to the ceiling
Howdie stranger!
If you want to rate this picture or participate in this contest, just:
LOGIN HERE or REGISTER FOR FREE
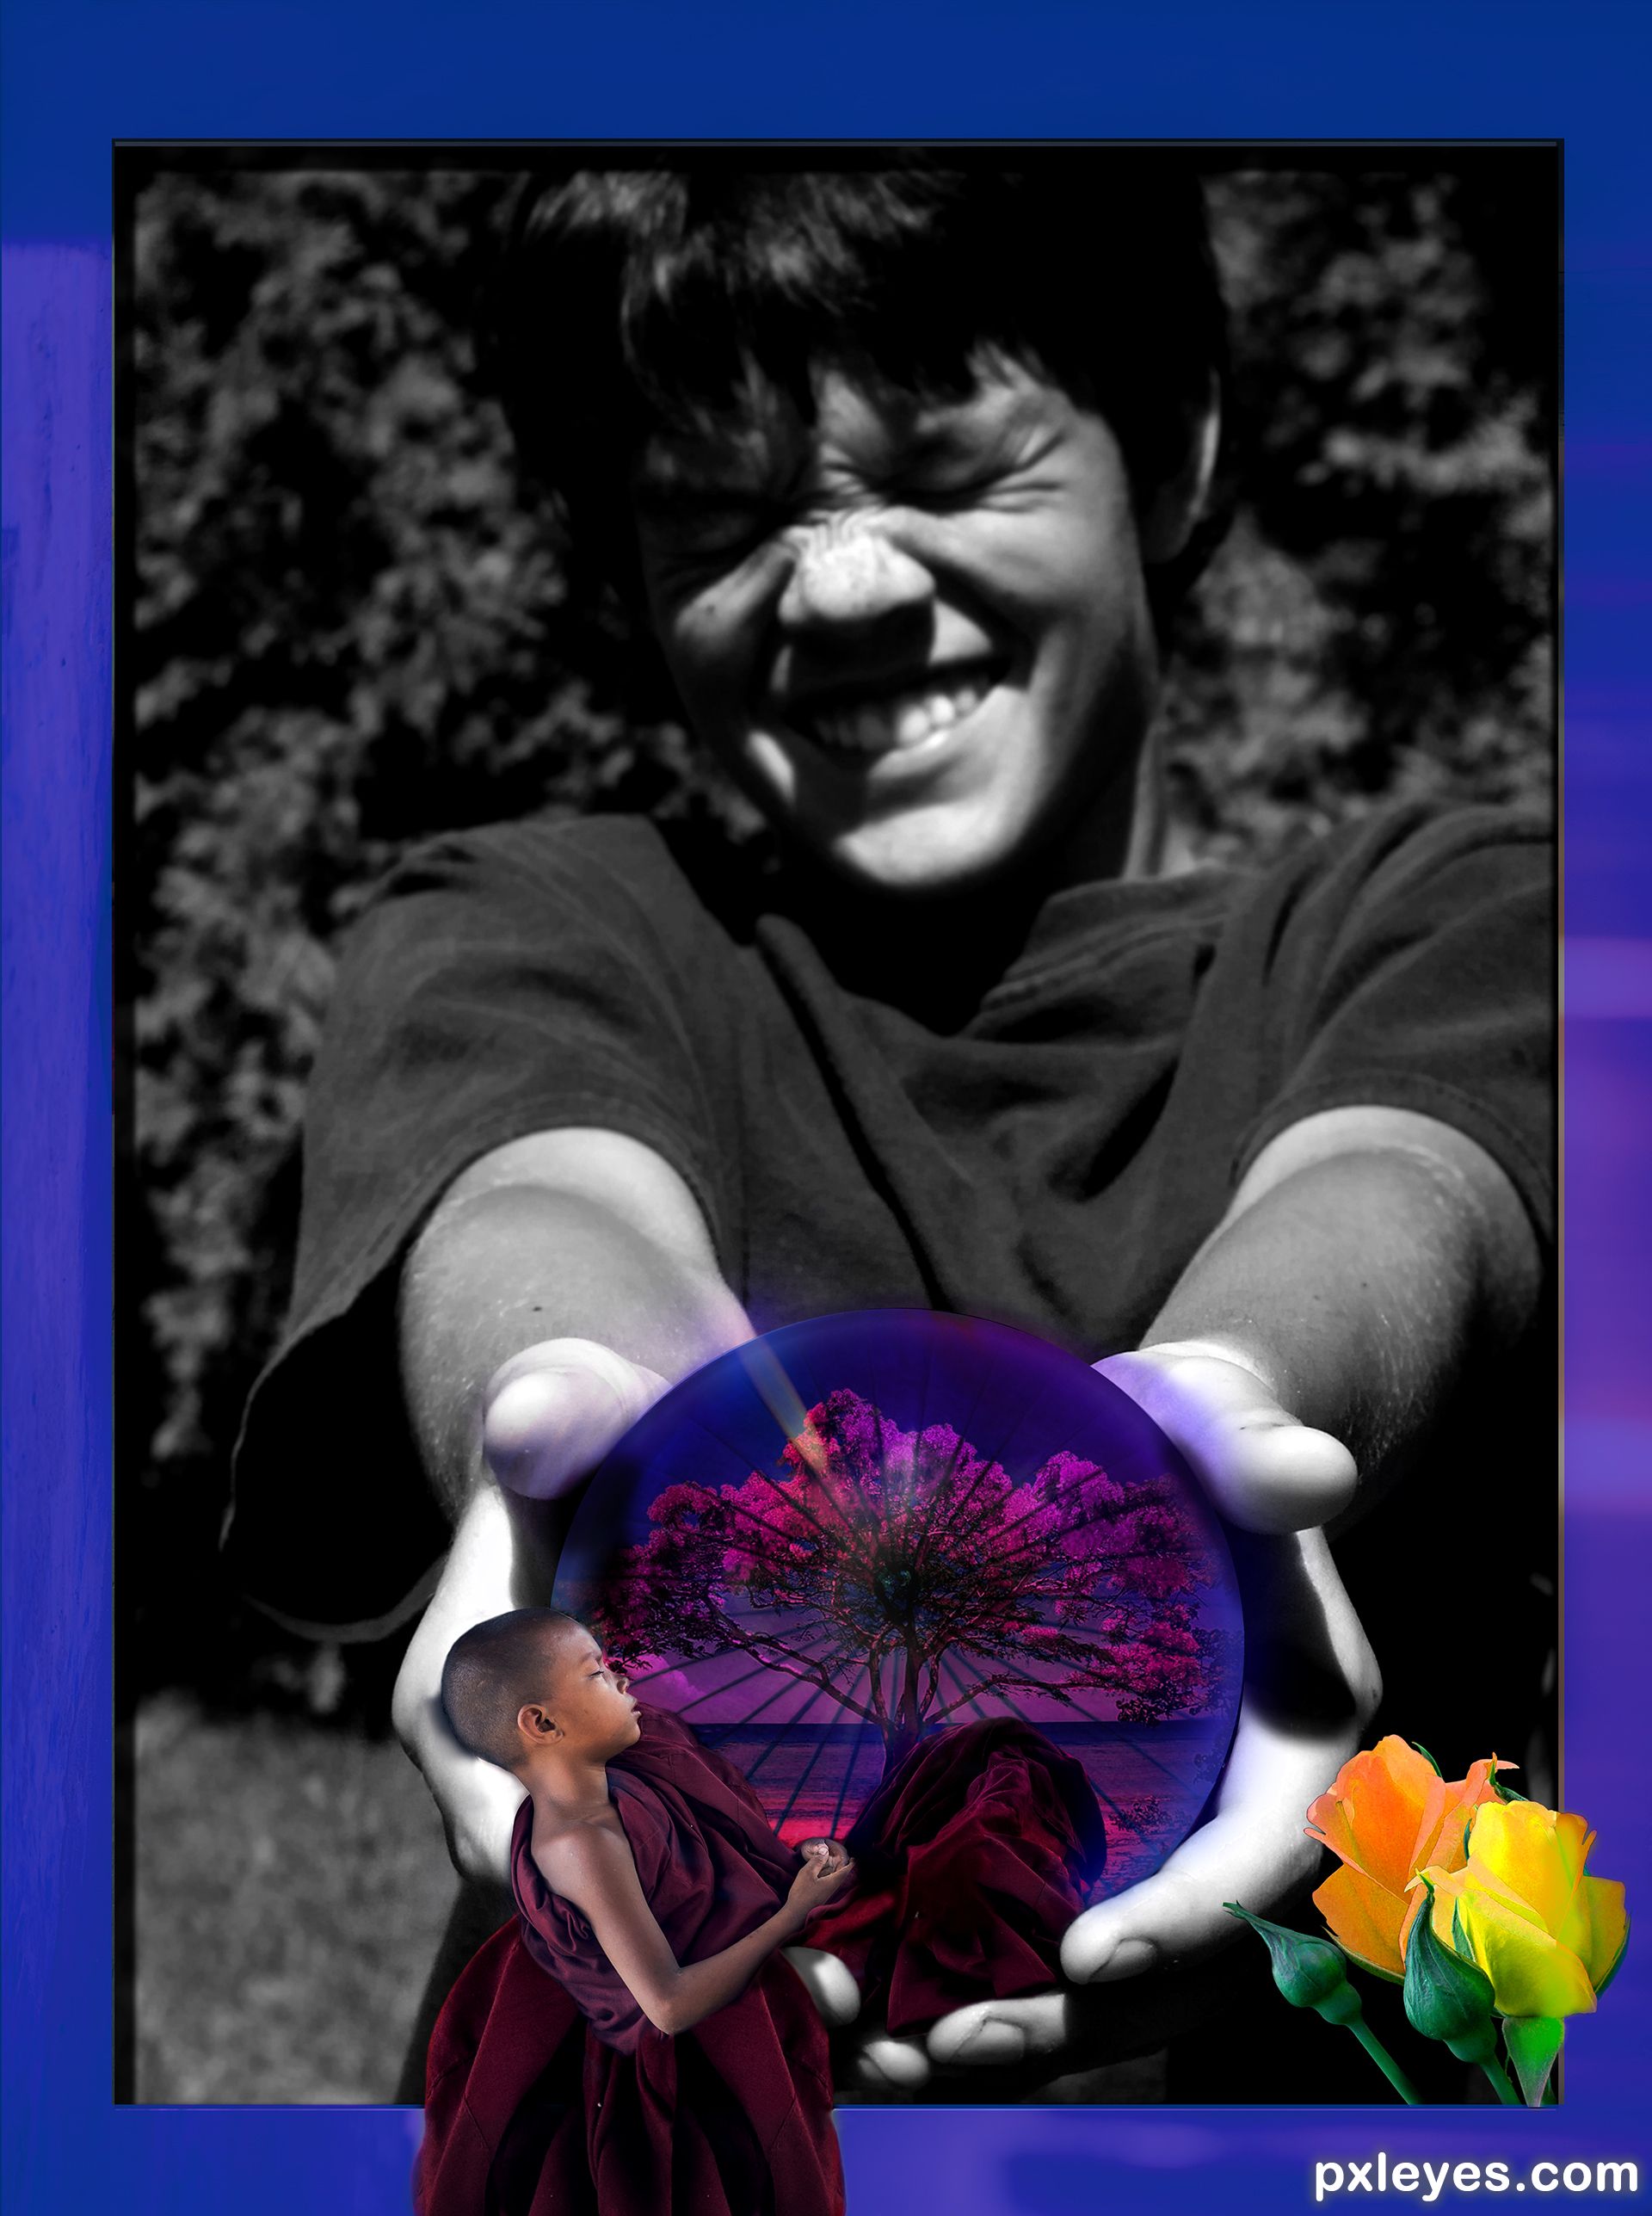
This is my "I am back!" -entry for the PXLeyes. I was away for a LONG time, and now I felt like refreshing my "art"-hobby.
This one took mostly a lot of work by hand and standard brushes, to add texture for the "ball" made from the sunshade, and blending in the extra garment for the monk boy's cloth. Also hours of work with the shadows, as most had to be add by hand, trying to walk the thin line between realistic and "looks better this way!" I tried to blend the invisible barrier of depth with imaginary design.
It's good to be back, warmest greetings to everyone who still remembers me (after voting, that is :s ) (5 years and 1269 days ago)
Howdie stranger!
If you want to rate this picture or participate in this contest, just:
LOGIN HERE or REGISTER FOR FREE
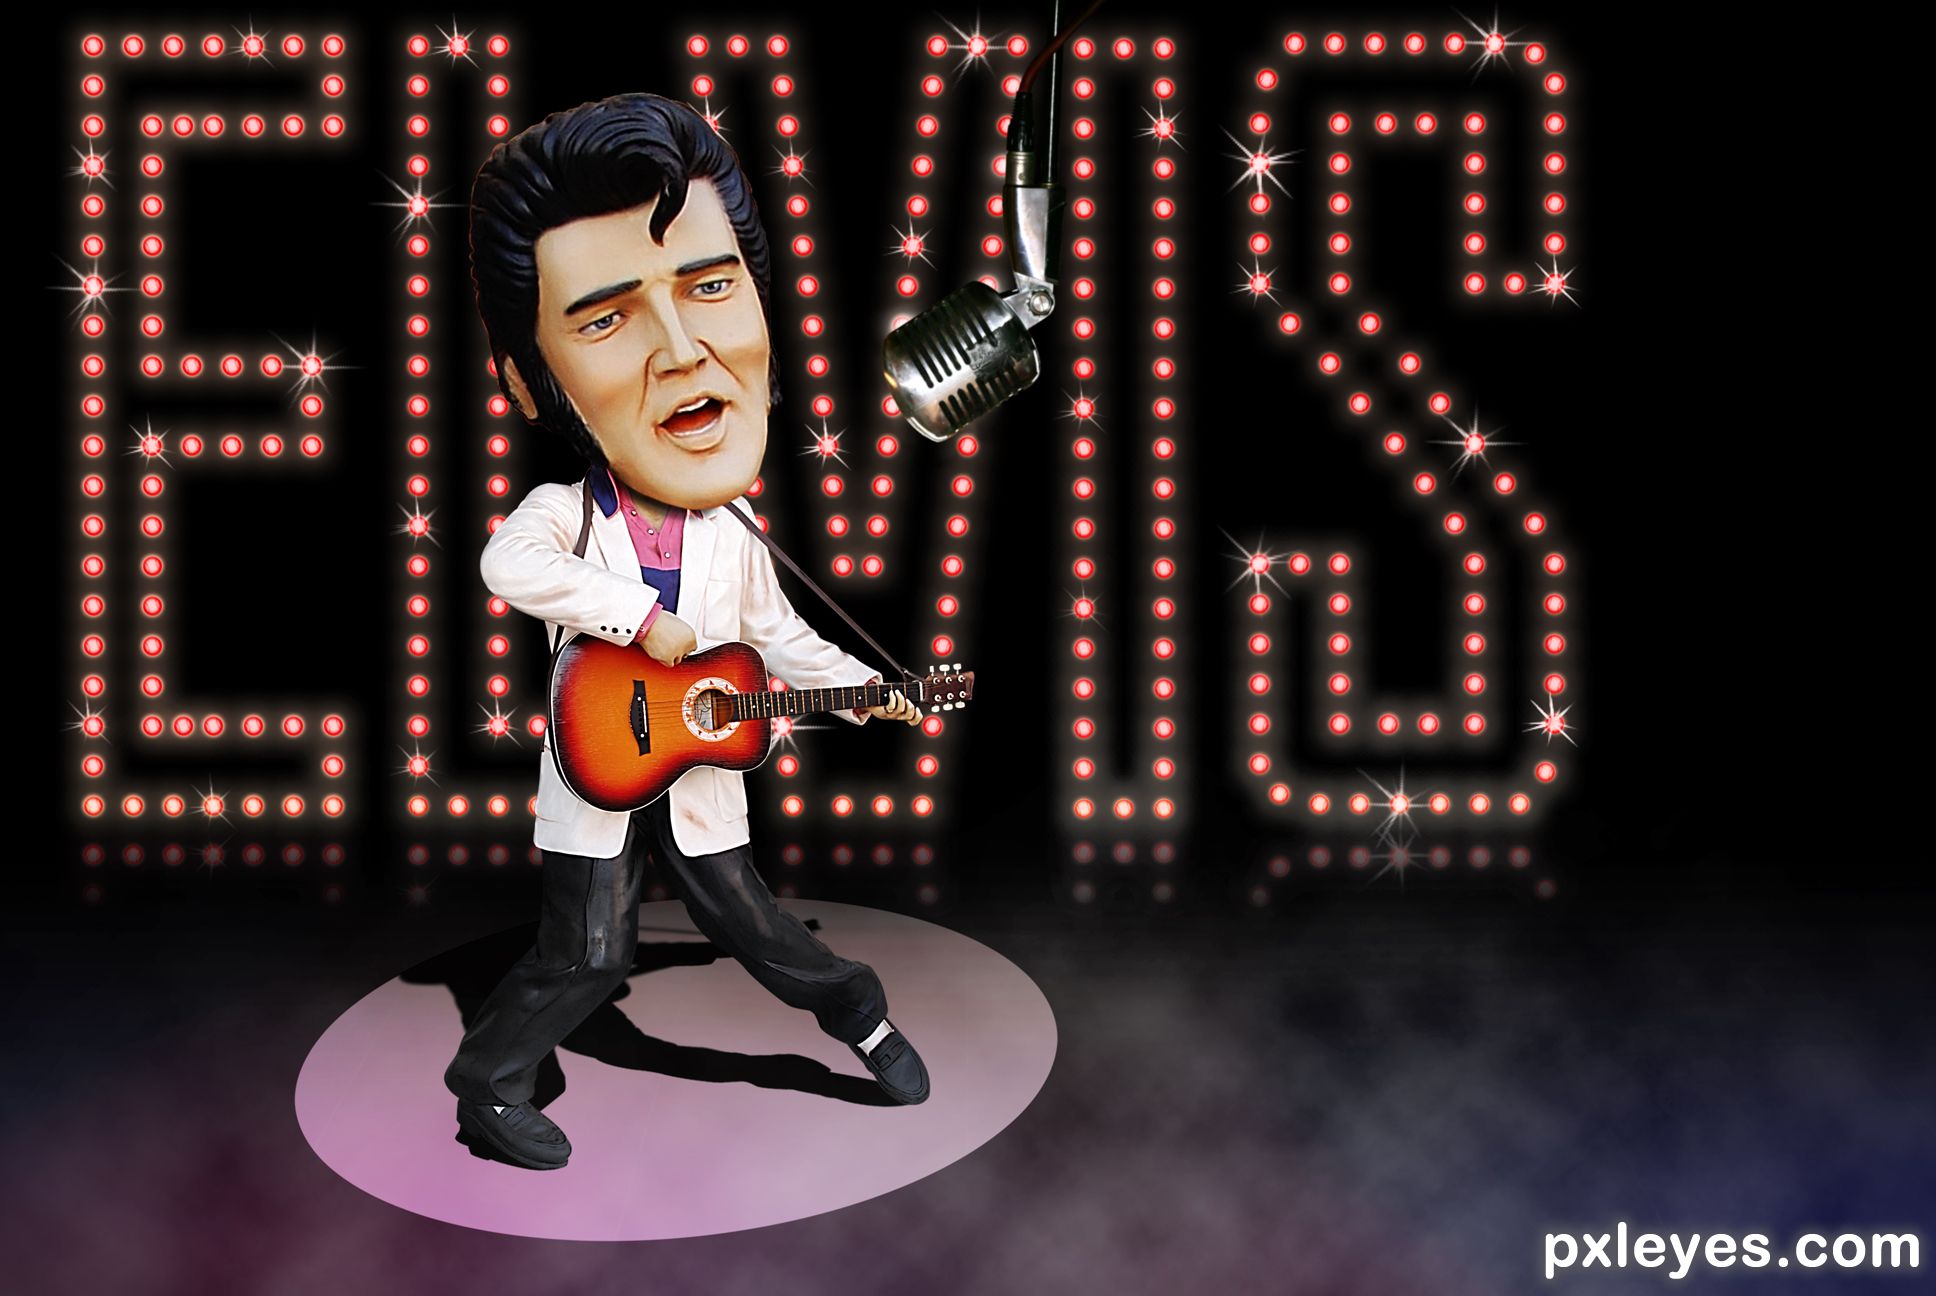
Unfortunately Something went wrong with Photoshop and lost all saves leading to the final comp however the run down for the entry was as follows:-
Step 1: Using the Pen tool I extracted the Figure, clone stamped out the remaining chain and made a general clean-up with the Spot Healing Brush.
Step 2: Duplicated and Enlarged the Head, added neck shadow with a Soft Brush
Step 3: Used a Curves adjustment layer to boost the colour in the Guitar - and give contrast to the Hair - inside mouth - Trousers and Shoes (for the trousers and shoes I lowered the opacity of the brush when painting on the mask)
Step 4: Made a 'lightbulb' using layer styles and using an appropriate font, duplicated and traced around each letter... when I finished I grouped the name, duplicated once again flipped for the reflection - using a layer mask to mask out the bit I didn't want
Step 5: Created the spotlight with the elipse tool, added the shadow and transformed it to the way you see (warp tool mainly)
Step 6: Looked a little flat so added some splashed of colour using the brush tool, gaussian blur, the rendered some Clouds, using a high feather with the lasso tool I picked a selection of the cloud, and enlarge it so it covered the 'ground' - using blend if to knock out the blacks and set to screen - there's actually two layers set to different opacities.
Step7: Only external source used was the Microphone from cgtextures.com
Step8: Set a layer to overlay and painting black and white used it do dodge and burn some details in the face and hair
Step 9: Sharpening of Elvis - highpass set on vivid light.
Step 10: using stock brush... added the sparkles in the lights. (5 years and 2422 days ago)
Very cute bobble head! Good luck 
Congrats!
Well Done!
Congrats James 
Thanks Guys! I'm so annoyed I couldn't do my sbs! lol
Howdie stranger!
If you want to rate this picture or participate in this contest, just:
LOGIN HERE or REGISTER FOR FREE
Photography and photoshop contests
We are a community of people with
a passion for photography, graphics and art in general.
Every day new photoshop
and photography contests are posted to compete in. We also have one weekly drawing contest
and one weekly 3D contest!
Participation is 100% free!
Just
register and get
started!
Good luck!
© 2015 Pxleyes.com. All rights reserved.


Creative and well done.
NEAT!
Howdie stranger!
If you want to rate this picture or participate in this contest, just:
LOGIN HERE or REGISTER FOR FREE