
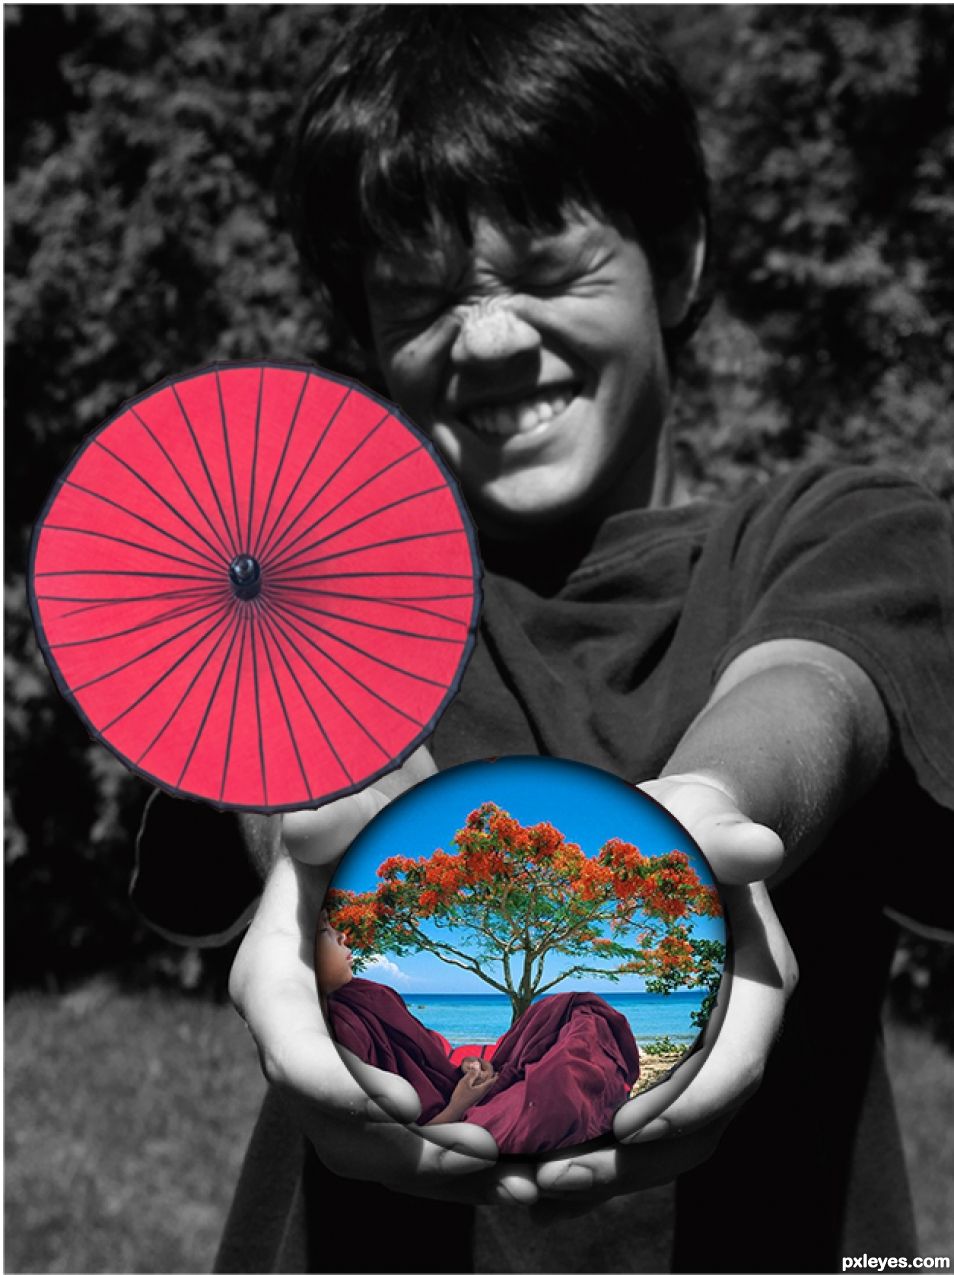
Original image
step 1 of 12
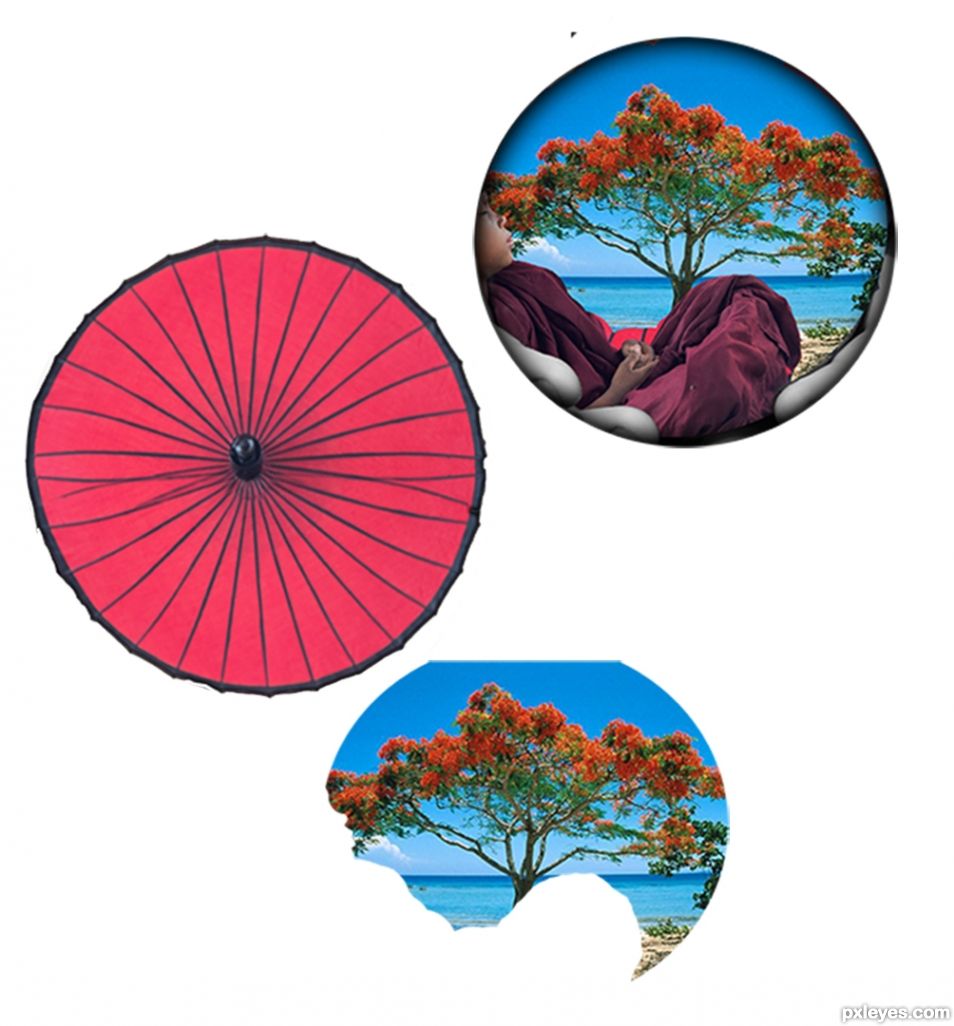
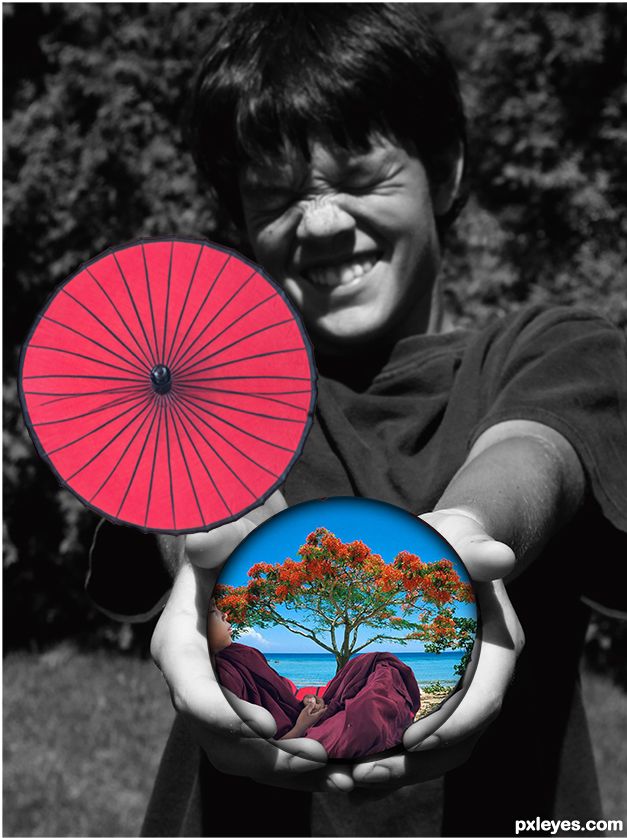
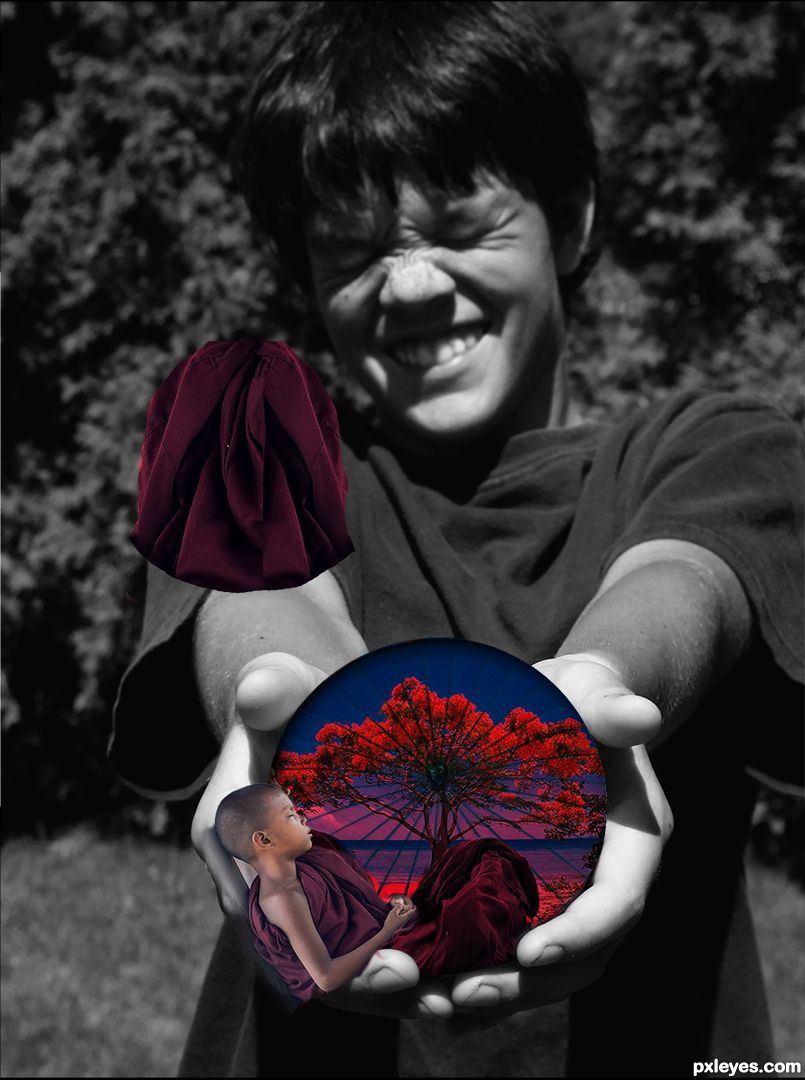
Make a full circle from the umbrella using copy/paste and clone tool, blending "spikes" until you get a somewhat circular...circle?
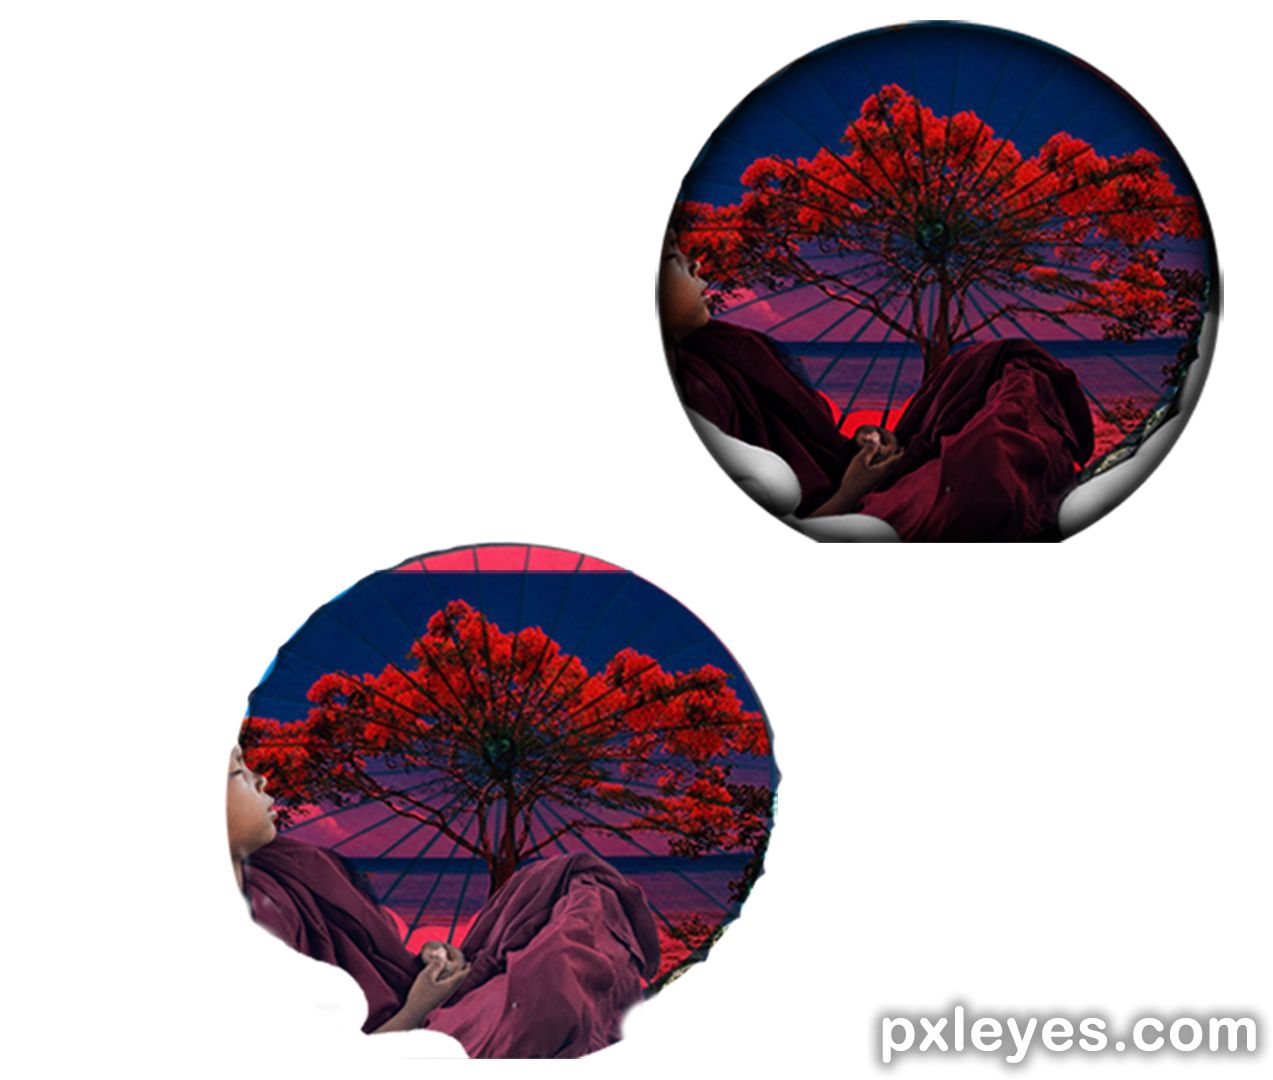
Insert the tree image, adjust it's colors and levels. Mask it a perfect circle, using circle selection tool and add "inner shadow" layer effect.
Notice how I first included the layer of the boy, hence showing circle edge on top of fingers. That will not do, crop only the boy and "the ball".
Insert the tree image, adjust it's colors and levels. Mask it a perfect circle, using circle selection tool and add "inner shadow" layer effect.
Notice how I first included the layer of the boy, hence showing circle edge on top of fingers. That will not do, crop only the boy and "the ball".
step 2 of 12
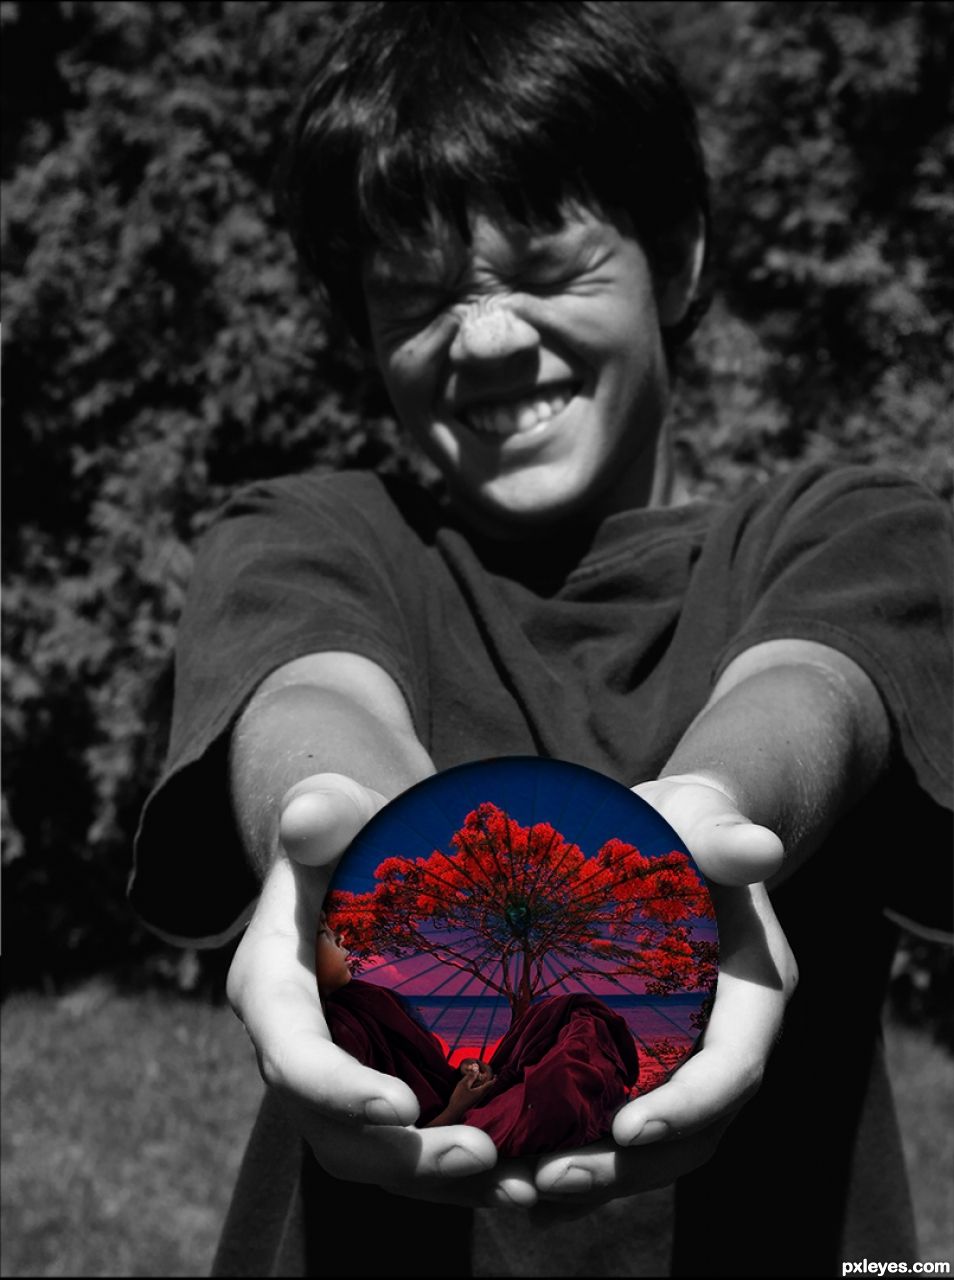
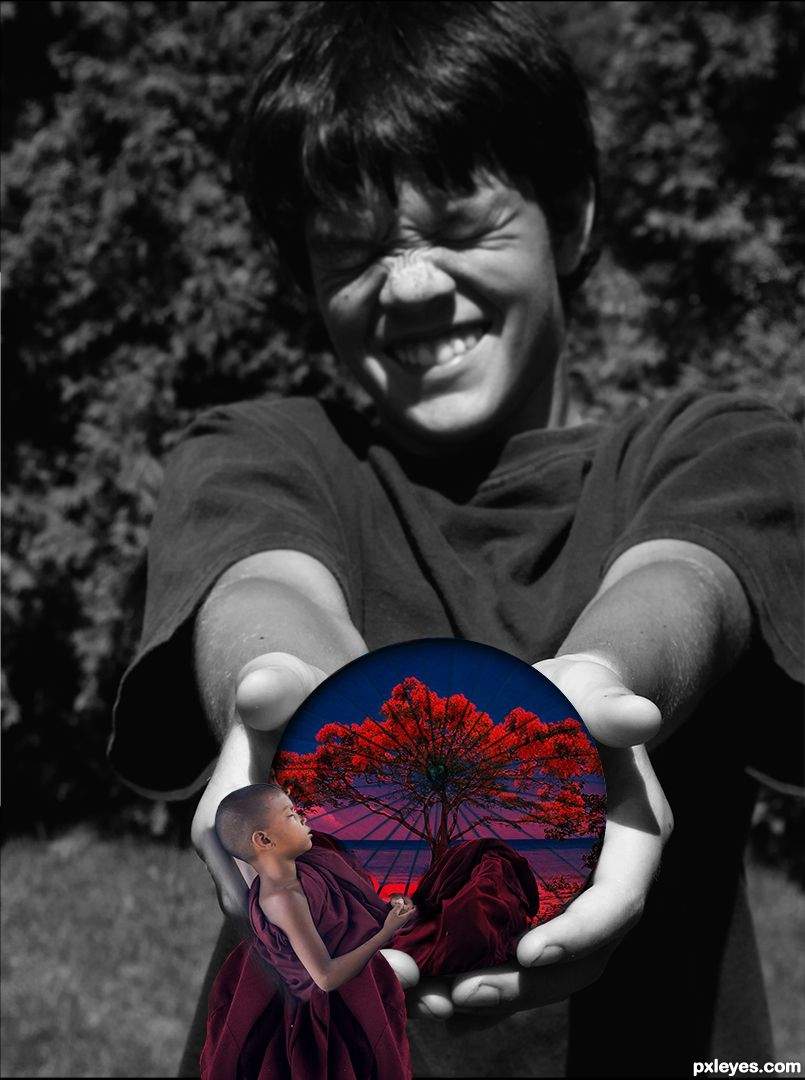
The boy "inside the ball" should be included inside the ball, but not the fingers. I re-masked the whole thing, showed only boy and a tree (inside the ball) and managed to come up with a ball "inside boys hands" rather than some mystical orb floating on top of the whole image.
step 3 of 12
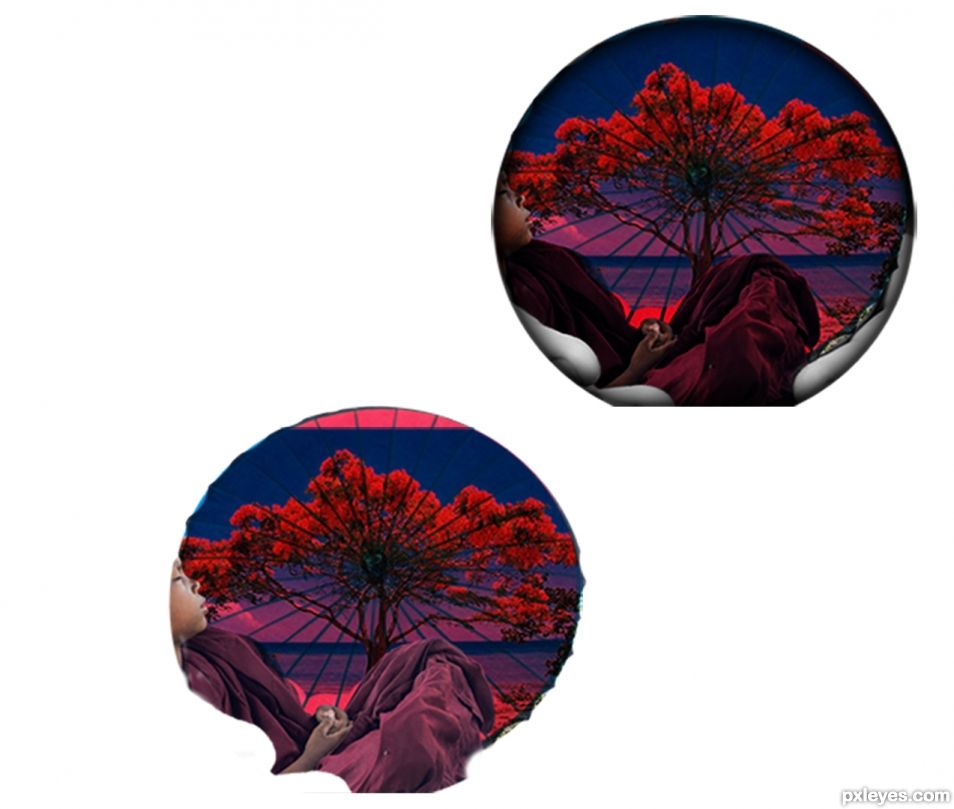
Blend the sunshade into your ball. I tried different layer blend modes and ended up using Multiply-mode on top of the ball. I masked some parts with 10-30% opacity brush to show more tree details. I noticed also that I like the boy's garments better with the dark "on top" layer, so I ended up leaving the sunshade mask "on top" of the clothes and also adjusted the overall image of the boy to get the same, more dark/contrast rich look.
step 4 of 12
Find "the focus point" of your image using different ratios and find out which "pleases your eye". I ended up putting the ball on lower 1/3rd of the image, to enhance the "coming towards you" feeling. At this point I also first time thought about inserting additional element for depth, other than the boy.
step 5 of 12
Look at the shadows on boys hands. They are all wrong, so I made a new layer and all shadows on the final picture are on this "shadow layer". I used a very large (compared to edges) smooth brush. First draw strong 100% black "shadow" and then add layer mask to the layer and use opacity tool of the brush with black/white colors to "blend" in the shadows and also adjust their shapes. Notice the boys left thumb shadow is "correct" even if it looks silly and "too straight".
step 6 of 12
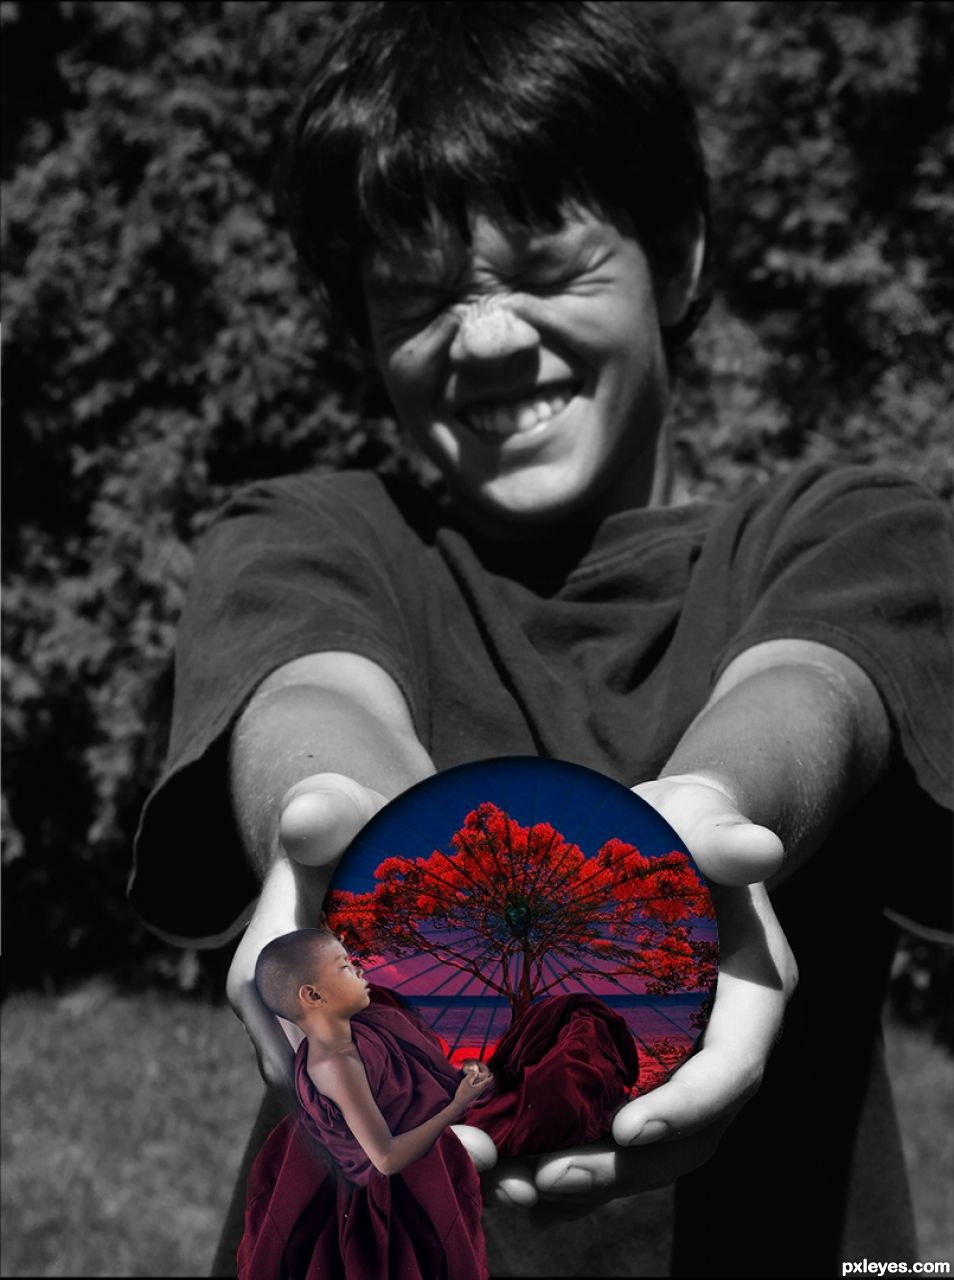
I was not happy. The boy "inside the ball" was too "small" and "not getting attention". I copy pasted it again from the source image, adjusted levels and angle and used good 35 minutes trying to fit him "outside the ball" but also "mostly inside the fingers". I found an angle that works, but it was lacking something.
I copy pasted some of the original cloth, blended it in with silk source image and tried to make some sort of "extra robe". It's very 50%/50% whether it's "better" looking without the extra robe, but I ended up keeping it for the sake of training and extra depth. The posture of the boy might need a slight "tuning" in your mind but I thought it's realistic enough, as nothing strikes your eyes immediately as "totally wrong".
I copy pasted some of the original cloth, blended it in with silk source image and tried to make some sort of "extra robe". It's very 50%/50% whether it's "better" looking without the extra robe, but I ended up keeping it for the sake of training and extra depth. The posture of the boy might need a slight "tuning" in your mind but I thought it's realistic enough, as nothing strikes your eyes immediately as "totally wrong".

step 7 of 12
Here the boy has rough cut from the robe and a few minor shadows corrected. I used a lot of masking with several layers to get the robe to look "proper".
step 8 of 12
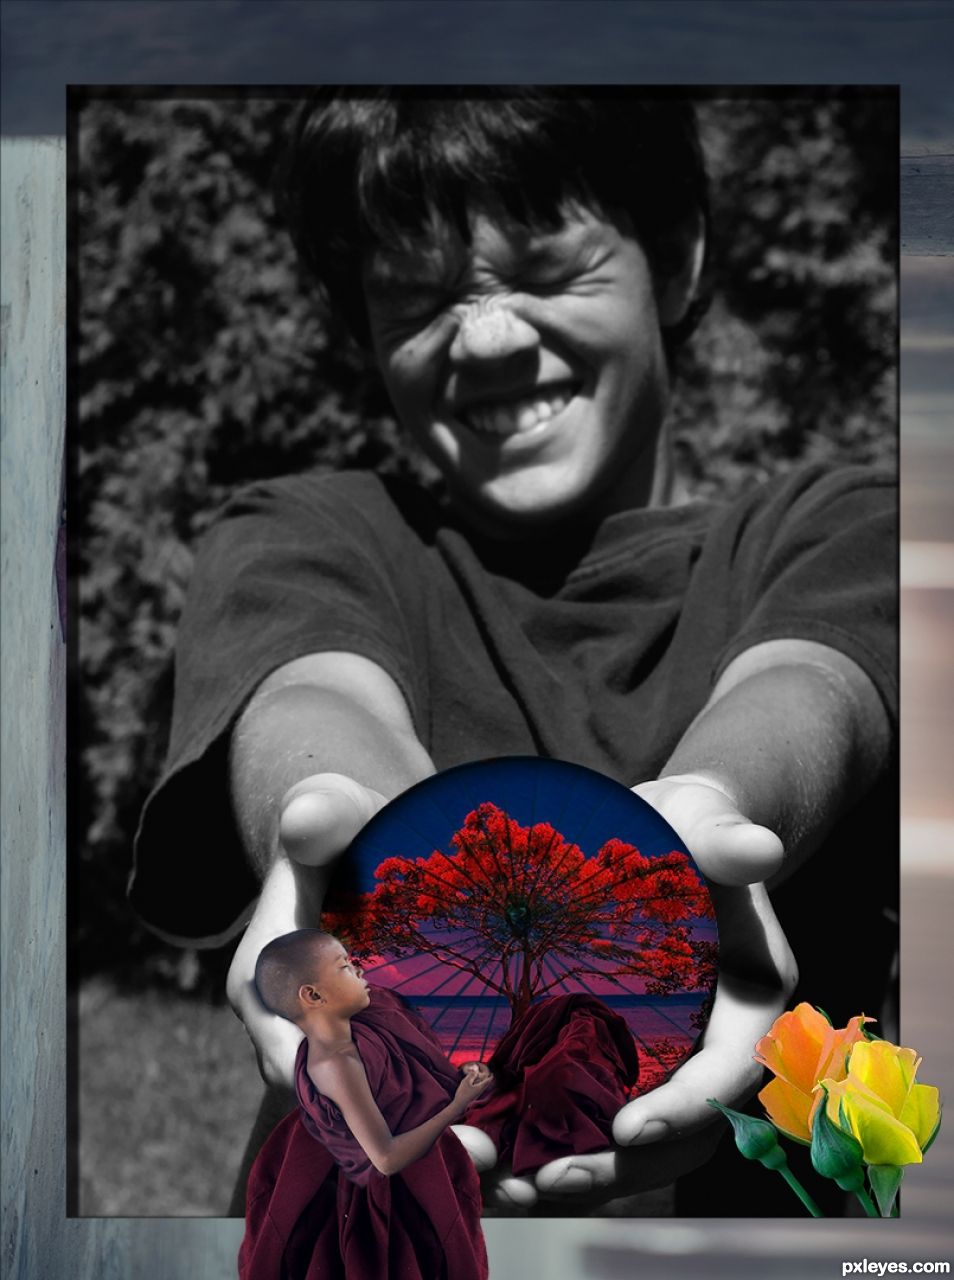
Here is the first version of the picture frame I wanted to try. I thought to maximize the depth, so I masked the frame off (standard layer mask again) with a brush to make it look like the robe is flowing over the frame.

step 9 of 12
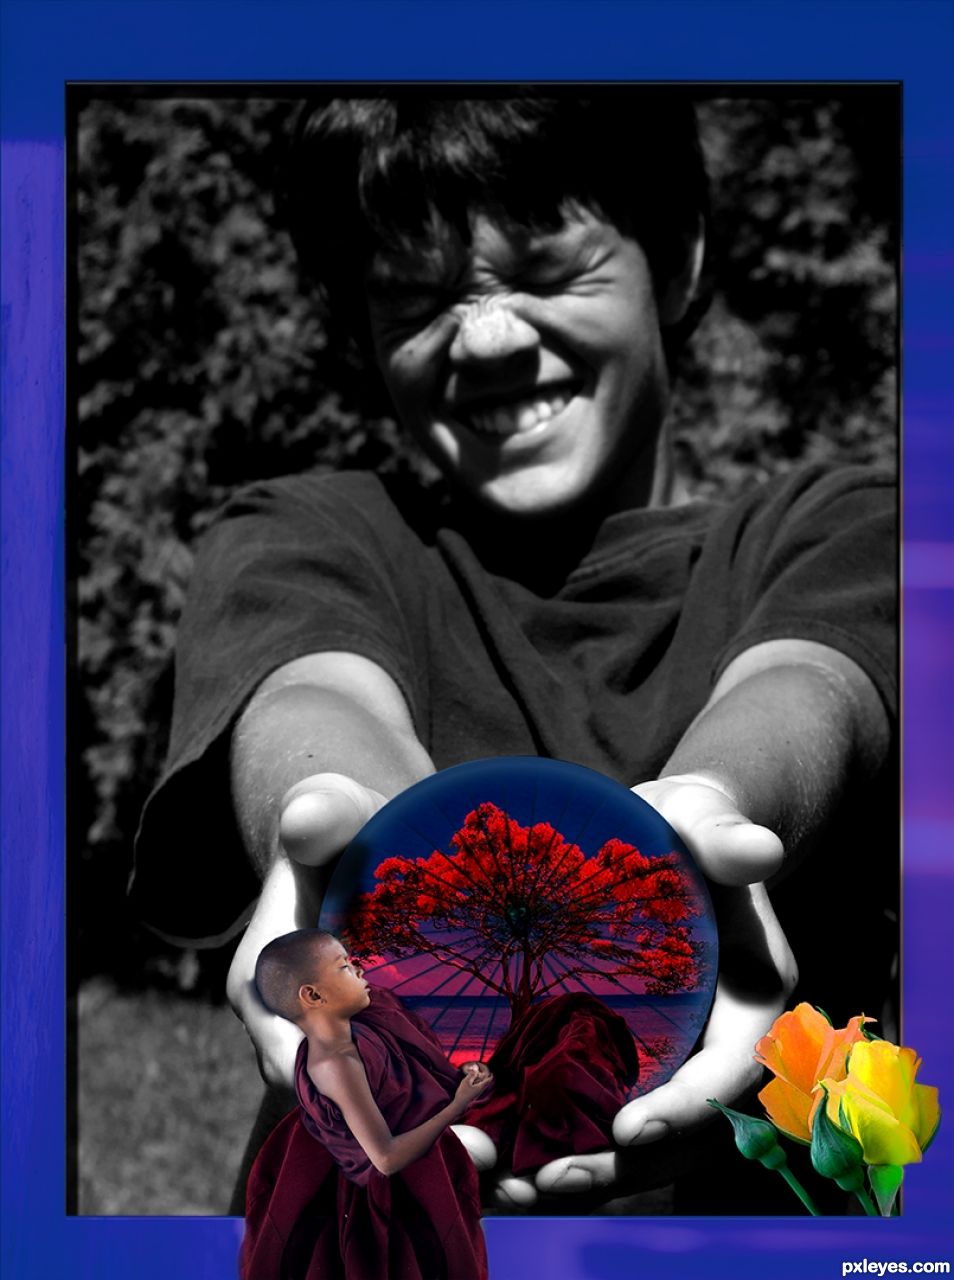
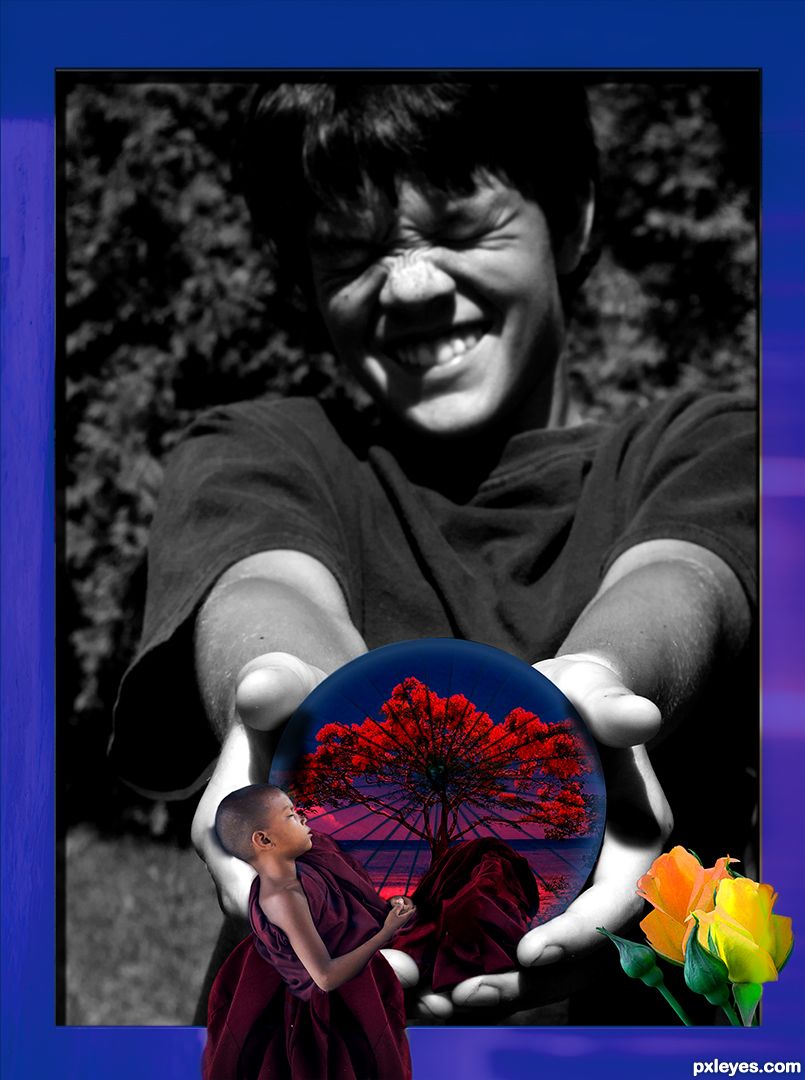
I could not live with the shadow of the boy's finger. Next to smooth and round ball it looked too artificial (even if correct for the boy itself). I added strong "thumb" shadow to the shadow-layer I created and also added more shadow under the right thumb over the ball.
Was happy with the main theme, but wanted "a bit more color". After trial and error, yellow/orange and green complemented the purple+grey theme the best (in my eyes, of course). I adjusted the color channels of each (shadow/mid/light) from the rose and created two different roses from the same image.
Was happy with the main theme, but wanted "a bit more color". After trial and error, yellow/orange and green complemented the purple+grey theme the best (in my eyes, of course). I adjusted the color channels of each (shadow/mid/light) from the rose and created two different roses from the same image.
step 10 of 12
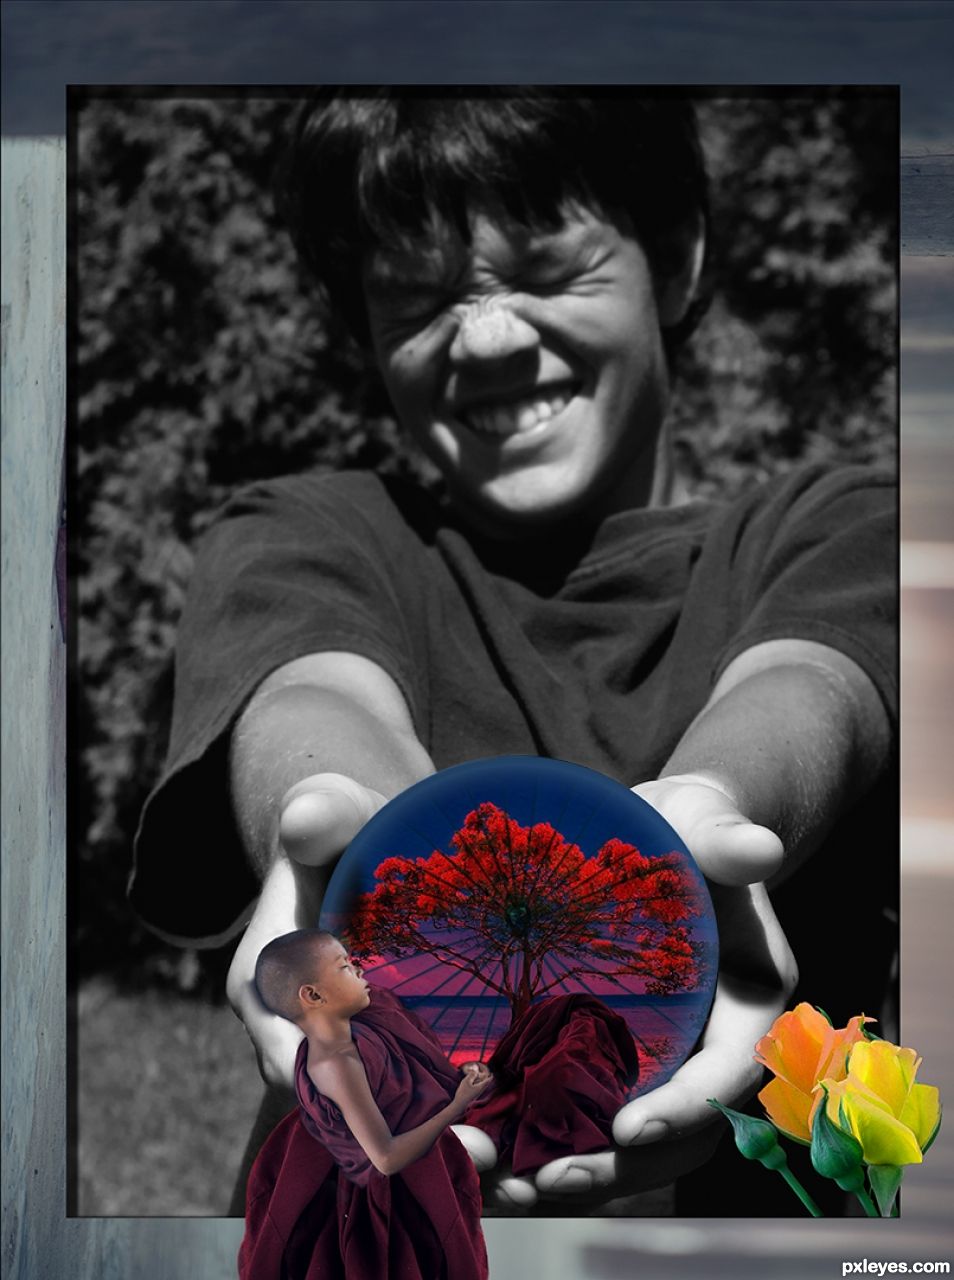
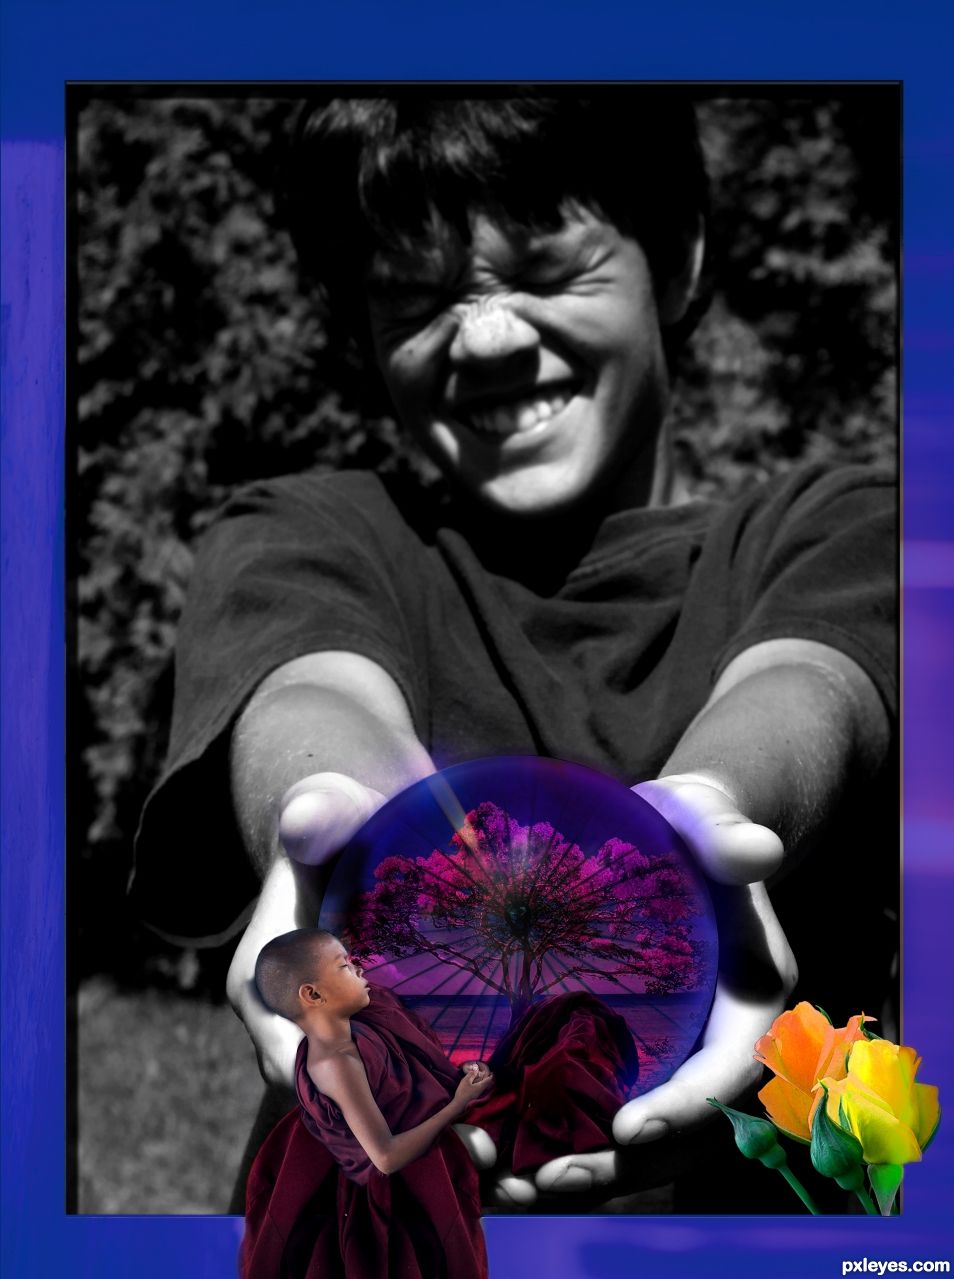
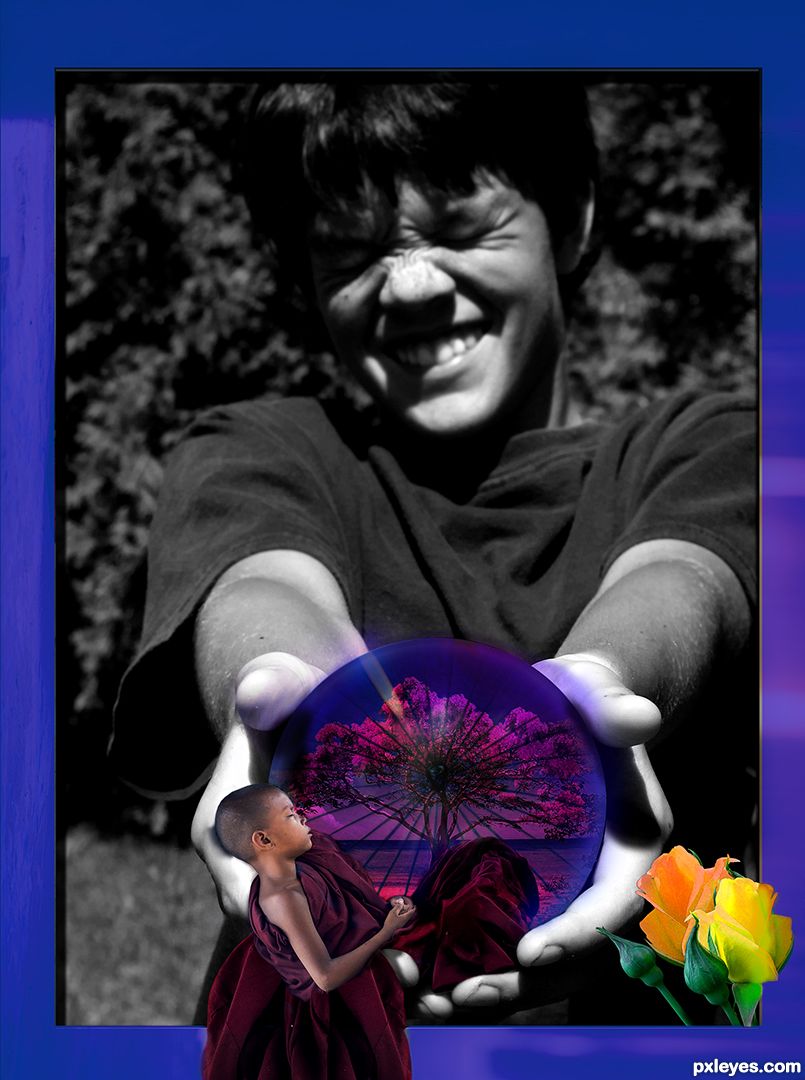
The inner (black) shadow of the round ball did give some "depth" to my ball, but was not totally happy. Decided I add some more glare, ended up adding another layer with very wide inner shadow layer effect, to bring the "roundess" more center to the ball. I experimented different colors and found dark blue, light blue and purple looked most in tune with the rest of the picture.
step 11 of 12
The last two steps of creating the image took the longest time. I started to add more detailed shadows to fingers/under/next to the ball. Also added shadows to boys arm and robe where I found it was reasonable. Very important step was to add the shadow behind boys head, to make it look like his head is resting on boys finger.
Loved the purple on this one, decided to colorize the frame too. With standard hue/saturation made another copy of the frame and blended with layer blend styles to match my want. Upped the contrast with standard levels-tool for the frame alone.
Loved the purple on this one, decided to colorize the frame too. With standard hue/saturation made another copy of the frame and blended with layer blend styles to match my want. Upped the contrast with standard levels-tool for the frame alone.
step 12 of 12
Last steps. Fine tuned shadows, fixed a lot of jagged edges (the extra robe especially was difficult).
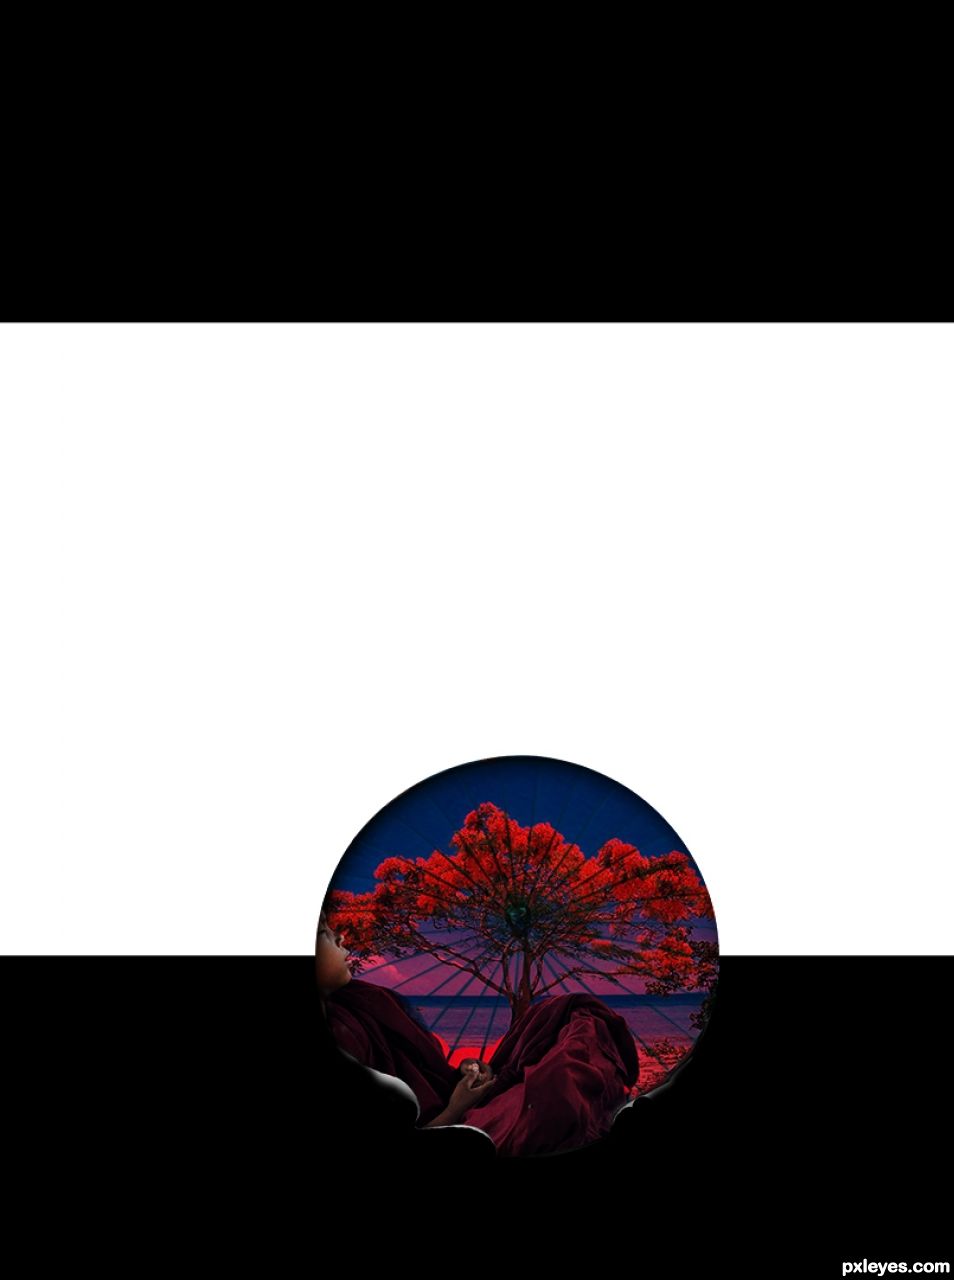
Was happy with the image for a day. Then decided I go too far (as always happens) and I want to add some "glare/glow" to the ball as well. Made a new layer, used standard large brush to paint a strong purple "halo" over the ball. I used gaussian blur to blur the "glow" and then added layer mask and used black/white brush on mask to blend the glow into the boy's fingers.
This is the type of image you could work for weeks, always something. But you have to give up at some point, so this was the moment for me.
I hope you liked the tutor, after voting feel free to private message me if any questions about the techniques.

Final result
Pxleyes
Photography and photoshop contests
We are a community of people with
a passion for photography, graphics and art in general.
Every day new photoshop
and photography contests are posted to compete in. We also have one weekly drawing contest
and one weekly 3D contest!
Participation is 100% free!
Just
register and get
started!
Good luck!
Follow us:


© 2015 Pxleyes.com. All rights reserved.