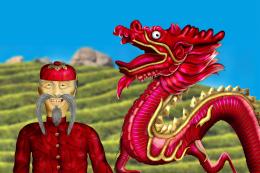

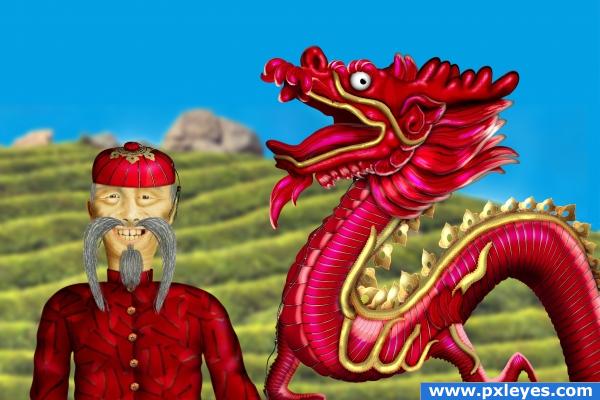
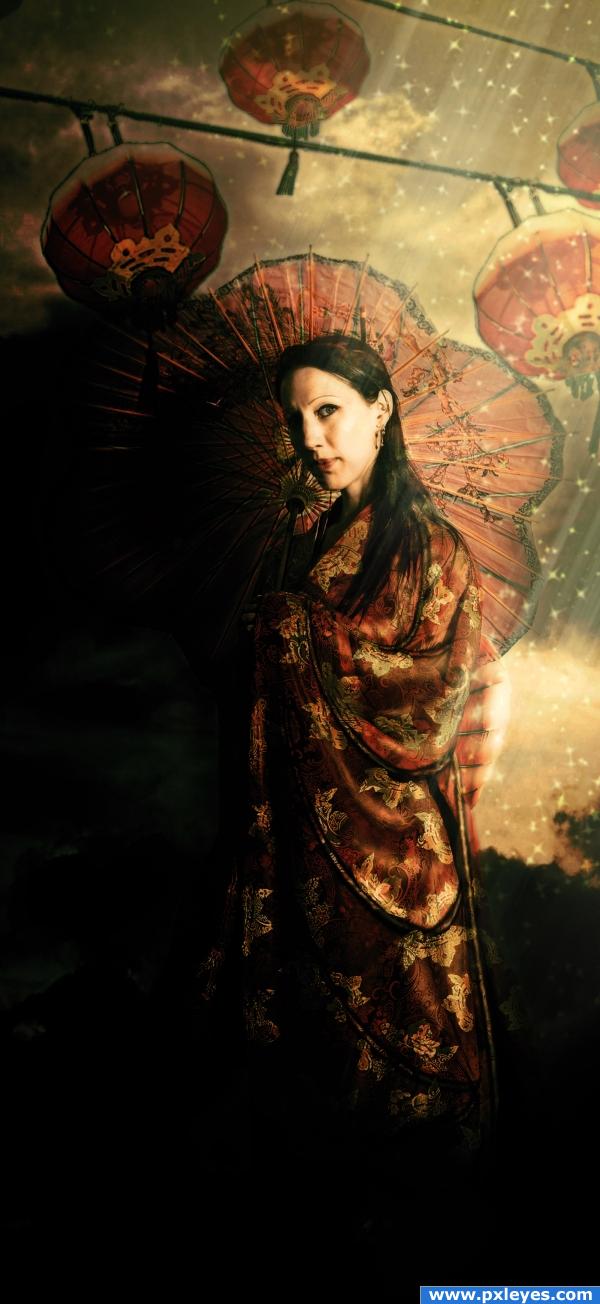
Mr Foo and the dragon are made only with the given source and photoshop. Didn't use any reference for the old man which I'm very proud of :-)
Alot of copy paste warp and liquify. Burn and dodge... 3days of work 8 hours a day.
Please view in high resolution! (5 years and 4032 days ago)
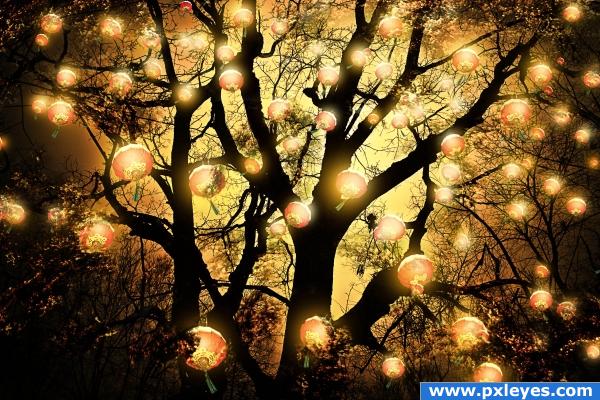
2 Sources:


wow!Great job!
very nice
very nice job... good luck author (People LOOK AT THE HIGH RES.. the scaling work is absolutely flawless.. over all wonderful work)
great!! i like it
very nice
lol.... good job!
cool! nice work
Fantastic image....loads of work very nicely done! great colours!
Lot of works here
cool
this really shows how much time u put in it; nice job!
WOW good step by step!
from me SMILE!
congrats!!
Congratulations for 1st, great smile
Congrats! Well done!
Congrats
Congrats, lovely work
Congrats!
Congrats for 1st
congrats!!
And congrats again for a very inspired composition! Your like...."first place hit and run...!" Lol!
Congratulations!!!!
Congratulations!!!!
congrats
Howdie stranger!
If you want to rate this picture or participate in this contest, just:
LOGIN HERE or REGISTER FOR FREE