A Work in Progress: cop


This guide was made for entry:
cop
In Contest:
colorization


step 1 of 12

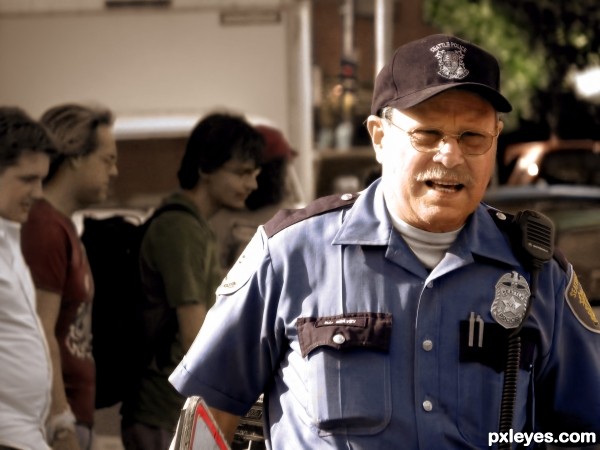
1. This is the source image I started with. As you can tell there is a lot of noise in the picture. The first thing I did was download Topaz denoise (demo) and got rid of some of the noise. This was my first time using Topaz and I would highly recommend atlas trying it.

Creation of cop: Step 1

step 2 of 12

2. Most of the things I could guess which color I wanted to use for each item. For the policeman I really didn't know. I kinda guessed it would be blue, but wanted it to be accurate. I just did a quick look for Seattle police and found this image, I didn't use any part of it, just glanced at the colors.

Creation of cop: Step 2

step 3 of 12

3. I made a new layer and set the layer blend mode to color. I then chose a color which I thought would depict the uniform best. With 100% brush I painted in the shirt( making sure not to overlap the darker areas on the suit).

Creation of cop: Step 3

step 4 of 12

4. The problem with colorizing something like this is that nothing is really all just one color. When you get to shadows and highlights the tone and hue changes. I think this is where you can usually spot something thats been colored. If you look at the shadows they are over saturated now.

Creation of cop: Step 4

step 5 of 12

5. What we want to do now is make a new layer. Hold down the alt/option key and hover between the two layers. There should be a new icon appear (which looks like two circles overlapping). Now press your mouse key. This will create an arrow which points to the lower level. What this means is that everything done in this layer will now only be visible where there are thing in the lower layer (kinda like it's own mask). In the top layer you want to choose a color which is similar to the original color for the shirt but is darker and has less saturation. With a low opacity brush paint the shadows until you get rid of most of the over saturated areas.

Creation of cop: Step 5

step 6 of 12

6. Again your going to follow step 5 but this time your going to paint the face.

Creation of cop: Step 6

step 7 of 12

7. Make a new layer for each set of colors, or you can do everything on the same color layer. I like to have them as separate layers incase I want to make adjustments later. Keep in mind that even if something is black or white in the photo, it most likely will have to be colored as well. Whites usually have a slight blue tent to them and black sometimes has a purplish tint to it.

Creation of cop: Step 7

step 8 of 12

8. At this time I created a new transparent layer set to soft light. To add depth and color to the image I sampled nearby colors and with a soft low opacity brush painted in some of the highlights and some of the shadows.

Creation of cop: Step 8

step 9 of 12

9. To add some warmth to the photo I added another new layer set to color and filled it with a tannish color. I then reduced the opacity of the layer to around 20%. You can decide to use more or less opacity to your preference.

Creation of cop: Step 9

step 10 of 12

10. On a new layer set to multiply I painted some of the shadows by sampling nearby colors. I used a really soft brush with a really low opacity.

Creation of cop: Step 10

step 11 of 12

11. This is one of may favorite things to do (it helps add pop and depth to the image). I create two new layers, one set to color burn and filled with white. The other set to color dodge and filled with black. With a 5% opacity soft brush you will paint shadows and highlights on the image. On the color burn layer you will use black and on the color dodge you will use white. For a more dramatic affect you can use color on these layers. ( I use this technique on almost everything I do which involves an image).

Creation of cop: Step 11

step 12 of 12

12. This next step is a big one. Create a new selective color adjustment layer. I adjust each individual color separately. If you can't tell which colors are being adjusted you can just slide the black bar all the way to the left and all the way to the right. You will be able to see which areas are affected by doing this. Then just adjust each color within that area for you style. Since it's an adjustment layer you can easily change things later.

Creation of cop: Step 12

Final result

Creation of cop: Final Result

LOGIN or REGISTER FOR FREE
to rate this guide and create your own guides.