A Work in Progress: iPhone 28s


This guide was made for entry:
iPhone 28s
In Contest:
over the top ps


step 1 of 6

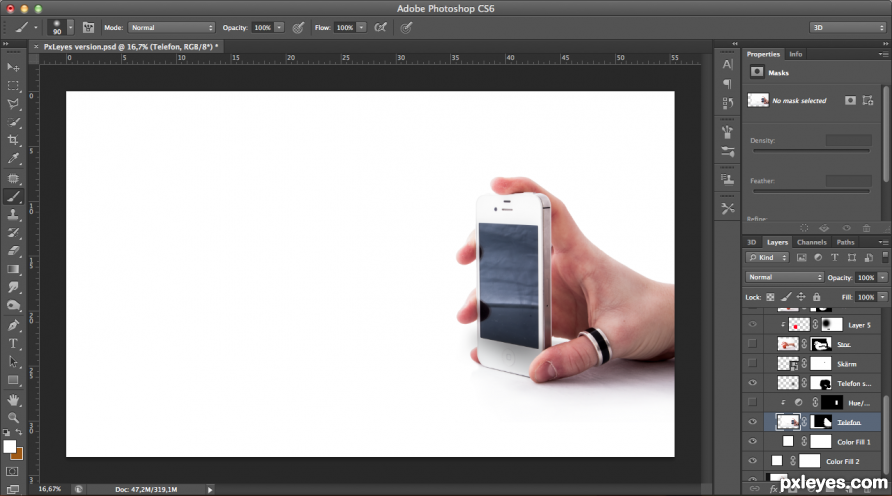
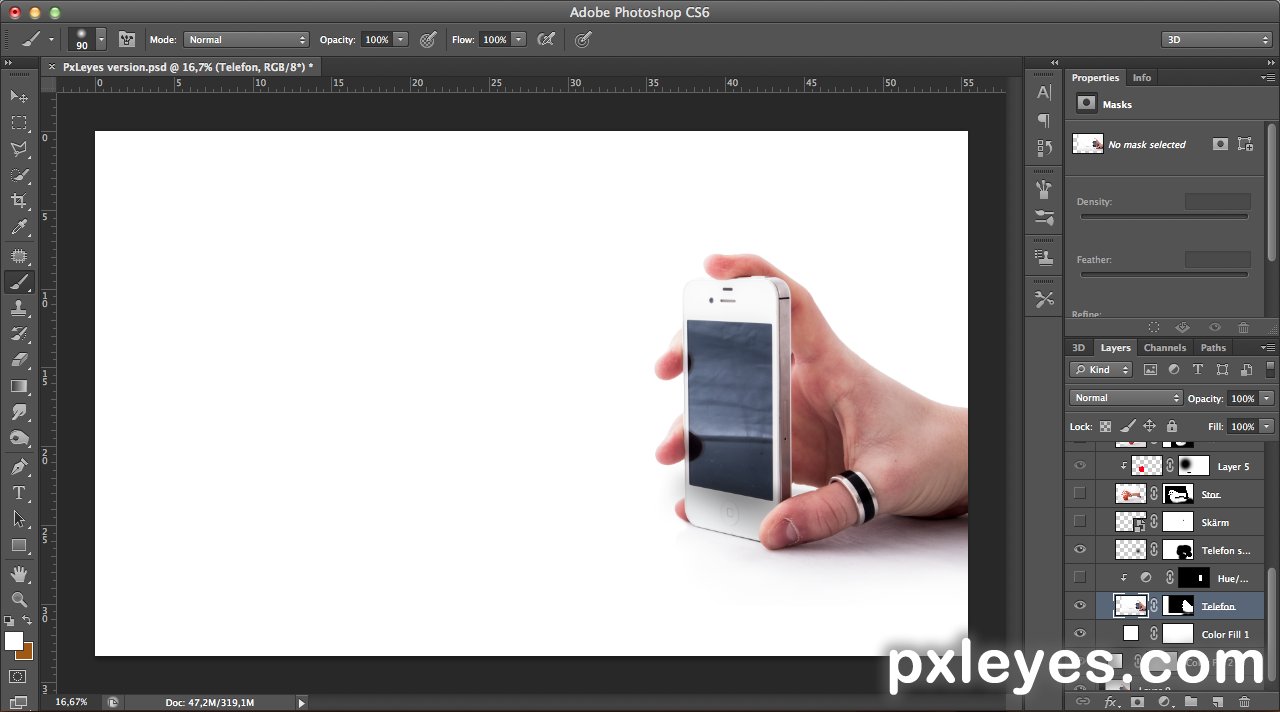
I am using 3 self-shooting pictures and then cut them together into one. This was the image I first took. Note that I had to create a small shadow just above the iPhone's so-called "home button" to which the latter would obscure an item, namely my arm. But do you see the next step.

Creation of iPhone 28s: Step 1
( hi-res )

step 2 of 6

Then I added the other photos I took, as you can see, my arm reaching for the apple. To make the image slightly warmer and quality filled, I decided to make apple redder by creating a new layer, paint it red and avail myself of a mixing layer and then adjust the opacity and fill.

Creation of iPhone 28s: Step 2
( hi-res )

step 3 of 6

The final step involves adding the last frame which incidentally me in fullest person. It is tricky with this step was to arrange for the shadows in terms of me and the whole object by how and where the light is coming from. The fact that I was only frilaggd from a previous image so you could not use my real shadow, but had to avail myself of the traditional stock style "Drop Shadow" instead and then distinguish the effect of the layer by making power to independent own.

Creation of iPhone 28s: Step 3
( hi-res )

step 4 of 6

This is one of my three images that I've used to create the finally surrealistic picture.

Creation of iPhone 28s: Step 4
( hi-res )

step 5 of 6

This is one of my three images that I've used to create the finally surrealistic picture.

Creation of iPhone 28s: Step 5
( hi-res )

step 6 of 6

This is one of my three images that I've used to create the finally surrealistic picture. (It's me on the picture)

Creation of iPhone 28s: Step 6
( hi-res )

Final result

Creation of iPhone 28s: Final Result

LOGIN or REGISTER FOR FREE
to rate this guide and create your own guides.