
Original image
step 1 of 8
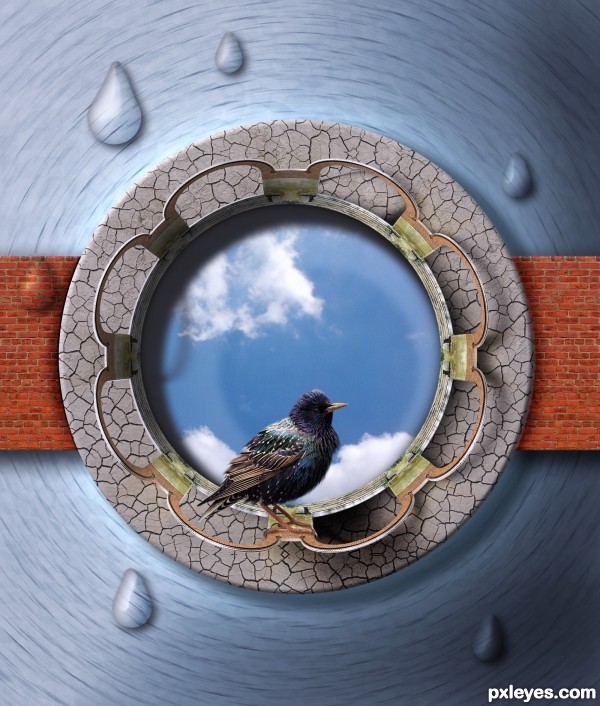
Used source 2 and gave it a radial blur then cut out a whole in the middle. Added a shadow to this surface to make it look spherical.

step 2 of 8
Took the source image, pentooled the arch out and placed it 8 times after each other, then made it circular with the polar coordinate tool

step 3 of 8
Added a drop shadow and adjusted that with the warp tool.

step 4 of 8
Took source 2 again and made a circle around the arches.

step 5 of 8
The brick wall is from the source image again.

step 6 of 8
Added the bird.

step 7 of 8
Added the water drops:
- make a circle on an empty layer
- add a white - black gradient
- add a drop shadow and a inner shadow
- add a highlight on the drop
- select these areas and make a layer-via-copy to a new layer
- on this new layer use the pinch tool to make a refraction effect
- make a circle on an empty layer
- add a white - black gradient
- add a drop shadow and a inner shadow
- add a highlight on the drop
- select these areas and make a layer-via-copy to a new layer
- on this new layer use the pinch tool to make a refraction effect

step 8 of 8
Added the sky to give more attention to the weird perspective views.
- you look up to the sky
- you look down on the arches which form a kind of crown
- you look at the bird en profile
- you look up to the sky
- you look down on the arches which form a kind of crown
- you look at the bird en profile

Final result
Pxleyes
Photography and photoshop contests
We are a community of people with
a passion for photography, graphics and art in general.
Every day new photoshop
and photography contests are posted to compete in. We also have one weekly drawing contest
and one weekly 3D contest!
Participation is 100% free!
Just
register and get
started!
Good luck!
Follow us:


© 2015 Pxleyes.com. All rights reserved.