A Work in Progress: Beauty of destruction


This guide was made for entry:
Beauty of destruction
In Contest:
mixed media 24


step 1 of 21

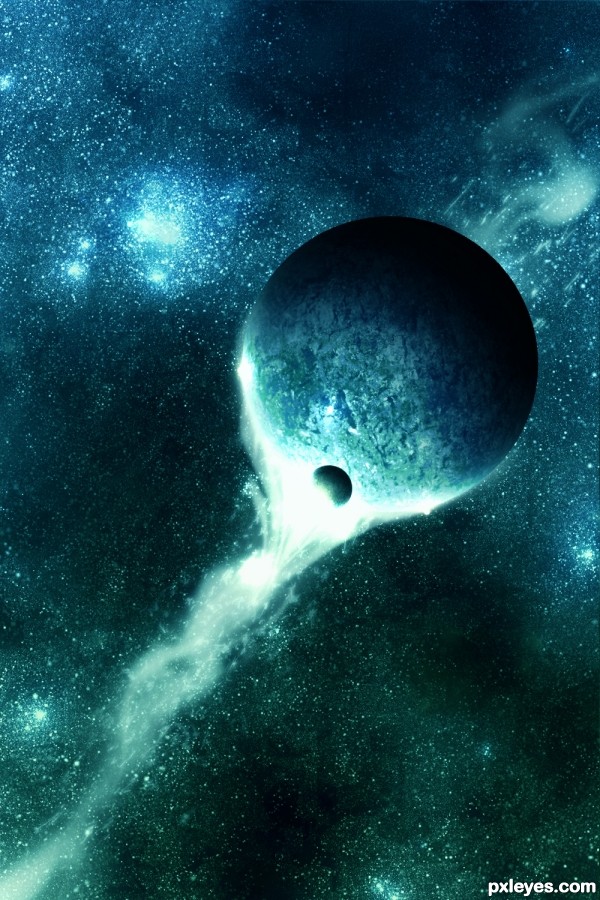
Make the first stars by using grain, then with brightness contrest adjust until you get something like this.

Creation of Beauty of destruction: Step 1

step 2 of 21

Repeat step one a few times,

Creation of Beauty of destruction: Step 2

step 3 of 21

Then you should add some light flares for extra shining details. Also I used a color filter which I blended and I copied pasted and ereased some star parts until I was sattisfied.

Creation of Beauty of destruction: Step 3

step 4 of 21

Adding more details by using the clone tool.

Creation of Beauty of destruction: Step 4

step 5 of 21

Using some gradient fills, then put those to blend modes. (color/ hue blend)

Creation of Beauty of destruction: Step 5

step 6 of 21

The start of the planet, a white circle which will function as an atmosphere.

Creation of Beauty of destruction: Step 6

step 7 of 21

Improving the atmosphere, used the smudge tool for the streaks.

Creation of Beauty of destruction: Step 7

step 8 of 21

Again improving the atmosphere. I also added some new attractive looking long streakes using the smudge tool again (using a high strength).

Creation of Beauty of destruction: Step 8

step 9 of 21

First step of making the planet, just a plain circle (with a dark color).

Creation of Beauty of destruction: Step 9

step 10 of 21

Using some effects to create the inner atmosphere. These effects are inner glow and inner shadow. (you could also decide to paint the glow and the shadows, I prefer to paint the shadows using a soft brush).

Creation of Beauty of destruction: Step 10

step 11 of 21

Decides I wanted to change the colors a bit. (Using Hue/ Saturation)

Creation of Beauty of destruction: Step 11

step 12 of 21

Creating another circle with really soft edges. Then I made the circle black to make it look like the shadow(side) of the planet.

Creation of Beauty of destruction: Step 12

step 13 of 21

Using my first color as a background color, I started painting a texture.

Creation of Beauty of destruction: Step 13

step 14 of 21

Start adding details with hard brushes. (You could also use the pattern overlay, if used in a proper way of course).

Creation of Beauty of destruction: Step 14

step 15 of 21

Completing the planet by painting some clouds, also used some filters to make the planet more realistic.

Creation of Beauty of destruction: Step 15

step 16 of 21

Adding the planet to my composition. I also changed the colors and the shadows a bit and moved it the way it looked best, I wanted the streaks to be the source of light in this image.

Creation of Beauty of destruction: Step 16

step 17 of 21

Adjusting the colors and the lightning some more using color balance layers and some flares and a soft white brush.

Creation of Beauty of destruction: Step 17

step 18 of 21

Adding some more lightning effects, using the same techniques as described before.

Creation of Beauty of destruction: Step 18

step 19 of 21

Adding particles for a nice explosive effect. This can be done by using a medium white brush and a hard white brush, be sure to lower the opacity.

Creation of Beauty of destruction: Step 19

step 20 of 21

Creating the long white streak by smudging a big white stripe until you get a similar result. The strength of the smudge tool must be pretty low here.

Creation of Beauty of destruction: Step 20

step 21 of 21

Here I duplicated the planet and resized it. Also I adjusted the colors and shadows and also it's atmosphere to let the planet match the composition. This can be done in many ways but I used the brush tool (black for the shadows and white for the lights) and the burn and dodge tool.

Creation of Beauty of destruction: Step 21

Final result

Creation of Beauty of destruction: Final Result

LOGIN or REGISTER FOR FREE
to rate this guide and create your own guides.

Votes


uservoted
erikuri
Kid
CMYK46
Score:
7.33


Comments

avatar CMYK46
CMYK46 says:

SBS needs explanations of how you did what you did, not just pics. People are supposed to be able to learn something from a good SBS, kind of like a mini-tutorial.

(5 years and 2581 days ago)
author says:

Listen CMYK46, im one of the few people who even makes a SBS and since it is pretty clear I think a 1 is pretty unreasonable.

(5 years and 2579 days ago)
avatar CMYK46
CMYK46 says:

SBS is mandatory for an entry that uses no outside sources, otherwise it's optional, but I usually make one anyway, WITH explanations. I didn't say your image was bad, but I doubt if most members could figure out what you did just from the pics, with no explanation.

(5 years and 2579 days ago)
author says:

Alright then, didn't know that the guide is manditoy if there was no use of outside sources, therefore I made some explanations. Anyway thanks for helping me out and I hope it's better now, also please tell me if you think the explanations aren't good enough.

(5 years and 2579 days ago)
avatar Kid
Kid says:

Not bad

(5 years and 2579 days ago)
avatar erikuri
erikuri says:

To finish this discussion, author, you could transform this sbs in a tutorial. It would be great to learn how to make an outer space! It's really amazing!

(5 years and 2579 days ago)
avatar CMYK46
CMYK46 says:

Author, your explanations are fine. Good luck with your entry!

(5 years and 2579 days ago)
no avatar

@erikuri
For a tutorial, you can use the link I have listed below. Not sure why the tutorial wasn't credited as a reference for this image since the concept and composition are almost 100% identical:

http://www.fxencore.de/tutorial_detail/photoshop-tutorials/bildmanipulation/space-environment/

(5 years and 2579 days ago)
author says:

@smichaelson: I indeed got my inspiration from that image. Still I did not follow the steps of that tutorial (since I never saw that tutorial before) so I'm pretty sure my tutorial will be very different, also by skimming trough the tutorial I noticed there was no tutorial steps for making the planet and the stars are also really different. To the rest of you, thanks for being so nice.

(5 years and 2577 days ago)