A Work in Progress: The Local Doctor


This guide was made for entry:
The Local Doctor
In Contest:
concept art dd


step 1 of 8

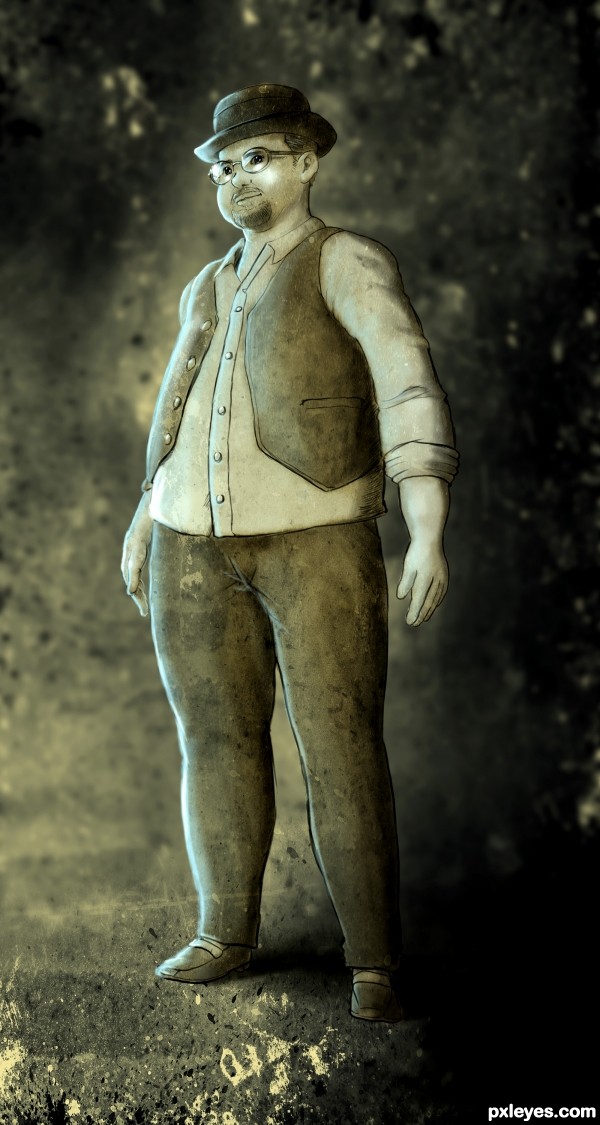
In this step, nothing fancy, just sketch out my concept character basically from my little human brain.

Before sketching, I turn my background into yellowish gray with Alt+backspace. This was my behavior, looking at white background sometimes hurts my eyes. So, I dim the colors a little bit to relaxing my eyes.

Creation of The Local Doctor : Step 1

step 2 of 8

After done with the sketching, I try to detail everything as simple as possible.

Then, I revert my background into white again. After that, I create a new layer, rename it to Color & set it to Multiply.

I choose brown combine with the grayish tone in order to achieve the retro looks. My favorite brush to do this is always the Chalk Brush.

Creation of The Local Doctor : Step 2

step 3 of 8

In this step, I create a new layer, name it to zzz (well, sorry for that, again it's my behavior) & paint the whole zzz layer with MY OWN CUSTOM BRUSHES (made a long time ago).

After done with the randomize BG painting on zzz layer, I duplicate it with Ctrl+J, move the 'zzz copy' layer above 'Color' layer & set it to Clipping Mask with Soft Light Mode.

Creation of The Local Doctor : Step 3

step 4 of 8

I create a new layer on top of 'Color' layer, rename it to 'Highlights' then try to add some soft cyan (my damn favorite color) to boost up the monotone image into duo-tone.

Creation of The Local Doctor : Step 4

step 5 of 8

I rename the 'Highlights' layer to 'Highlights + Shadows'.

Then I add the dark brown color, almost black but not 100 per cent black. I paint the dark brown as the shadows with 40% Opacity of Soft Round Brush.

Creation of The Local Doctor : Step 5

step 6 of 8

I head on to 'zzz' layer, convert it to Smart Object then use Gaussian Blur as a Smart Filters to reduce the strength of distracting scattered objects (paints).

Creation of The Local Doctor : Step 6

step 7 of 8

I flip my 'zzz' layer horizontally in order to adjust the source light that on the left side of the picture. Add shadows on the feet to the new layer & rename to 'shadow on the feet'.

Now I play with the masking layer of Smart Filters, I need to get back my reduced (blurred) background around the feet. So with Soft Round Brush & turn my color to Solid Black, I paint the masking area around the feet. See the picture, the blurred BG now turning back to sharp.

Creation of The Local Doctor : Step 7

step 8 of 8

Now after taking some serious time with the contrast of my highlights colors (soft cyan & white).

I put some Auto Curves, Photo Filter > Underwater & Auto Levels as my FINAL Adjustments Layers before finalize my concept art.

Okay then, thanks for taking your time watching this imperfect SBS. Most appreciated.

Creation of The Local Doctor : Step 8

Final result

Creation of The Local Doctor : Final Result

LOGIN or REGISTER FOR FREE
to rate this guide and create your own guides.