
Original image
step 1 of 16
First, I drew the spoked circle by using the elliptical marquee tool and stroke. I made a copy of the circle and reduced it to 65%. Using warp, copy and clone, I made a large piece from the source. I used distort to make it skinny and warp to curve it. After I merged the spokes, I used the elliptical marquee tool to make a dot.

step 2 of 16
To create depth, I used Layer > Layer Style > Bevel and Emboss

step 3 of 16
Distort, smudge and warp. For shadowing on all the zodiac signs, I used Layer > New Adjustment Layer > Brightness/Contrast. I held down Ctrl and pressed I to cause the adjustment layer to inverse, then painted the shadows. Another adjustment layer, only brighter, Ctrl I, and I painted in the highlights.

step 4 of 16

step 5 of 16

step 6 of 16

step 7 of 16

step 8 of 16

step 9 of 16

step 10 of 16

step 11 of 16

step 12 of 16

step 13 of 16

step 14 of 16

step 15 of 16
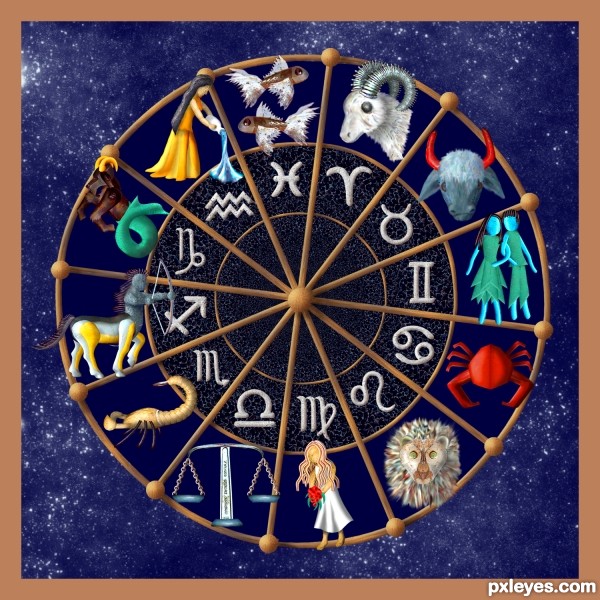
I made the zodiac symbols using warp. The dark circle was made by creating a circle of gravel, copy and reduce by 65%, copy reduce, copy reduce. I thought it was too bright and the symbols got lost in it, so I used Ctrl I just to see what would happen. I liked the results. I used Image > Adjustments > Brightness/Contrast to darken the color I had been using for my foreground. The border was another happy accident. I enlarged the canvas using Image > Canvas Size and that color just happened to be the background color of the Foreground/Background colors on the lower left side.

step 16 of 16
I finished it off by using the stars brush. What you see here is all the parts of the source image that I used.

Final result
Comments
Pxleyes
Photography and photoshop contests
We are a community of people with
a passion for photography, graphics and art in general.
Every day new photoshop
and photography contests are posted to compete in. We also have one weekly drawing contest
and one weekly 3D contest!
Participation is 100% free!
Just
register and get
started!
Good luck!
Follow us:


© 2015 Pxleyes.com. All rights reserved.
great work!
(5 years and 3391 days ago)I must say....."You have a great imagination and a talented mind to put all the things together".
(5 years and 3391 days ago)Great SBS - this is almost a tutorial already!
(5 years and 3390 days ago)Great!
(5 years and 3390 days ago)