
Original image
step 1 of 6
First add the numbers for the timing. Created line by typing the numbers and created black lines.
Than warp this until you get the right round shape, erase a little on the sides.
Than warp this until you get the right round shape, erase a little on the sides.

step 2 of 6
Select the part for turning the timer. Copy the thin round line out of the source picture.
Add bevel+emboss to this, than create a new layer and merge these two to flatten it.
Lighten the sides and darken the middle a bit.
Add bevel+emboss to this, than create a new layer and merge these two to flatten it.
Lighten the sides and darken the middle a bit.

step 3 of 6
Create the two shapes for the chicken. Dodge and burn the parts to fit the lighting in the picture.

step 4 of 6
Create the rest of the shapes and dodge and burn a few parts to fit the lighting.

step 5 of 6
Merge the chicken layers and copy the layer.
Plasterize the new layer and set it to multiply. Add more contrast to it and pull down the saturation to make it black and white.
Erase the lower part of the chicken.
Plasterize the new layer and set it to multiply. Add more contrast to it and pull down the saturation to make it black and white.
Erase the lower part of the chicken.

step 6 of 6
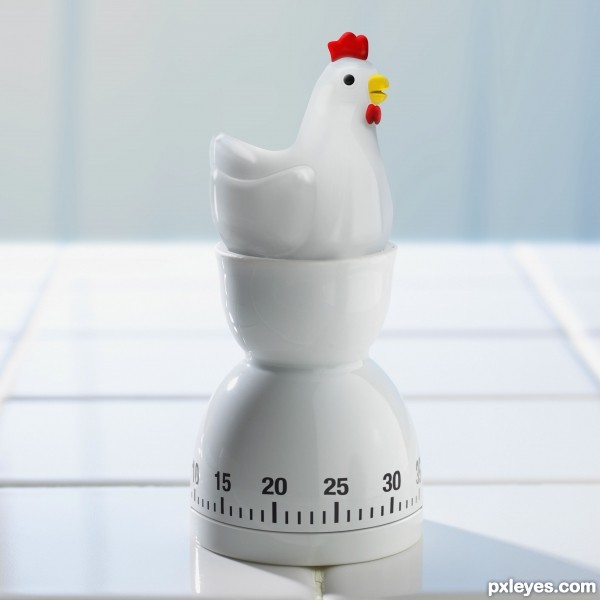
Remove the egg from the source picture. Copy the background and make it darker + lower the saturation so that the chicken comes out a lot better.
By the time you made this the eggs should be boiled.
By the time you made this the eggs should be boiled.

Final result
Pxleyes
Photography and photoshop contests
We are a community of people with
a passion for photography, graphics and art in general.
Every day new photoshop
and photography contests are posted to compete in. We also have one weekly drawing contest
and one weekly 3D contest!
Participation is 100% free!
Just
register and get
started!
Good luck!
Follow us:


© 2015 Pxleyes.com. All rights reserved.