
step 1 of 12
step 2 of 12

step 3 of 12

step 4 of 12
Duplicate the model layer
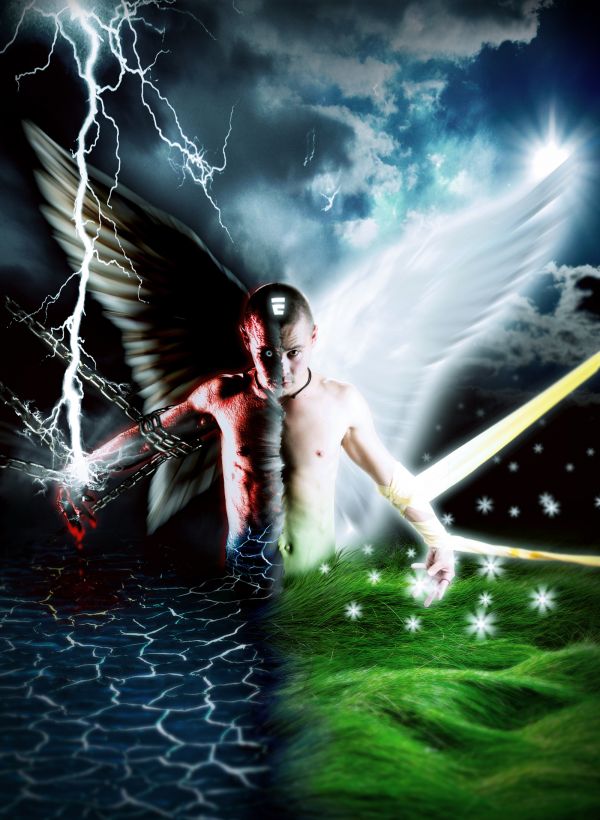
Go to Filter -> Render -> Lighting effect: choose the spotlight, from right to left, use the narrow diameter (barely covers the model) and quite strong light intensity. The critical point is the texture channel: choose one color channel, then maximize the height to moutainous, so the skin will become "moutainous" looked like hairs full of the body.
Use eraser to clear the right part of the body, keep the "devil" part, use low opacity to fine tune the transition between 2 layers.
Create a new upper layer, full of dark red, then use the tool "Create clipping mask" and blend by the method "color", you will have the "devil part" with red color.

step 5 of 12

step 6 of 12

step 7 of 12

step 8 of 12

step 9 of 12

step 10 of 12

step 11 of 12

step 12 of 12

Final result
Pxleyes
Photography and photoshop contests
We are a community of people with
a passion for photography, graphics and art in general.
Every day new photoshop
and photography contests are posted to compete in. We also have one weekly drawing contest
and one weekly 3D contest!
Participation is 100% free!
Just
register and get
started!
Good luck!
Follow us:


© 2015 Pxleyes.com. All rights reserved.