
Original image
step 1 of 12
Using the source image, first select the stairs with the magic wand by selecting the white walls and inversing the selection. Apply the Alien Skin Filter CHROME (using the gold latex mode). Then back off to about 30%.

- : source
step 2 of 12
Now inverse the selection again and paint the "sky" with a dark (but not black) night sky color.

step 3 of 12
With the dodge tool (set to low opacity; 15%), paint in some light that will become the reflected light from the stair treds.

step 4 of 12
In order to create a warm reflected light on the under side of the stair treds, make a yellow glowing effect on a separate transparent layer using a large soft brush and move it into place at the bottom on the stair case. Adjust the density by lowering the layer opacity to 8%

step 5 of 12
Using the lightbeam brush stamp the area where the figure will be. Then make the figure in the source image into a silhouette by adjusting the levels. Make a selection of the figure using the magic wand and transfer to the top of the staires. Transform to fit and apply. (As you can see, I erased part of the structure that the figure is standing on to make it appear as if it were a robe.) Then earse out where the shadow falls toward the bottom of the satirs. Blur the figure as shown.

step 6 of 12

step 7 of 12
Add more lightbeams and earse out the stairs and ceiling leaving the light only in the sky.

step 8 of 12
Lower the opacity of the brush and add more light. This time do not erase.

step 9 of 12
These will be the last of the brush strokes. Add light to the ceiling area making them somewhat strong to give the impression of bright light. Also find the shadow areas of the stairs and, using the burn tool at about 35%, darken the under side of the treds and the shadow side of the uprights. Also darken the shadow of the figure slightly.

step 10 of 12
Make a new transparent canvas. Set the guides to make a short rectangle. Using the eliptical marquee tool, drag the cursor diagonally to the opposite corner. This will give you a perfect elipse. Now go to the layer options and choose fill layer...solid color. You will see a solid oval shape.
Set new guides to 3/16" INSIDE the current guides and drag the cursor as before. Now hit the delete key and deselect. You now have a perfect halo shape.
Since the shape is on a transparent canvas, you can drag it to the image and transform it to fit the head of the figure at the top of the stairs. You will need to erase the part that goes behind the head. (There is a stroke on the halo in a darker color than the gold. This part of the step is optional.)

step 11 of 12
In this step a small area of golden glow has been added to give the halo the look of brilliant reflection. Using the paint brush with a SOFT round brush and a LOW opacity, add the color.

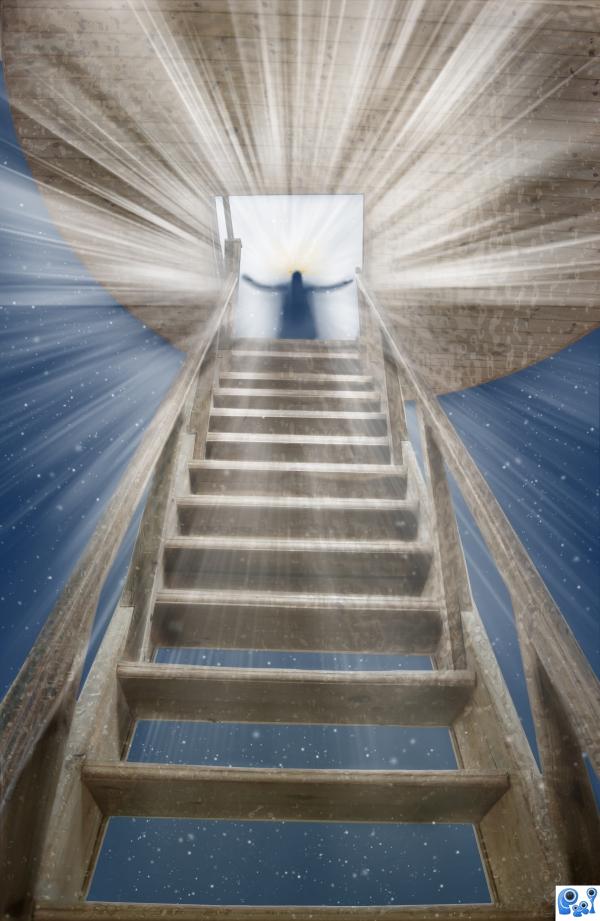
step 12 of 12
It was an uplifting experience making this image...I hope you find joy in viewing it.

Final result
Pxleyes
Photography and photoshop contests
We are a community of people with
a passion for photography, graphics and art in general.
Every day new photoshop
and photography contests are posted to compete in. We also have one weekly drawing contest
and one weekly 3D contest!
Participation is 100% free!
Just
register and get
started!
Good luck!
Follow us:


© 2015 Pxleyes.com. All rights reserved.