A Work in Progress: Words of Wisdom


This guide was made for entry:
Words of Wisdom
In Contest:
getting grungey


step 1 of 7

Got the amazing photo of an owl, made it larger on the left side.
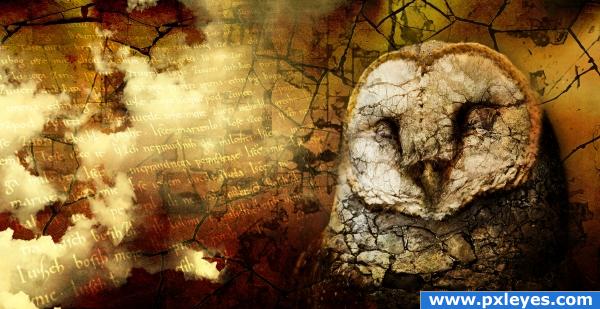
I put some grunge texture on top of the head, using warp tool to get a better match to the shape. Changed the blending mode to overlay, sharpened slightly and masked some areas for better blending.

Creation of Words of Wisdom: Step 1
sources used for this step:

step 2 of 7

I did the same thing for the body.

Creation of Words of Wisdom: Step 2
sources used for this step:

step 3 of 7

I duplicated layer, desaturated it and changed blending mode to hard light to get more natural shadows. Also lowered opacity till I was satisfied with the result.

Creation of Words of Wisdom: Step 3

step 4 of 7

I added two more grunge textures in the backround. They have more layers, some layers with blending mode overlay, some with blending mode color dodge for more striking colors.

Creation of Words of Wisdom: Step 4
sources used for this step:

step 5 of 7

Added some clouds brush and colored them.

Creation of Words of Wisdom: Step 5
sources used for this step:

step 6 of 7

Added some words brush, distorted and resized to get a bit of perspective and changed blending mode to overlay to make it take from the backround colors and tones. Then duplicated that layer and changed blending mode to color dodge to emphazise colors, but lowered opacity to temper some too bright areas.

Creation of Words of Wisdom: Step 6
sources used for this step:

step 7 of 7

Added some high pass filter with a low opacity for high def, then some linear gradient layers to add light and shadows, and some brightness/contrast adjustment layer.

Creation of Words of Wisdom: Step 7

Final result

Creation of Words of Wisdom: Final Result

LOGIN or REGISTER FOR FREE
to rate this guide and create your own guides.