A Work in Progress: Elisewin


This guide was made for entry:
Elisewin
In Contest:
your song


step 1 of 12

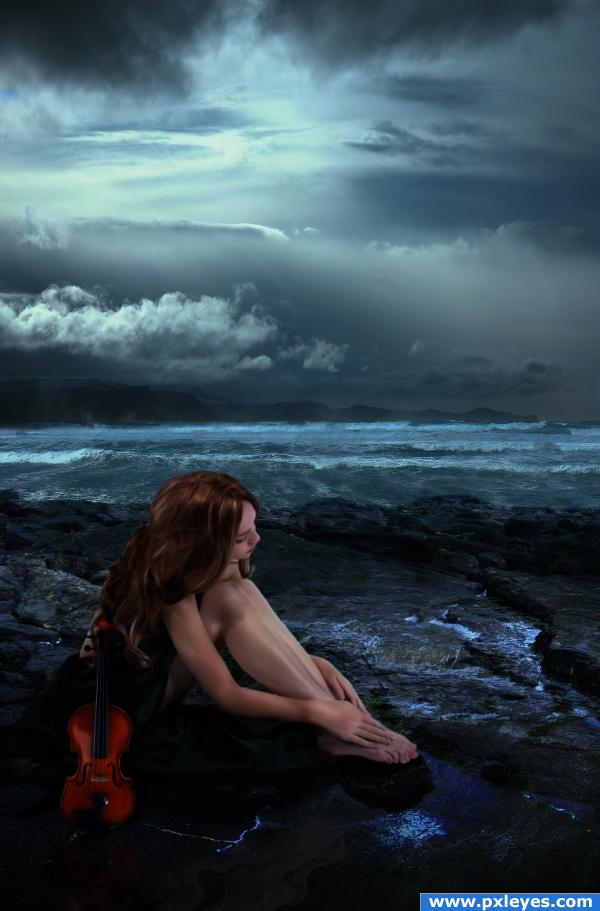
I’ve started to blending the pictures for the back ground:
In the first one I’ve erased with a soft brush the big black rock after selecting the area with the lazo tool.

Creation of Elisewin: Step 1

step 2 of 12

Added the photo with the sea and change the blending mode to “Overlay”, erased the sky.

Creation of Elisewin: Step 2

step 3 of 12

Added the sky that I choose, with hard zoom and with a soft brush I’ve erased smalls areas on the horizon line. I’ve put the sky layer down the sea layer.

Creation of Elisewin: Step 3

step 4 of 12

Added a grey gradient layer between the sky and the ground layer.

Creation of Elisewin: Step 4

step 5 of 12

Cut the girl and copied on the back ground adding shadows in two ways:
-Creating a new layer under the girl layer and with a black soft round brush I’ve painted the shadows, change the opacity to 61%
-Duplicating the girl layer and flip it to vertical. Fill it with black and added a Gaussian blur. Change the blending mode to Multiply with 50% of opacity and than Edit>transform>distort.

Creation of Elisewin: Step 5

step 6 of 12

Duplicated the girl layer and with the smudge tool I’ve changed hairs, skin and the dress.

Creation of Elisewin: Step 6

step 7 of 12

To make the reflection in the sea I’ve duplicate the girl layer, flip it to vertical and then Filter>Distort>Wave. Changed the opacity to 25% and changed curves to make it darker.

Creation of Elisewin: Step 7

step 8 of 12

Added violin (I’ve erased with the magic eraser the area around it, copied and paste into a new layer)

Creation of Elisewin: Step 8

step 9 of 12

Adedd shadows to the violin, in the same way that I used with the girl.

Creation of Elisewin: Step 9

step 10 of 12

With the smudge tool I’ve modified the violin and added the reflection, like with the girl. Same step but playing with different values.

Creation of Elisewin: Step 10

step 11 of 12

At the top I’ve added a blue gradient layer, blending mode “Color dodge” with 59% opacity and changed curves.

That’s it! Hope you like it :)

Creation of Elisewin: Step 11

step 12 of 12

Changed shadows, biggest then before..

Creation of Elisewin: Step 12

Final result

Creation of Elisewin: Final Result

LOGIN or REGISTER FOR FREE
to rate this guide and create your own guides.