
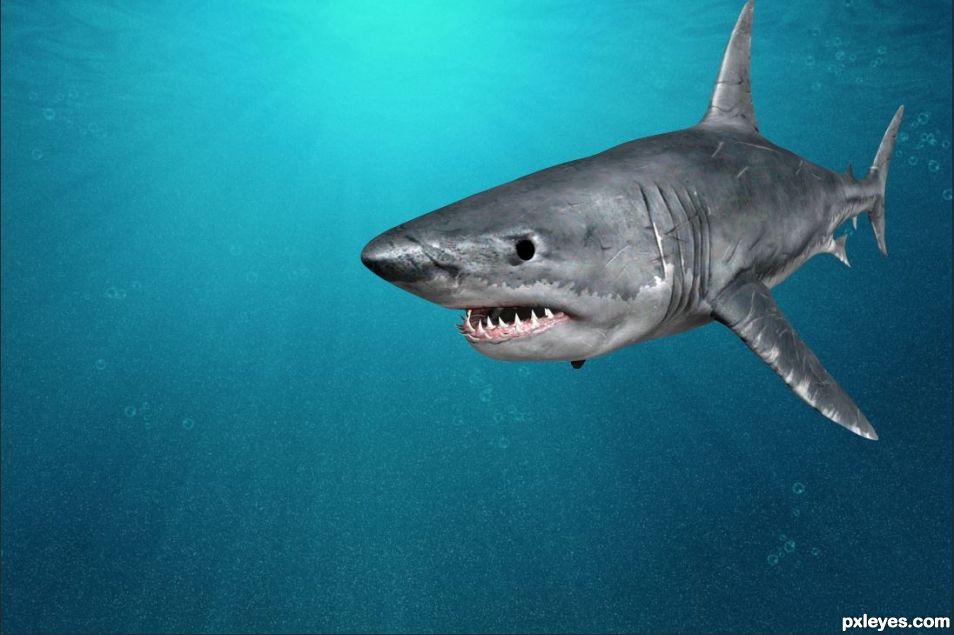
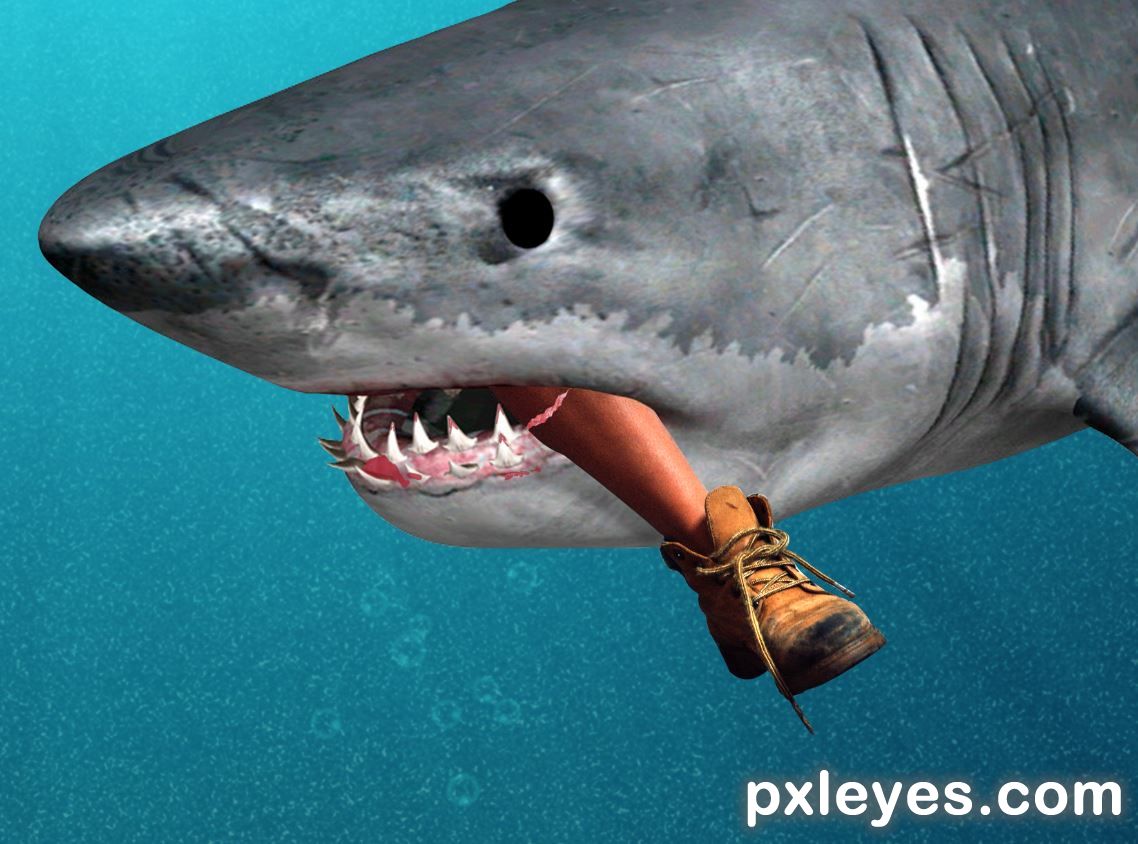
Original image
step 1 of 7
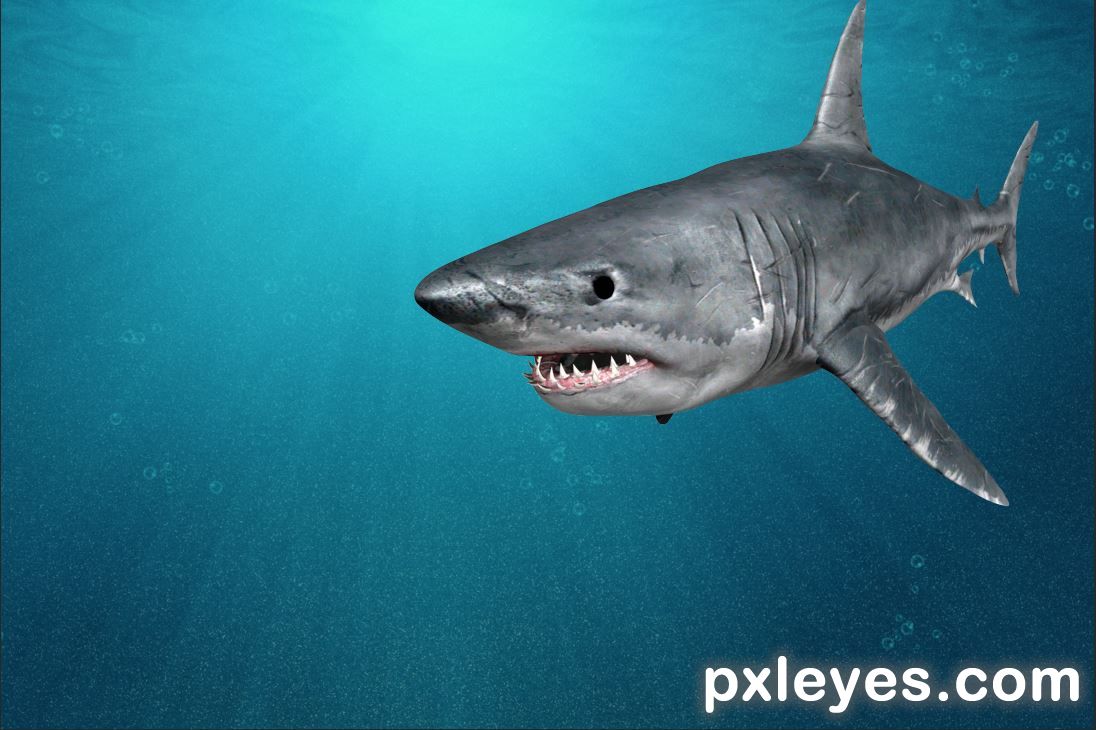
Started with an underwater background that I made entirely from a tutorial.
Added the shark from another source.
Added the shark from another source.
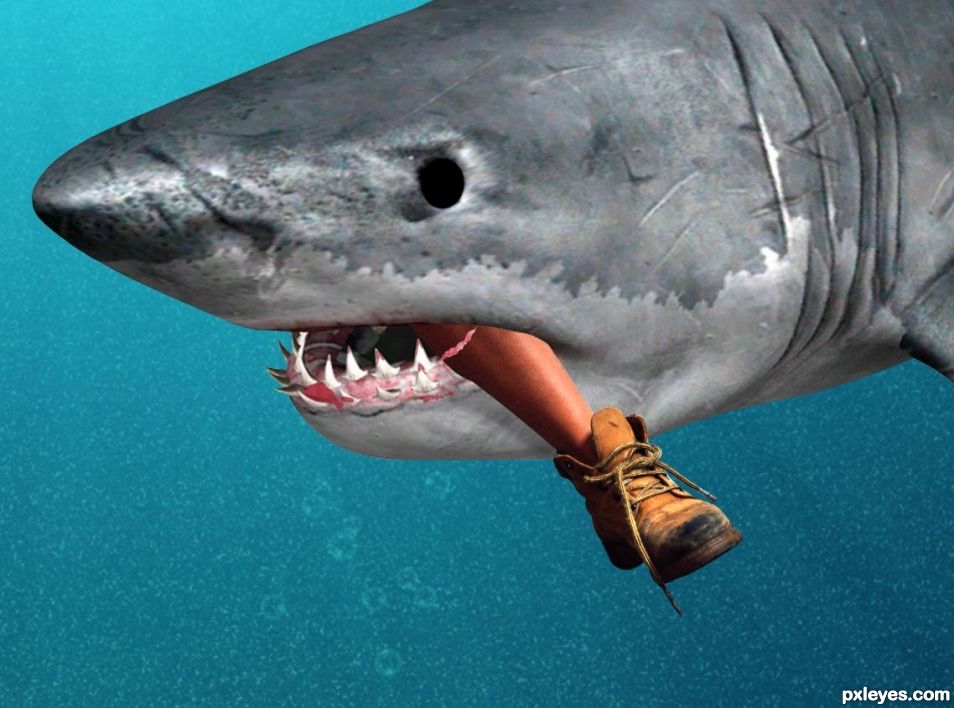
step 2 of 7
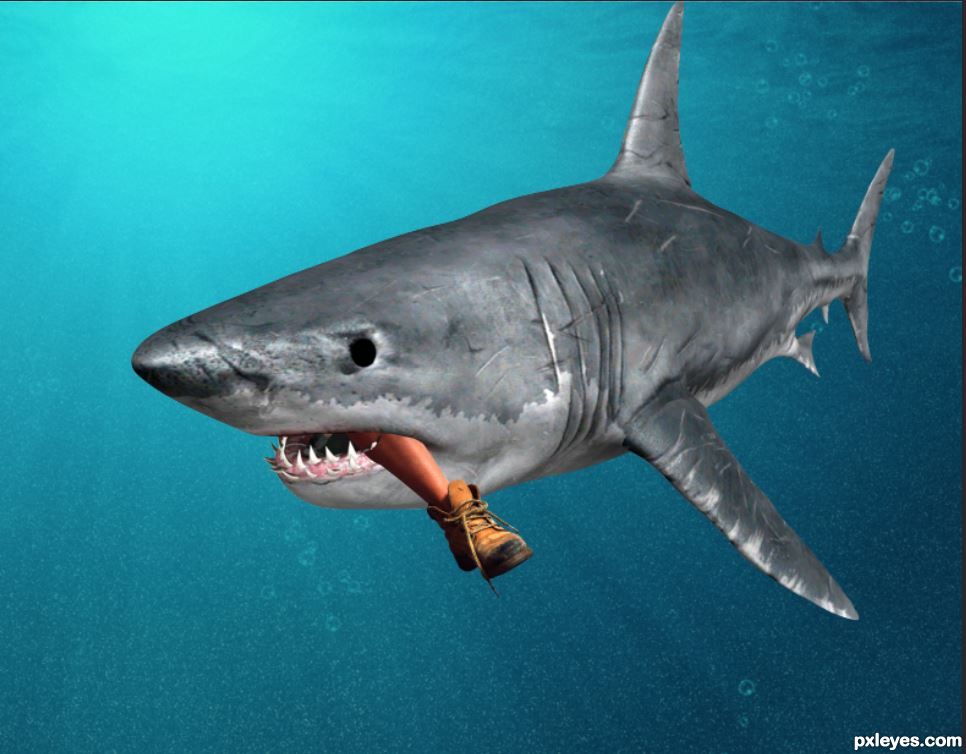
Cropped out one leg from the source image.
Placed on sharks mouth. Then masked out the areas of the leg inside his mouth.
Placed on sharks mouth. Then masked out the areas of the leg inside his mouth.

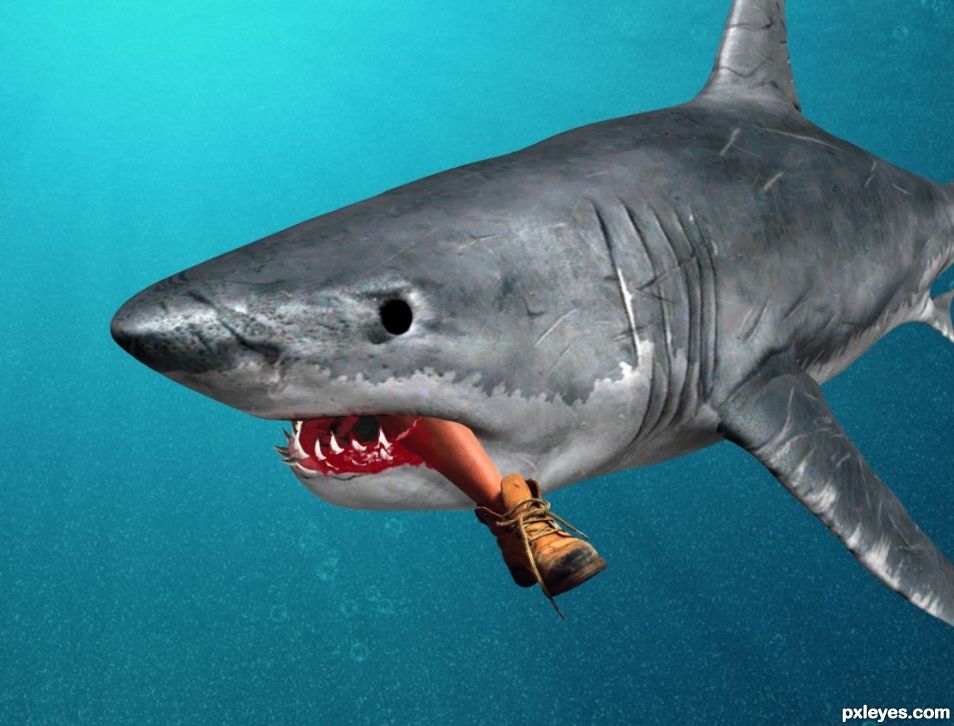
step 3 of 7
Place beef from another source and some blood on shark's teeth. Hue Saturation to add saturation and darker blood.
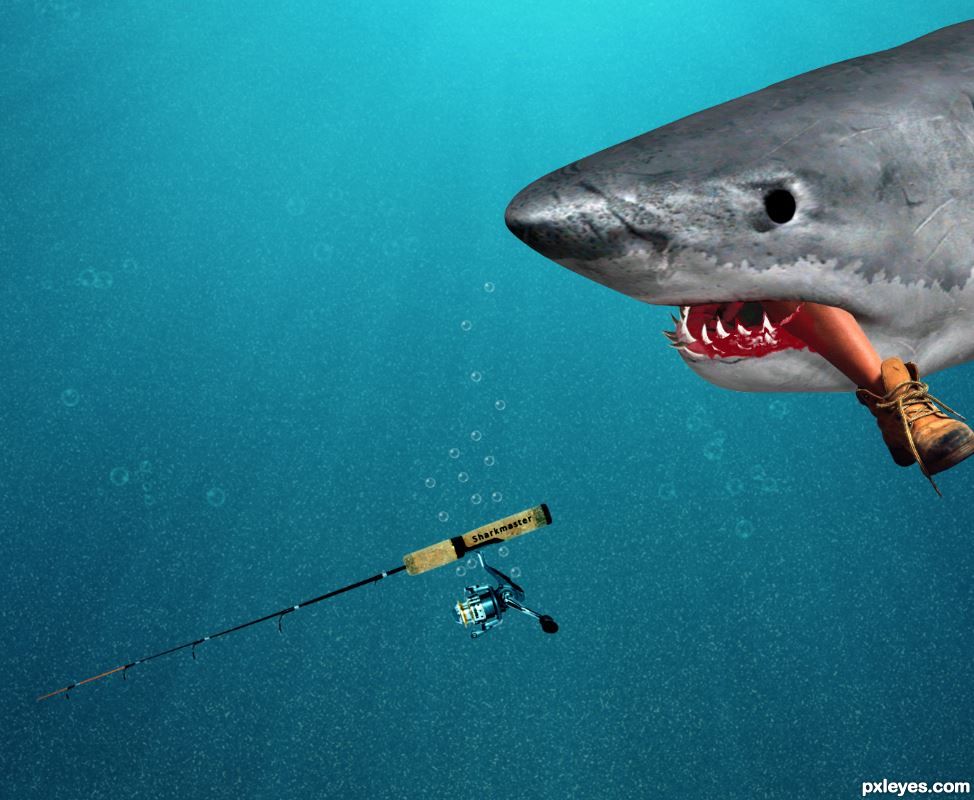
step 4 of 7
step 5 of 7
Added fishing pole from another source also small air bubble coming from it. Added text to pole handle. Applied Linear Light blend to pole to blend it better with water. Also applied a slight blur to it.

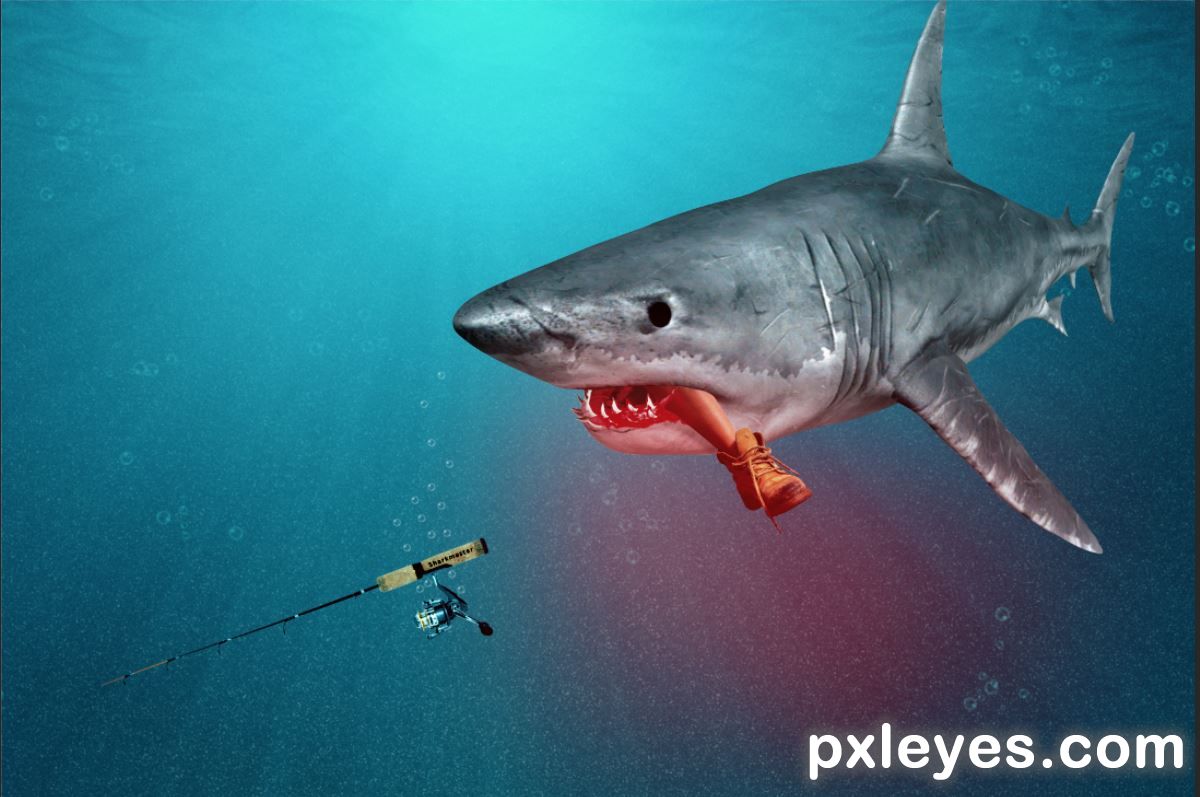
step 6 of 7
Applied a color fill layer with average color of the water. Used Color blend mode, reduced opacity to 17%. This will help color match the items in the water.
Then added blood in the water. Soft reddish brush. Blend Linear Light. Adjusted opacity down.
Then added blood in the water. Soft reddish brush. Blend Linear Light. Adjusted opacity down.
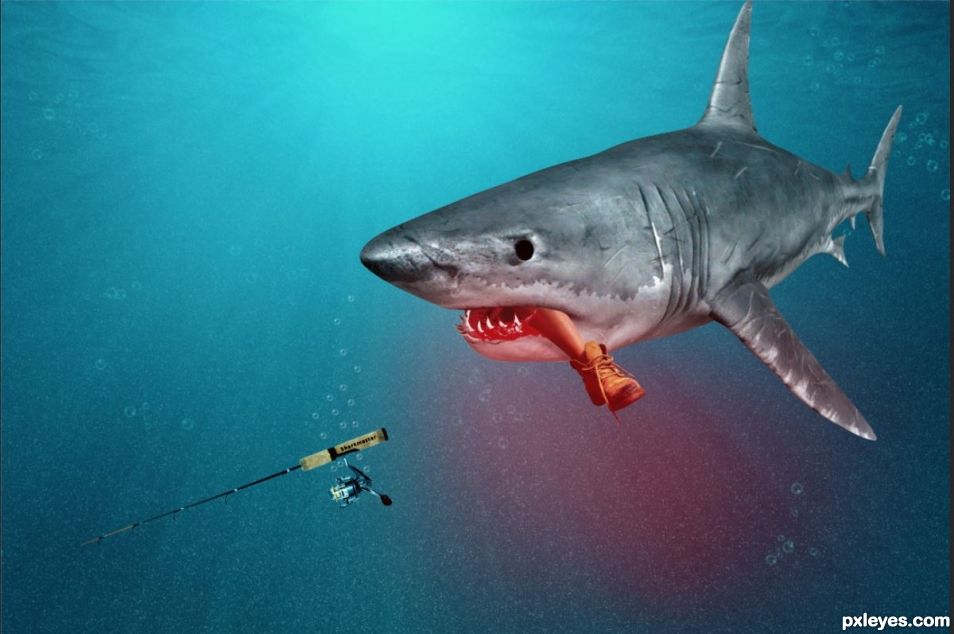
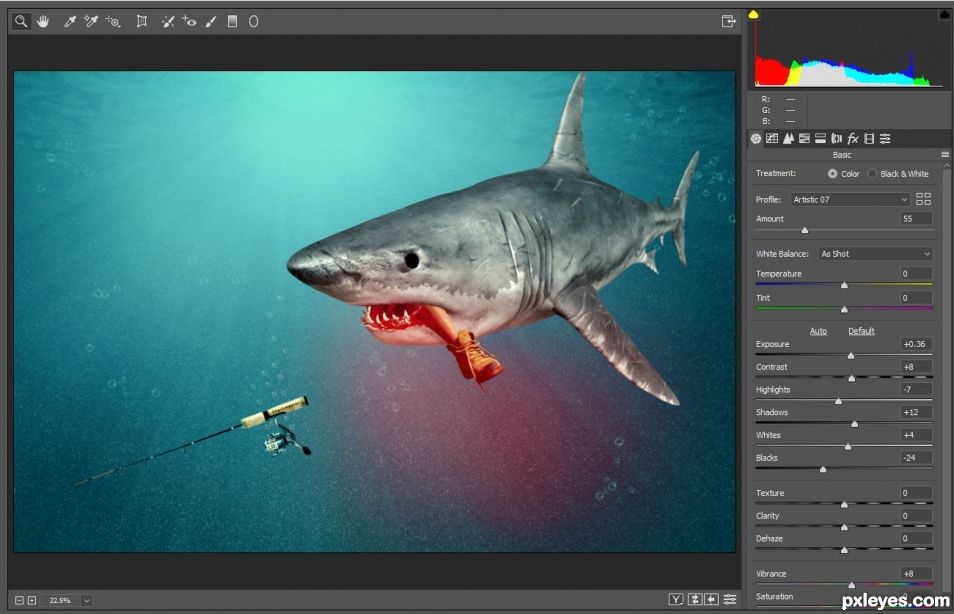
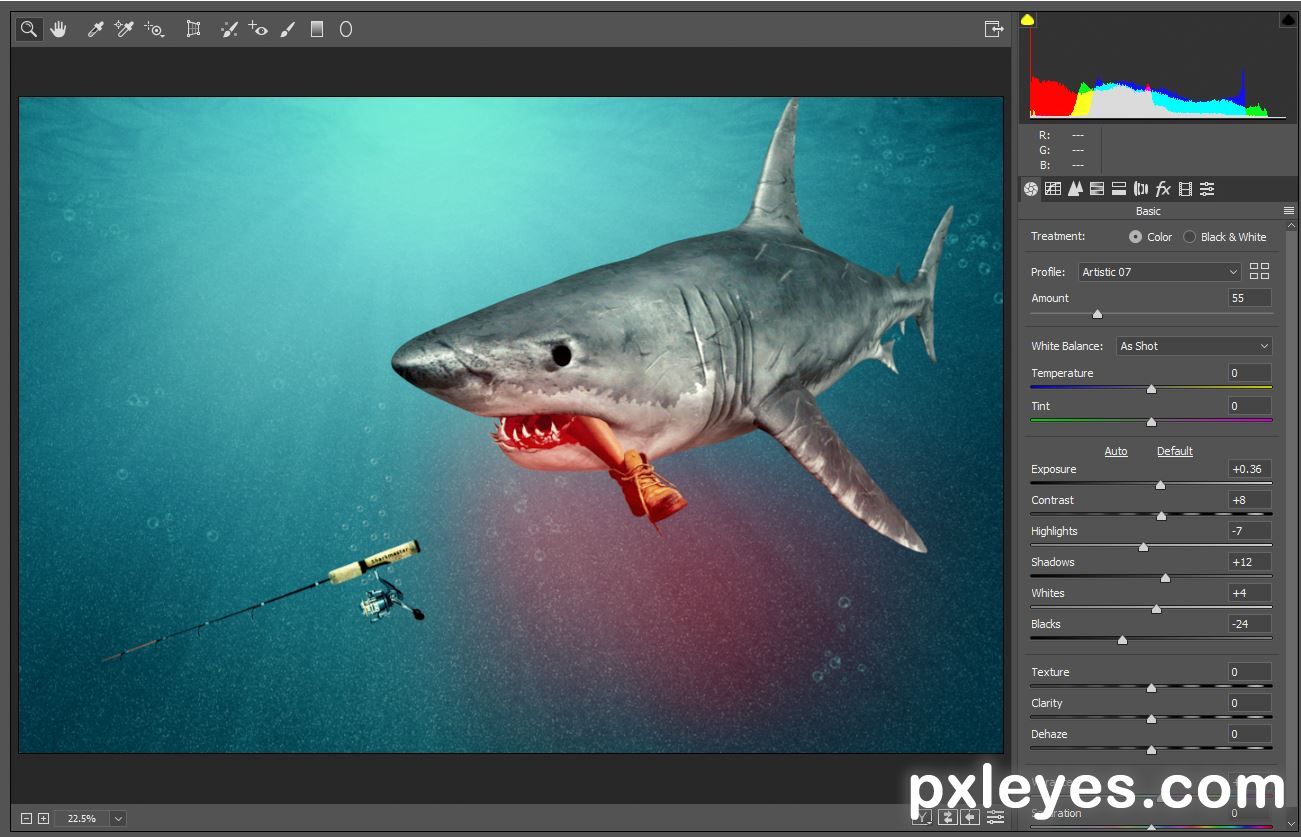
step 7 of 7
Finally applied Camera Raw to the entire scene.
I like the Artistic 7 color preference for this. I lowered the amount slider to 55% as it was looking a little too green.
I like the Artistic 7 color preference for this. I lowered the amount slider to 55% as it was looking a little too green.
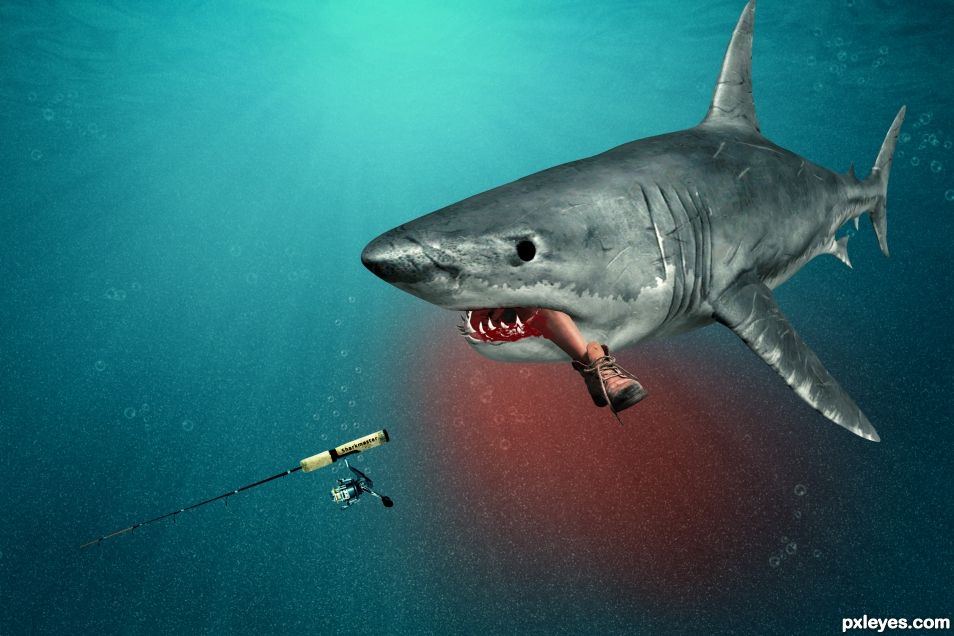
Final result
Pxleyes
Photography and photoshop contests
We are a community of people with
a passion for photography, graphics and art in general.
Every day new photoshop
and photography contests are posted to compete in. We also have one weekly drawing contest
and one weekly 3D contest!
Participation is 100% free!
Just
register and get
started!
Good luck!
Follow us:


© 2015 Pxleyes.com. All rights reserved.