
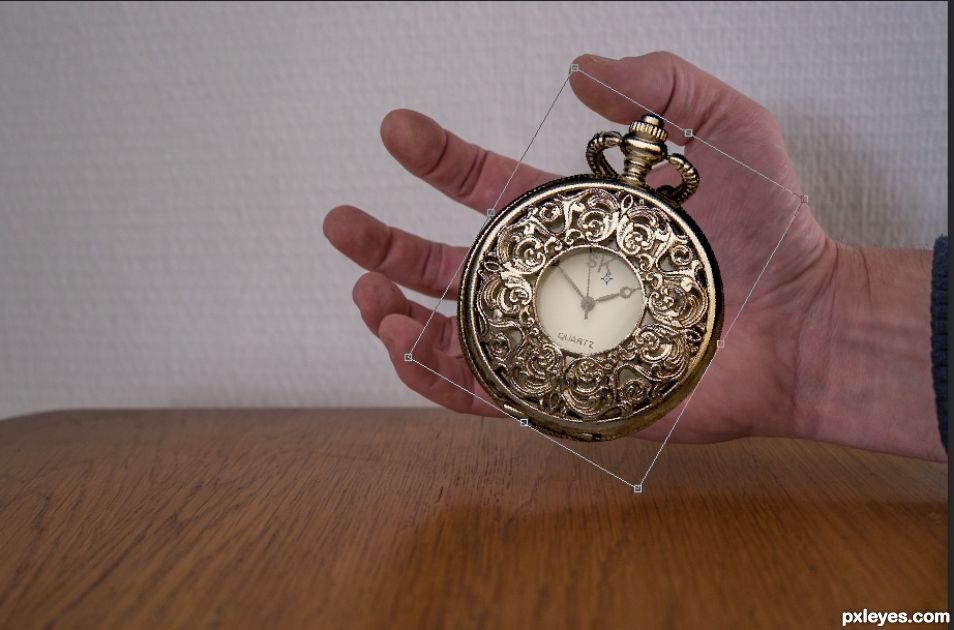
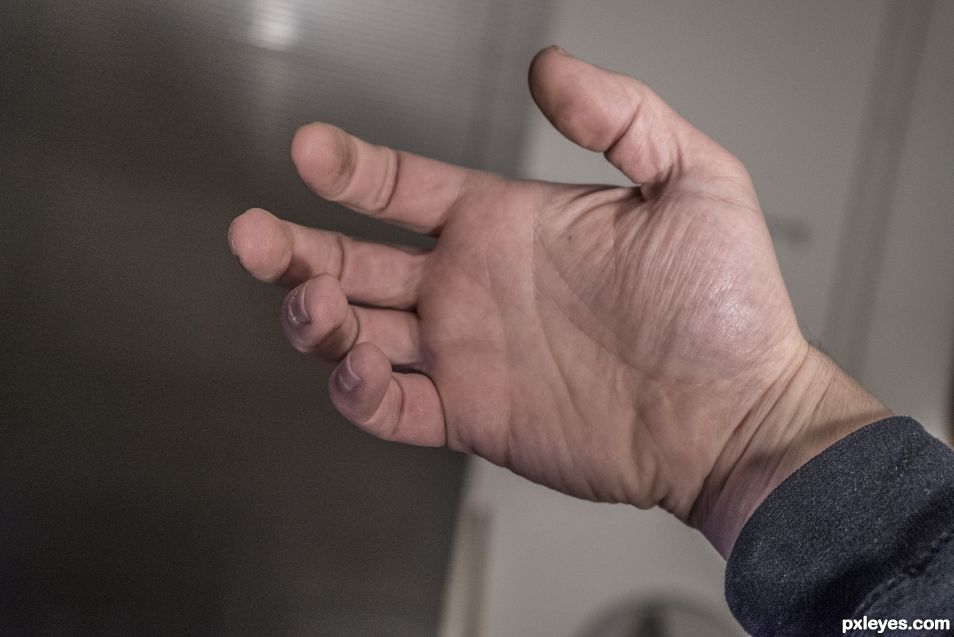
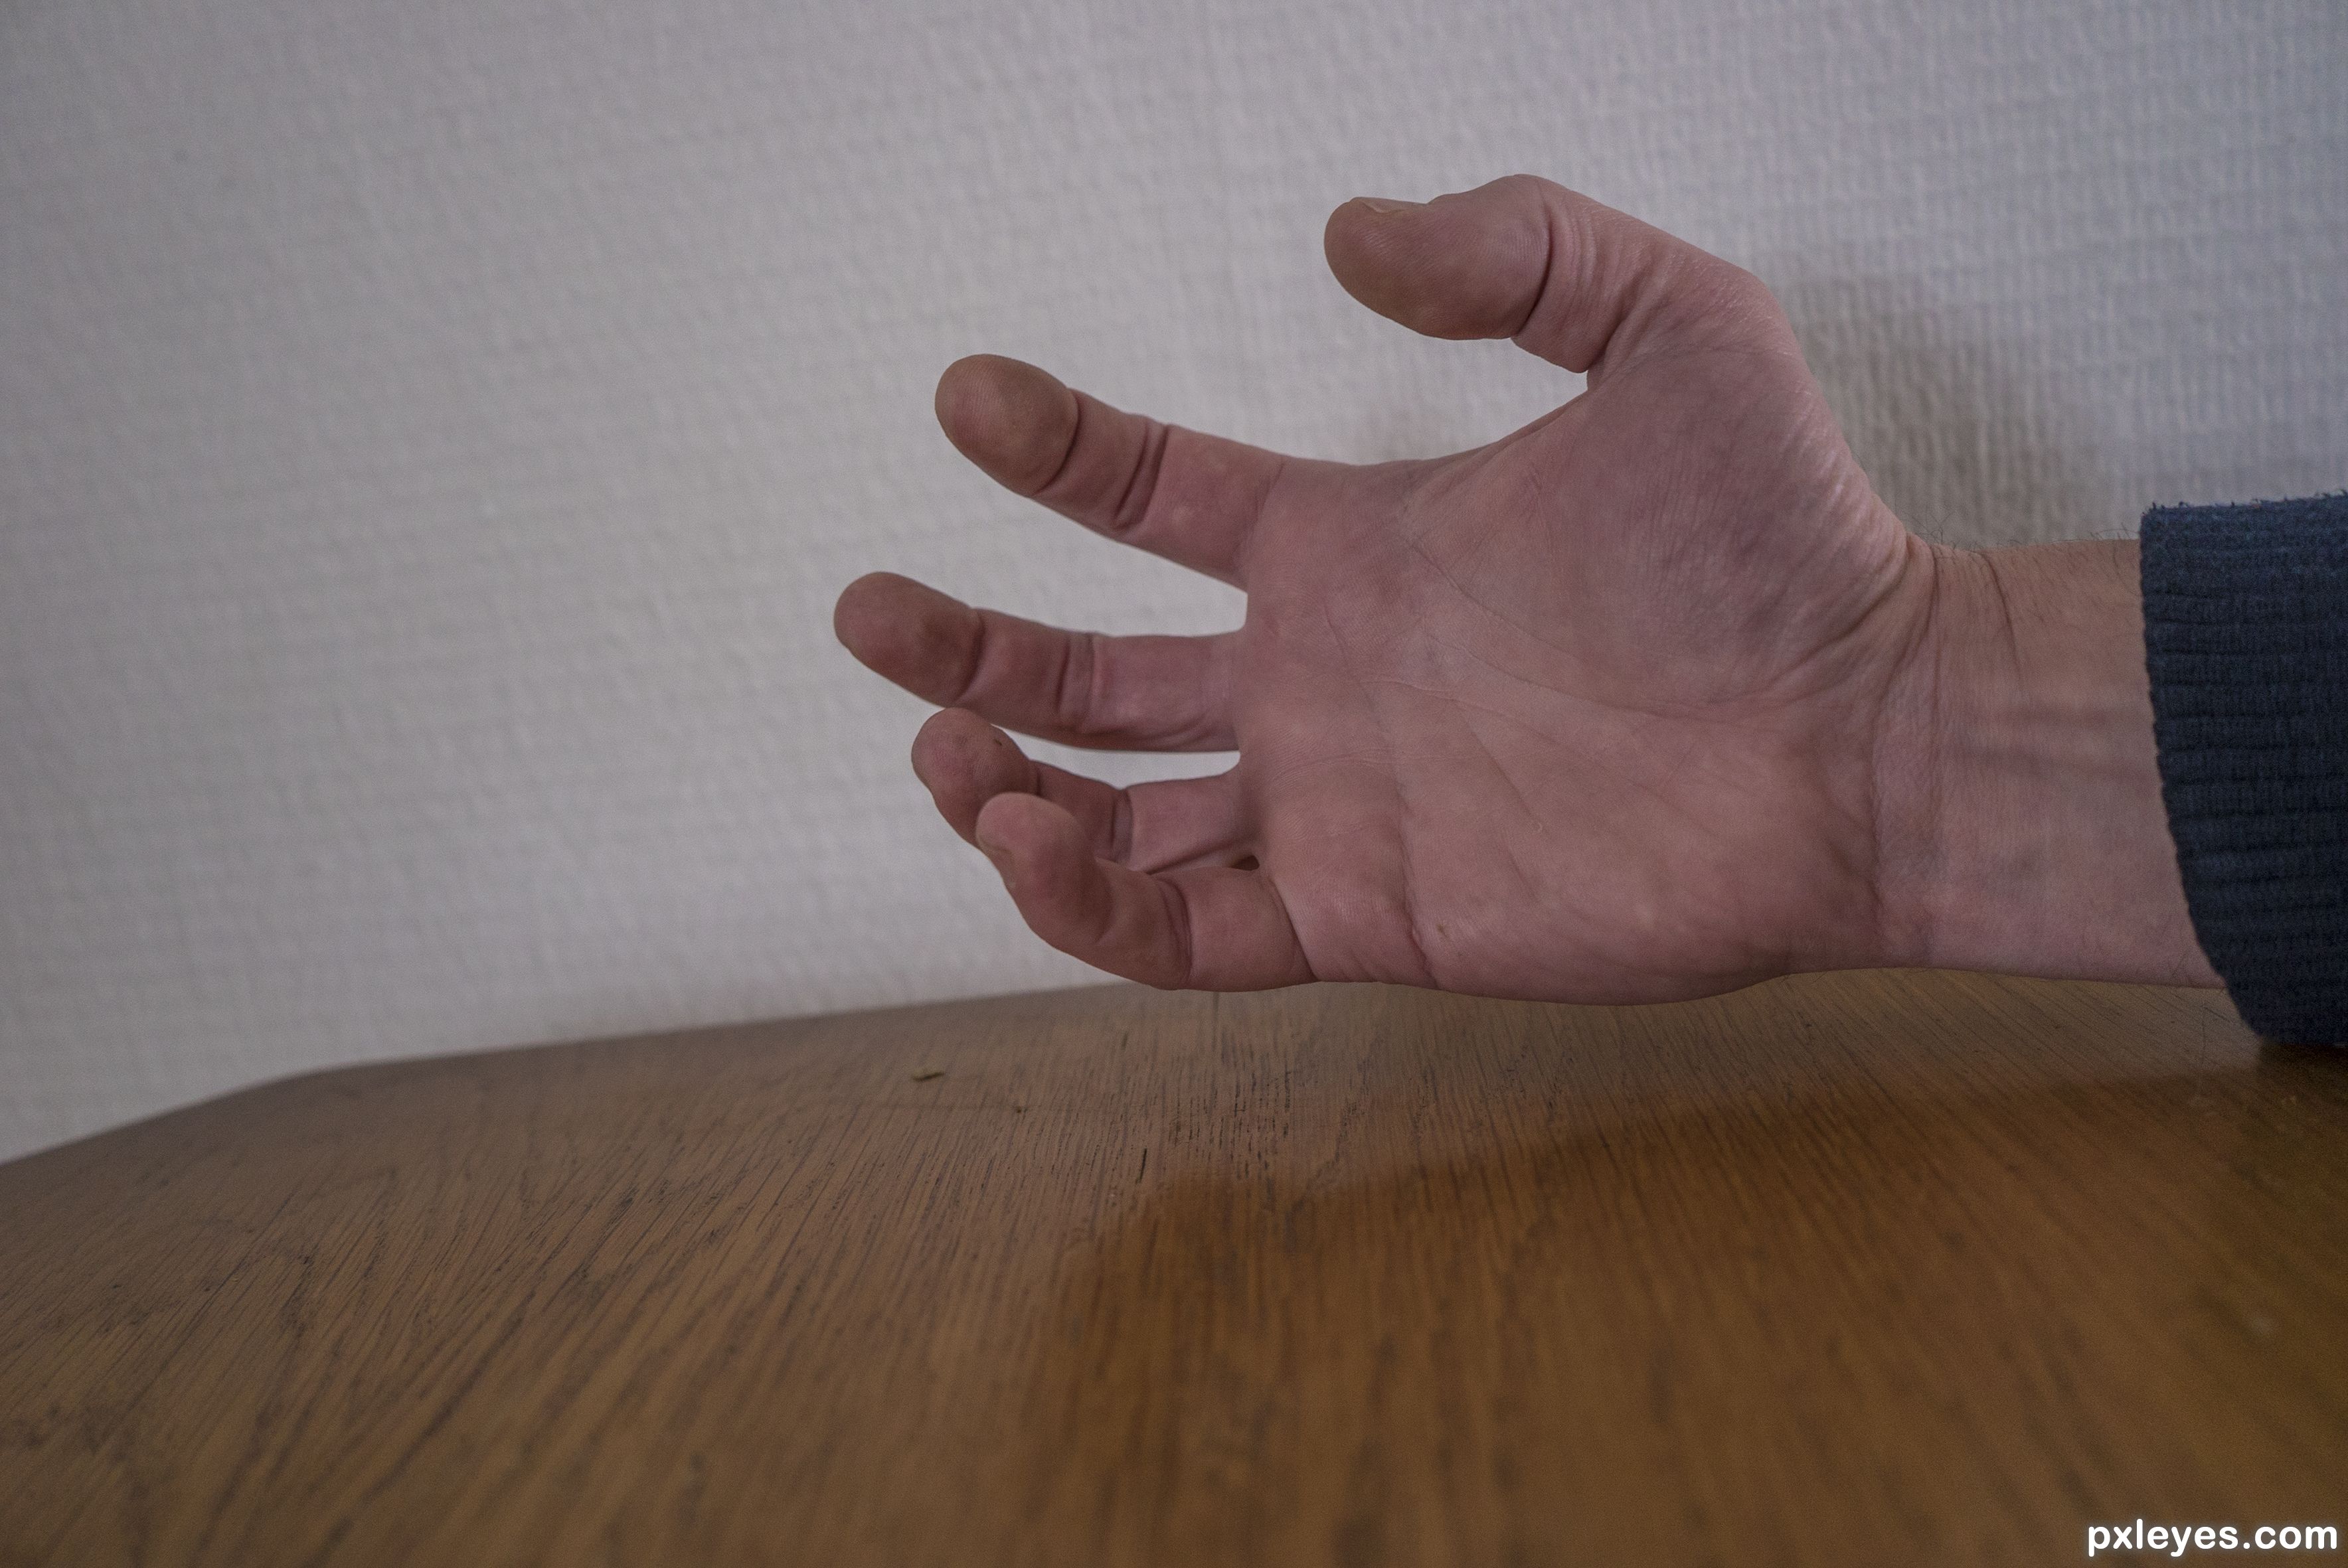
Original image
step 1 of 17
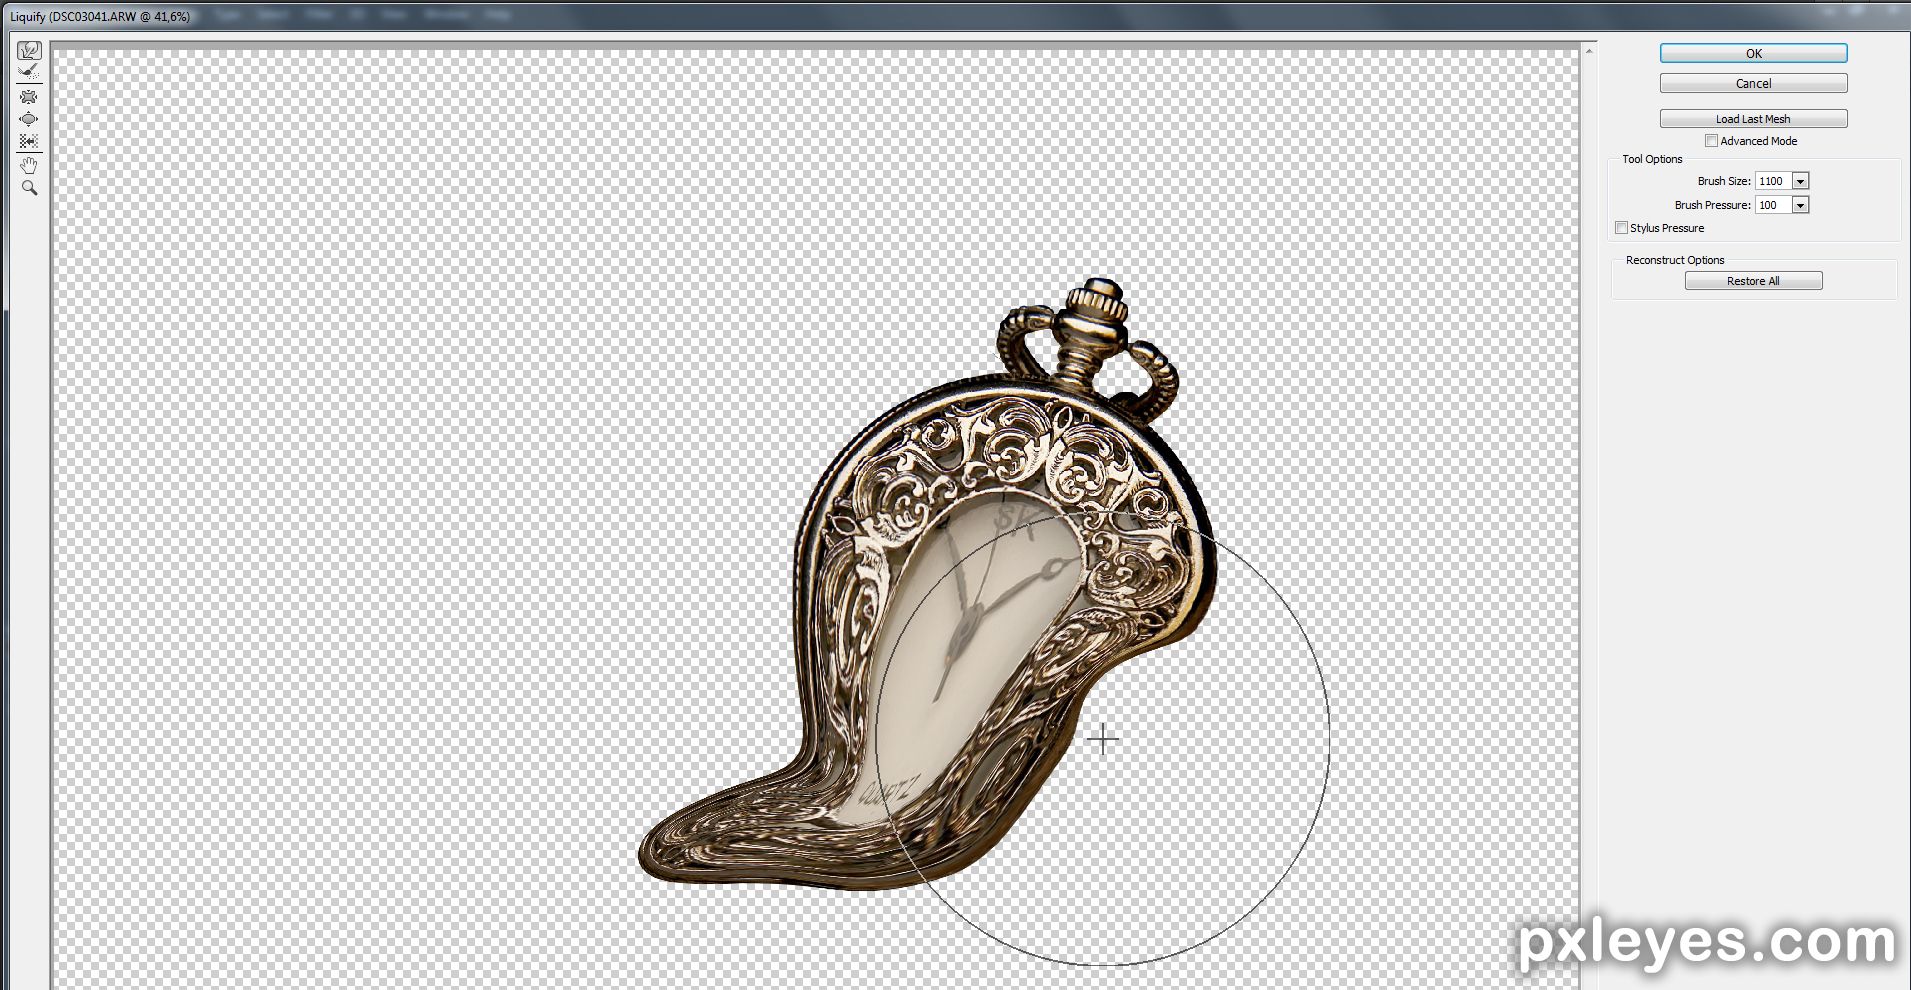
step 2 of 17
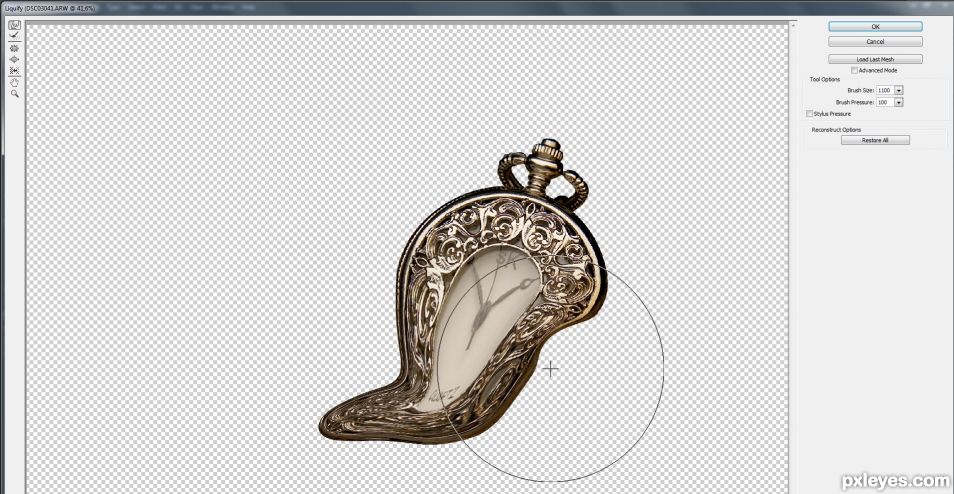
step 3 of 17
Adding some shadow on the table. I picked the darkest color from the table. Draw some shadow under the clock on a new layer. Lower the opacity of the layer to match the shadow created by the hand.

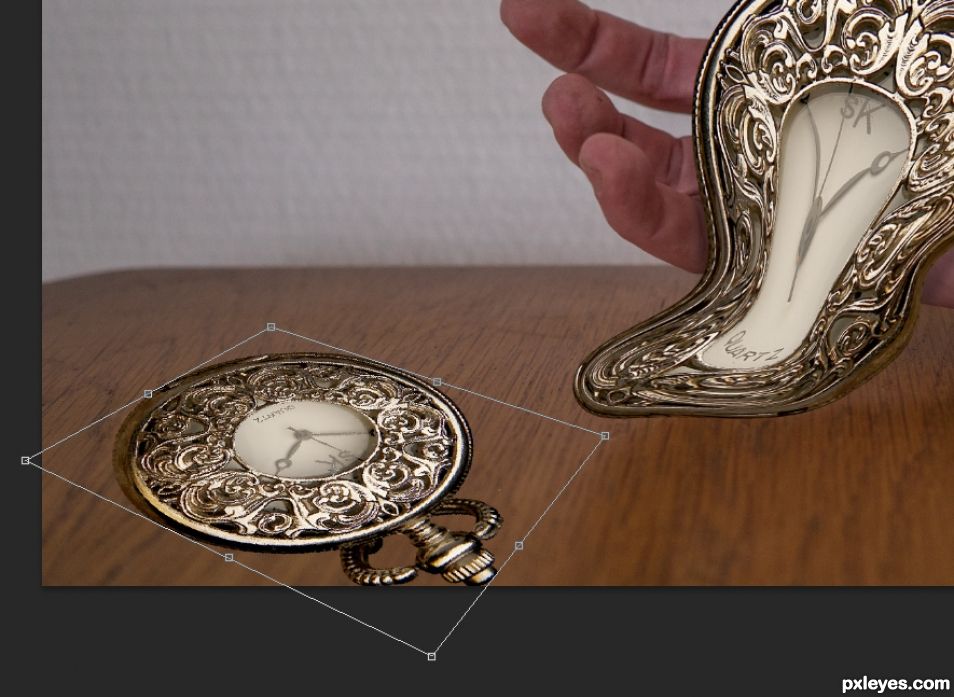
step 4 of 17
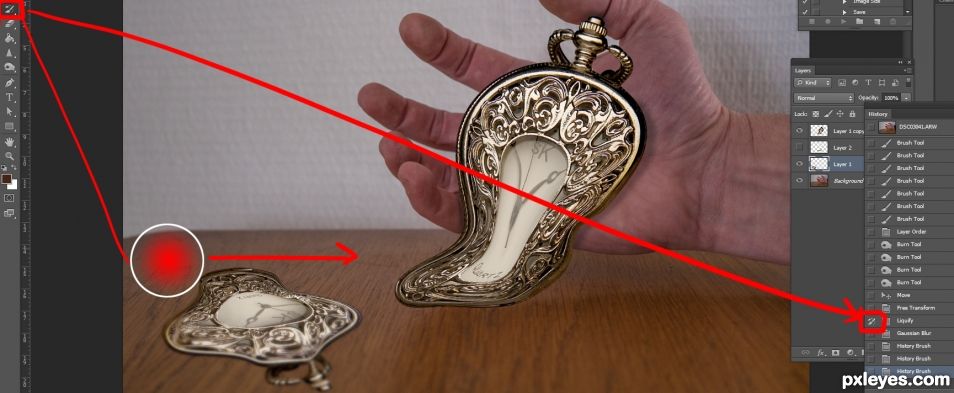
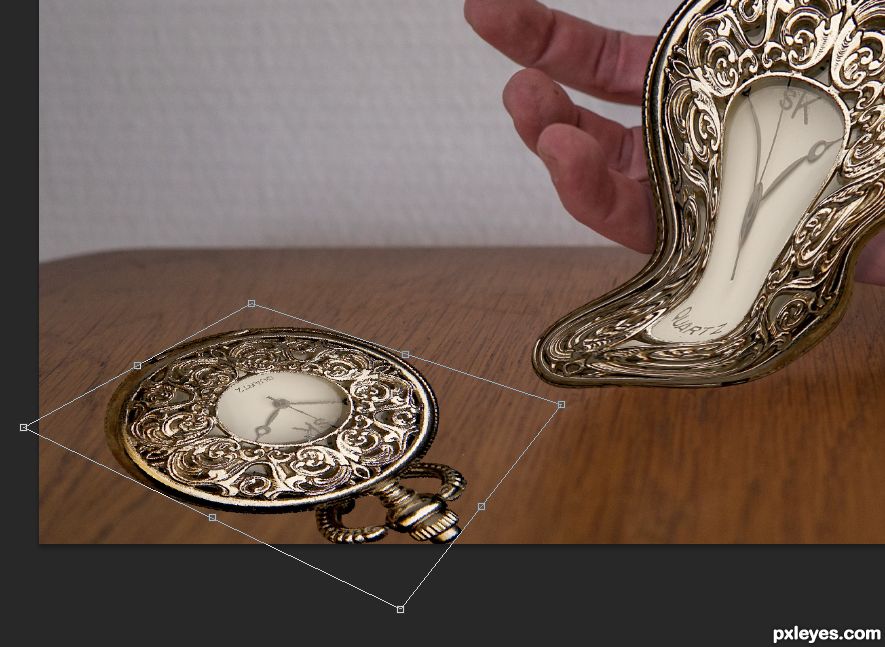
Placing another clock on the table using cntrl + t, then hold the cntl key down and pick up the corners to put it in the right position.
step 5 of 17

step 6 of 17
step 7 of 17
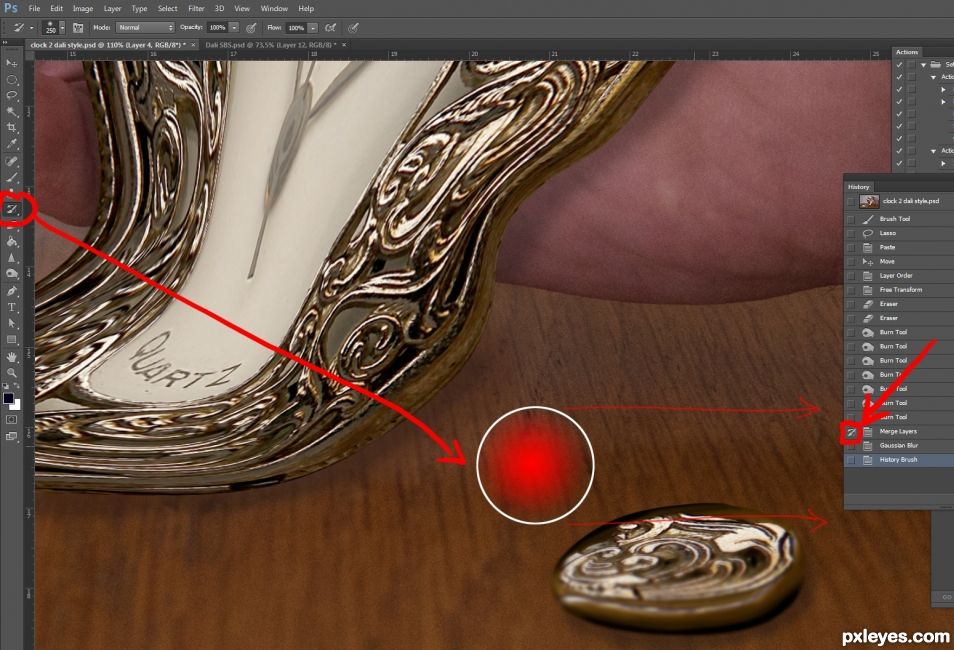
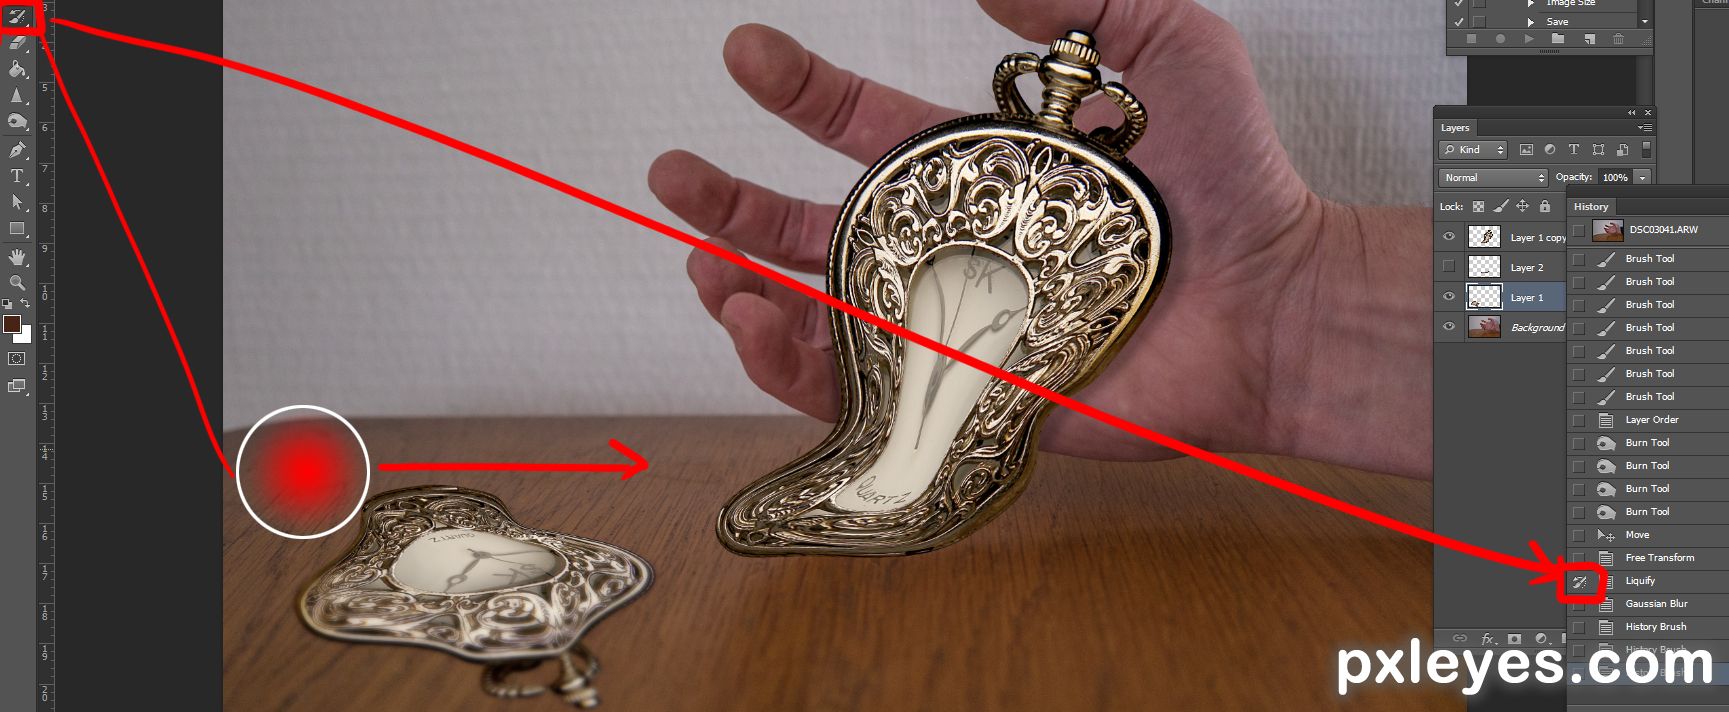
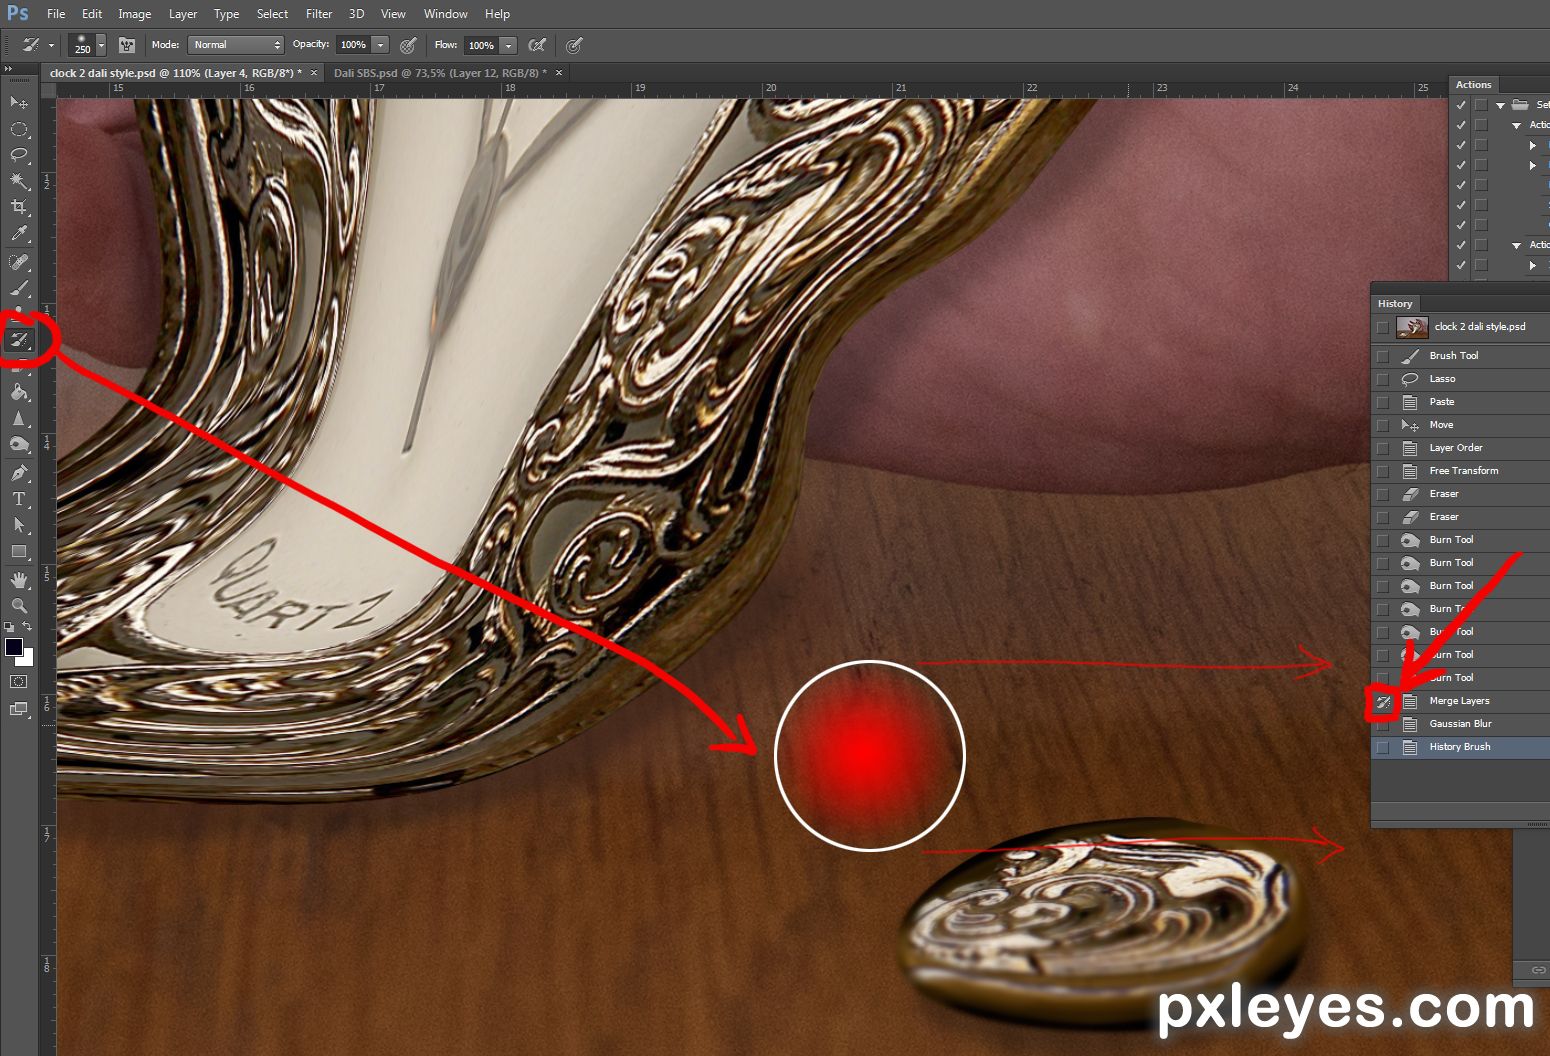
Put your history edit button on the history-point where everything was sharp before we blurred it (in the history popup window).
Select History brush tool en make it feathered and big. (Like the red dot shown in the picture). This will make the top sharp but saves the blur at the end. so the table and watch blurred out the same way.
Select History brush tool en make it feathered and big. (Like the red dot shown in the picture). This will make the top sharp but saves the blur at the end. so the table and watch blurred out the same way.
step 8 of 17
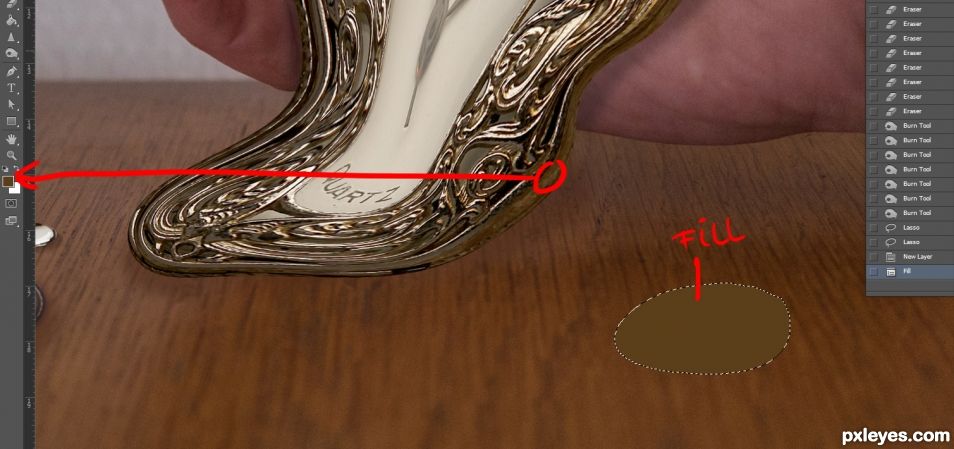
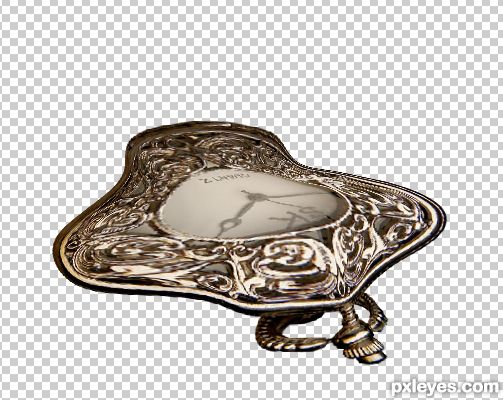
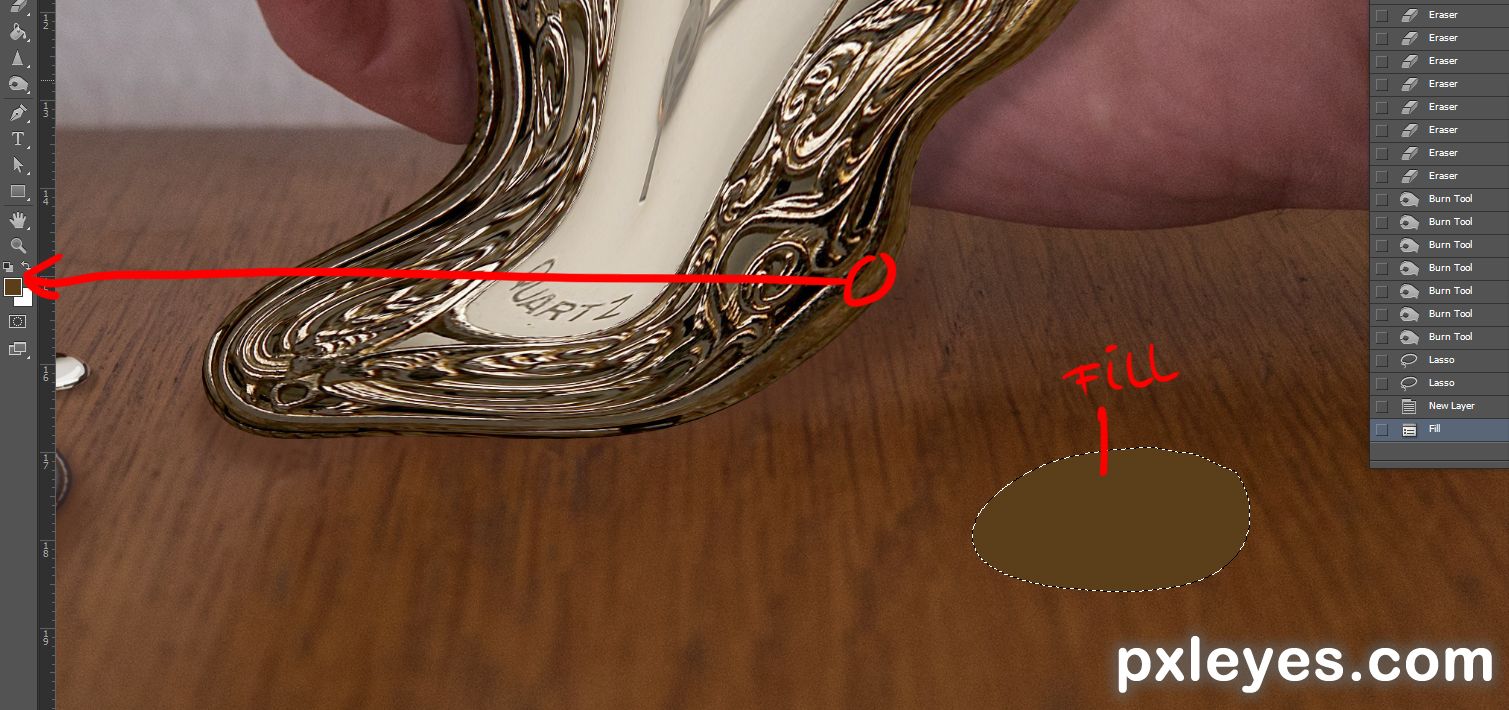
Making the extra drops is easy, pick a color from the watch. Not the darkest nor the lightest color, but something in between. Fill the selecting with this color on a new layer.
step 9 of 17
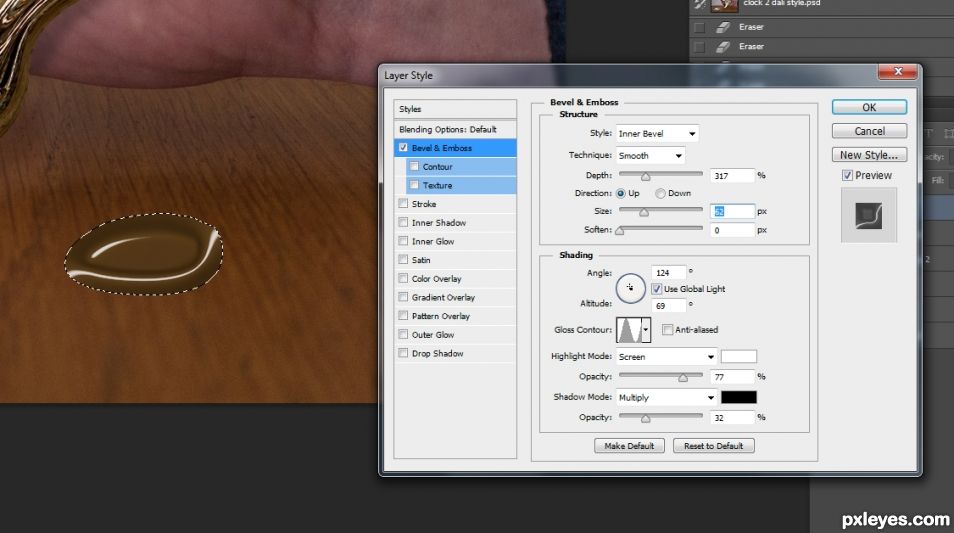
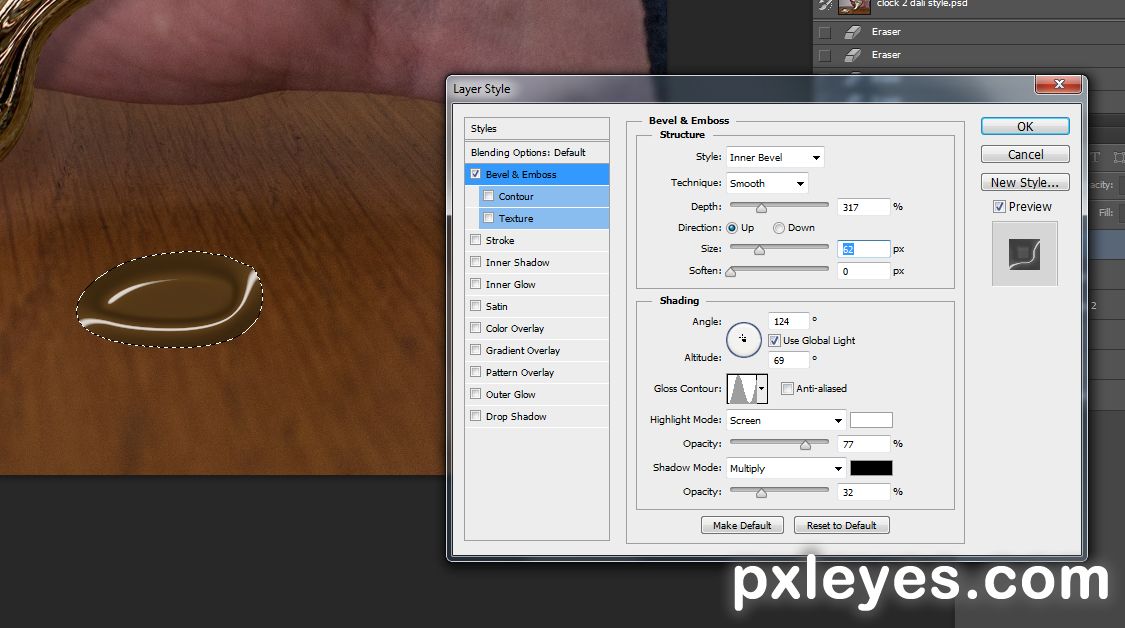
Give the filling a layereffect called bevel/embross. use the settings as shown in the picture.
step 10 of 17
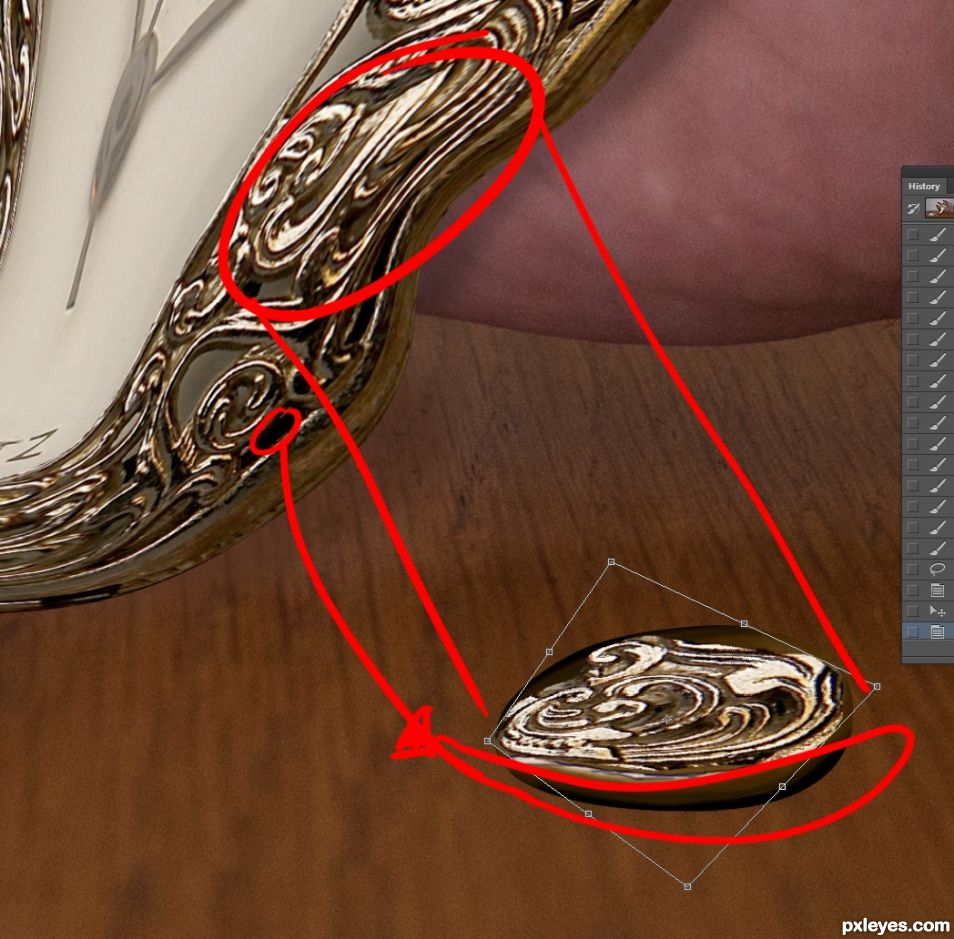
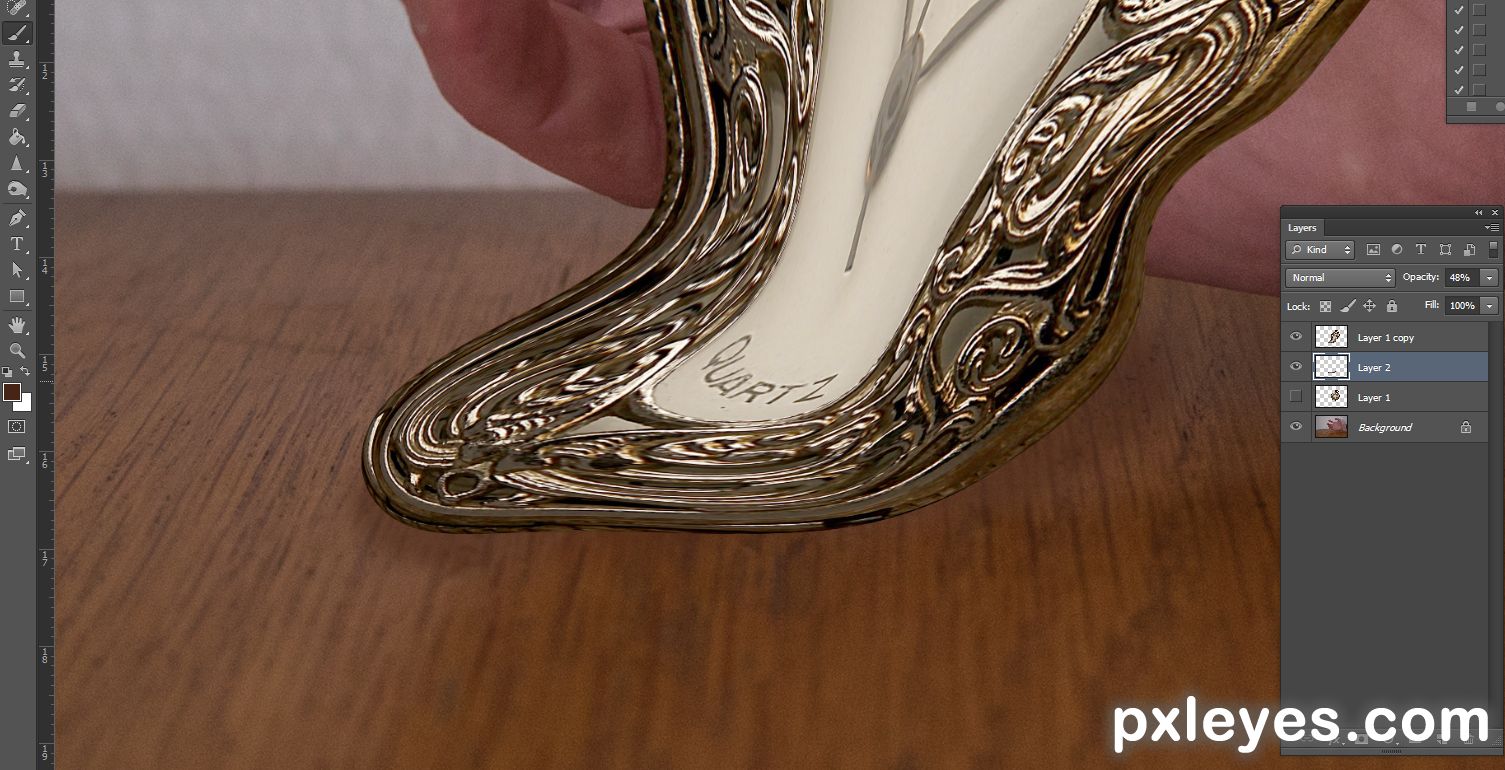
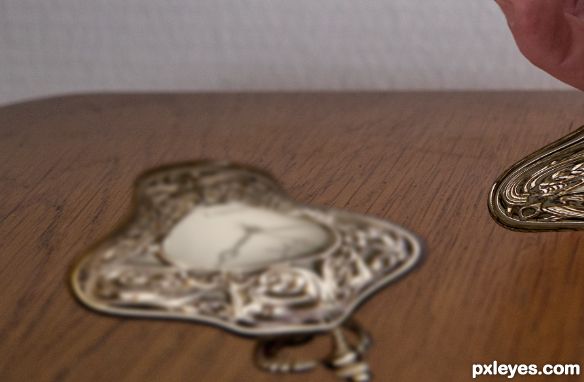
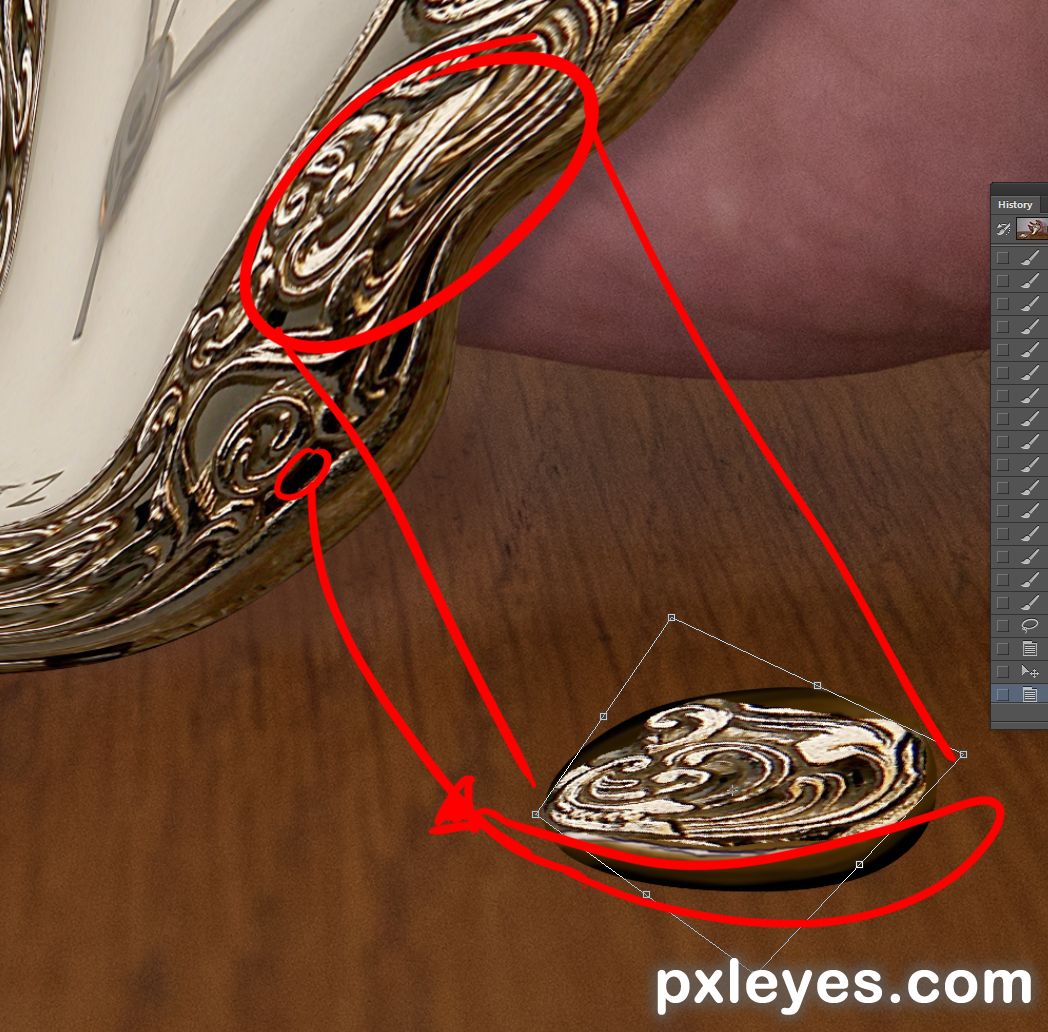
clone some elements from the watch and stretch it in shape. like step 4. erase with a small feathered brush the edges for smooth effect.
step 11 of 17

step 12 of 17
step 13 of 17
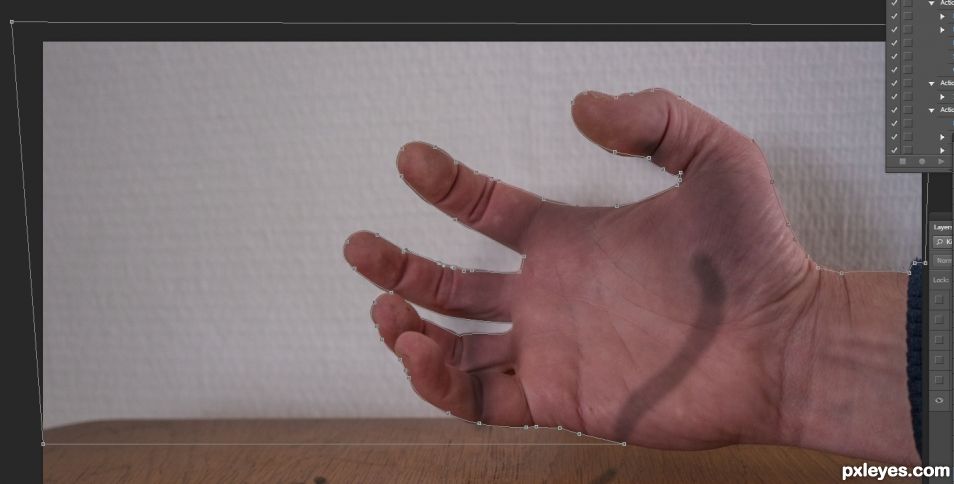
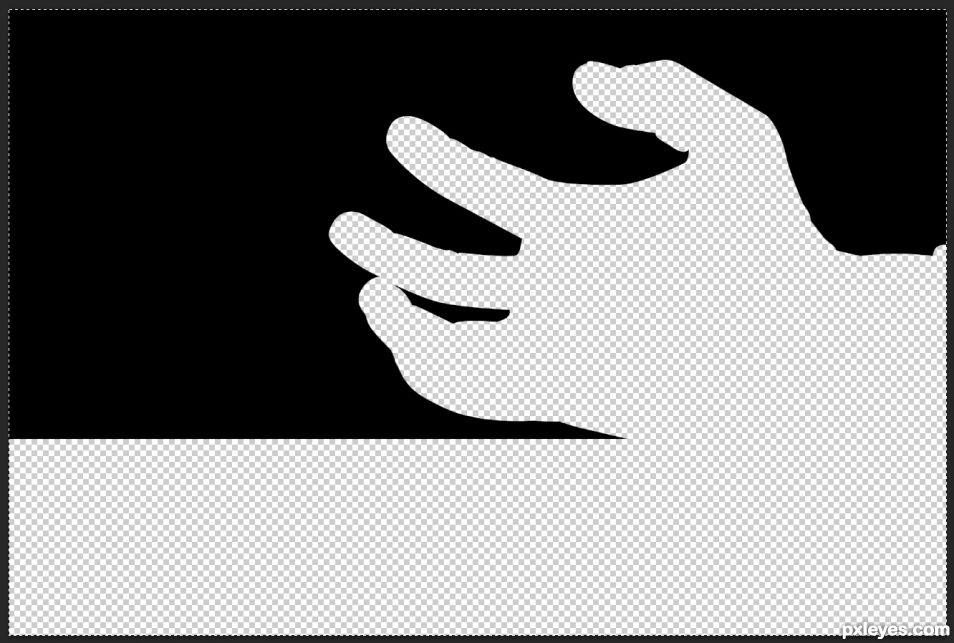
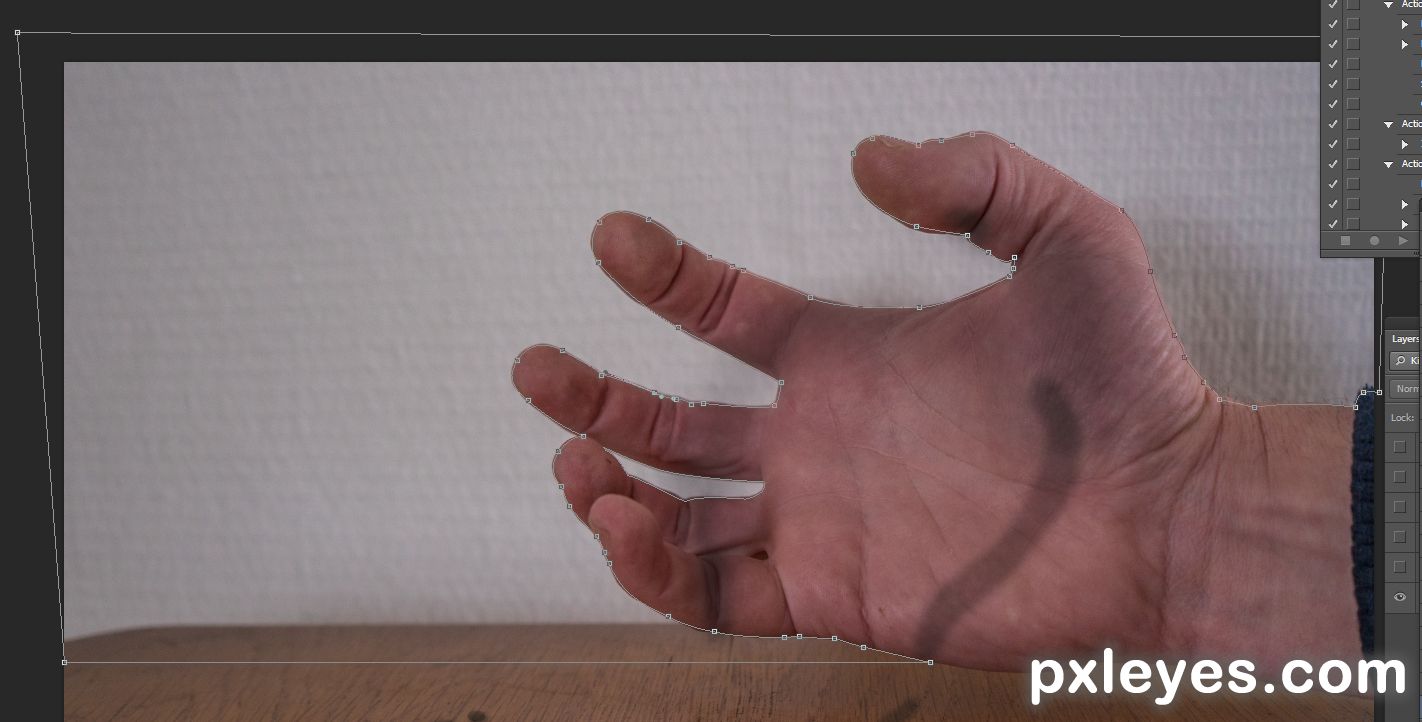
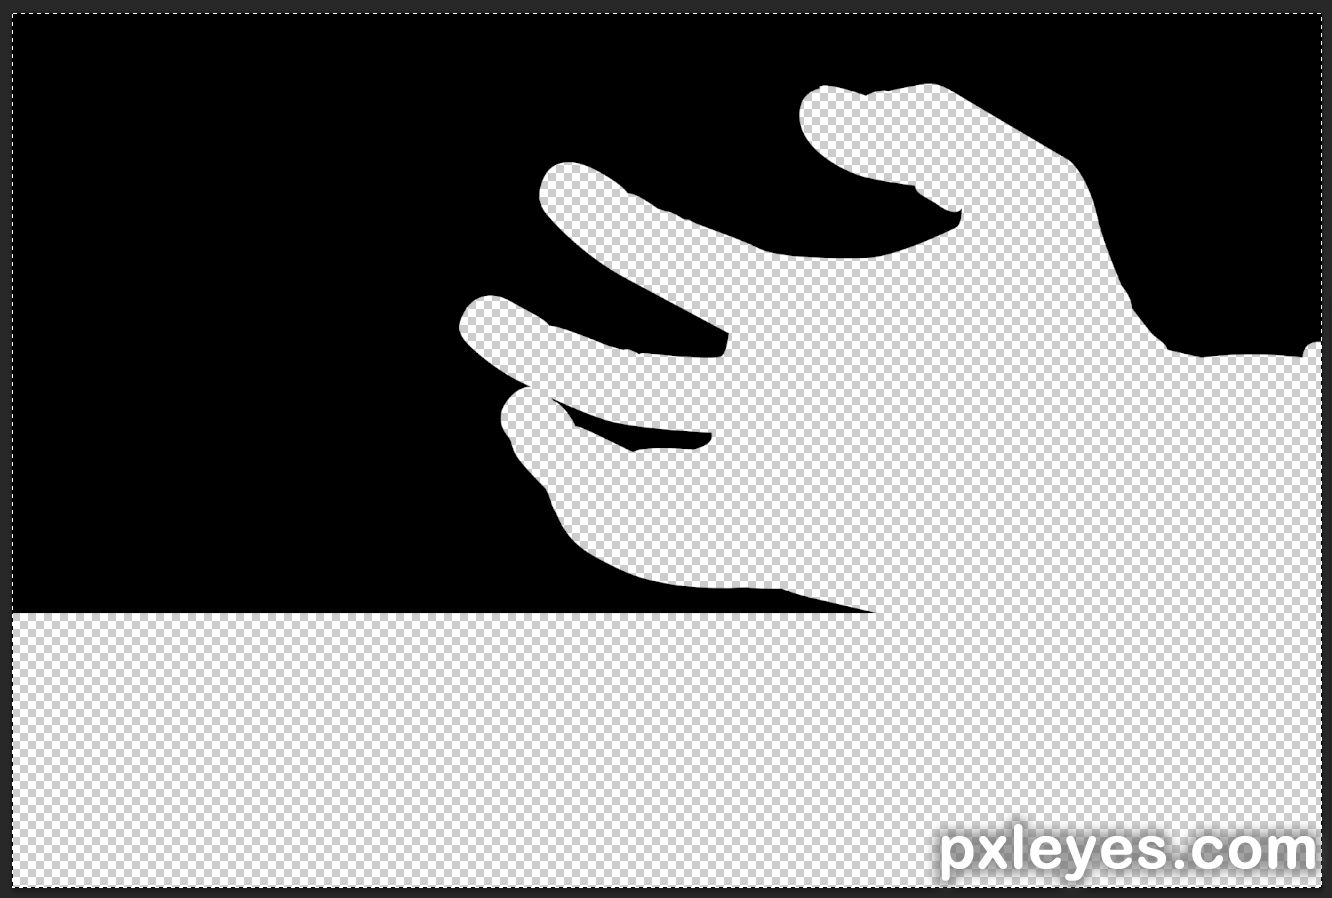
I used the pentool to trace the hand and background and saved a part of the table I wanted to use.
step 14 of 17
step 15 of 17
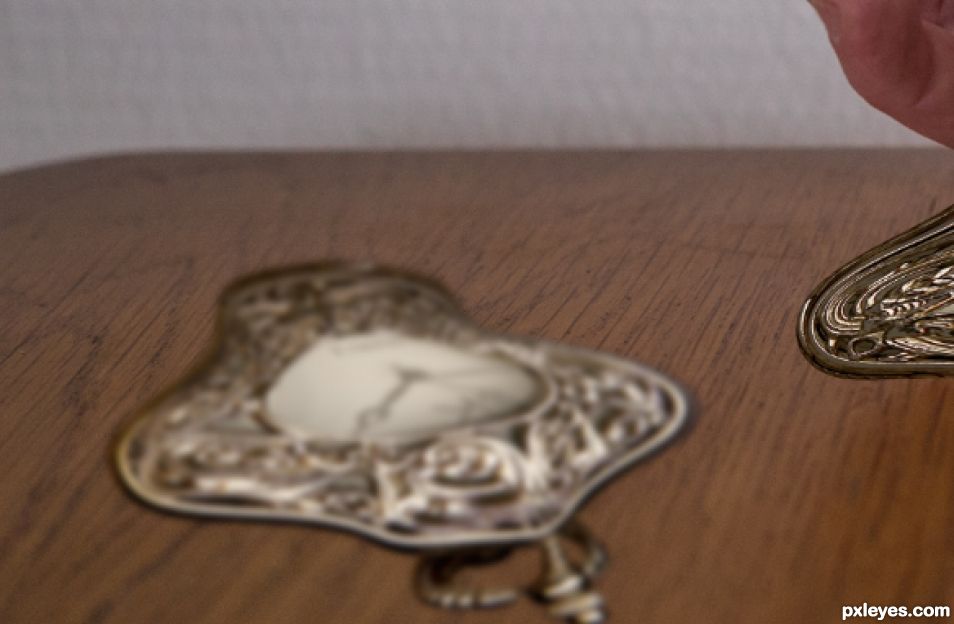
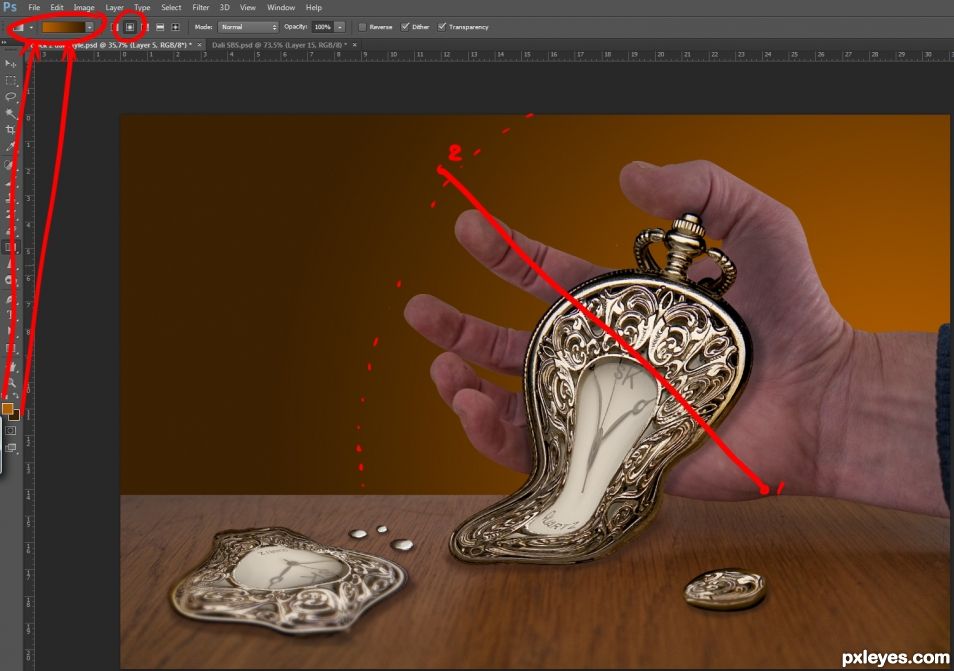
I took two colors from the existing photo and used the elliptical gradienttool inside the mask we created. Later on I used levels to darken the background. Then I leveled the colors in the table a bit to give it a better look in total.
step 16 of 17

step 17 of 17
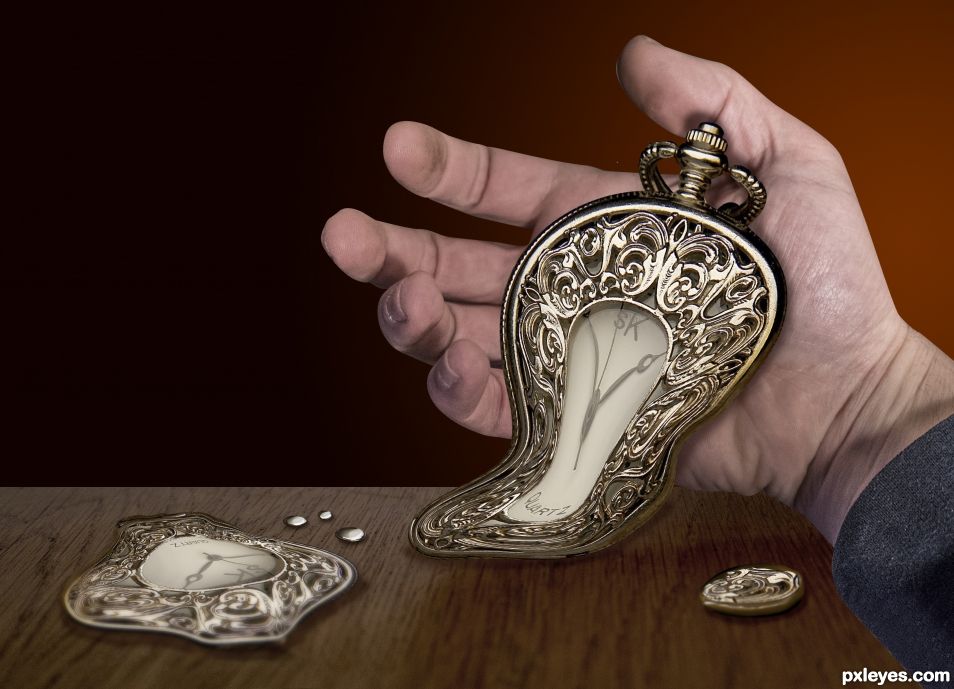
Final result
Pxleyes
Photography and photoshop contests
We are a community of people with
a passion for photography, graphics and art in general.
Every day new photoshop
and photography contests are posted to compete in. We also have one weekly drawing contest
and one weekly 3D contest!
Participation is 100% free!
Just
register and get
started!
Good luck!
Follow us:


© 2015 Pxleyes.com. All rights reserved.