
Original image
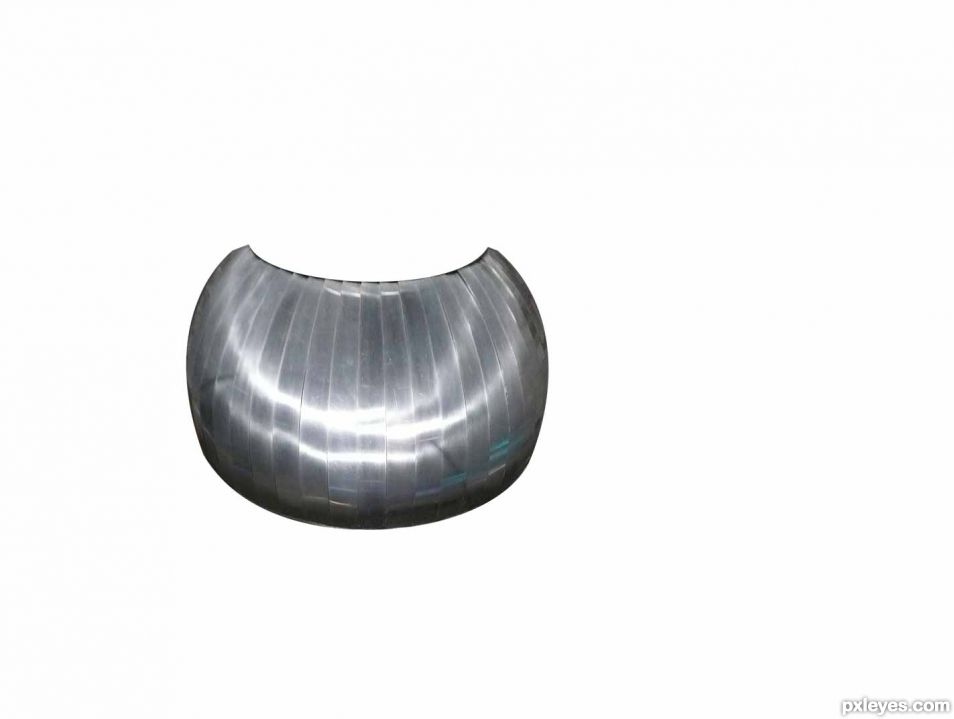
step 1 of 7
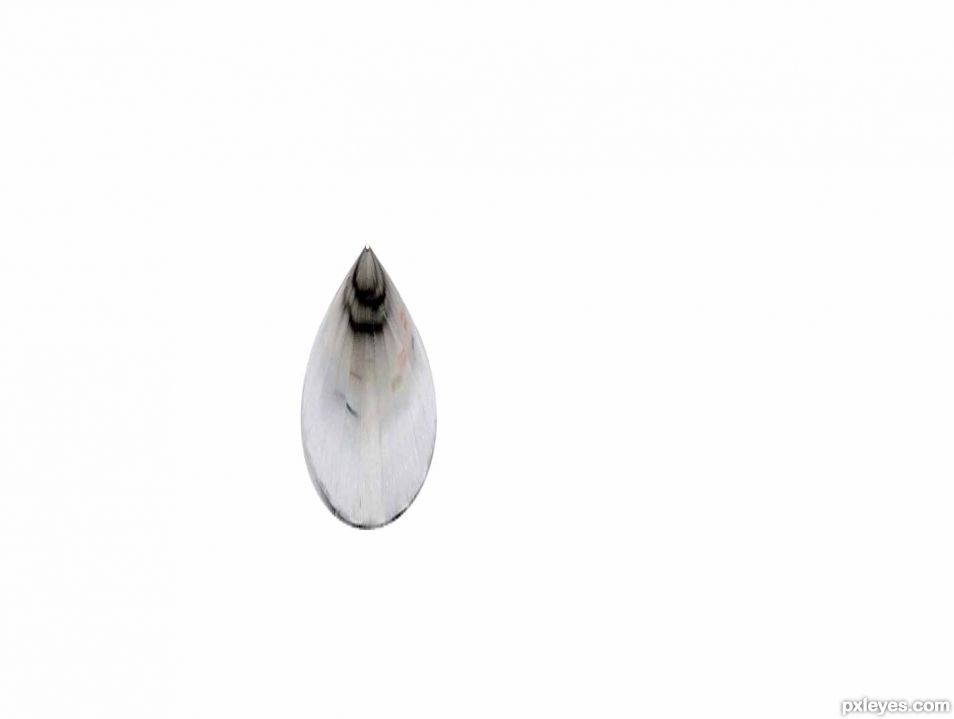
step 2 of 7
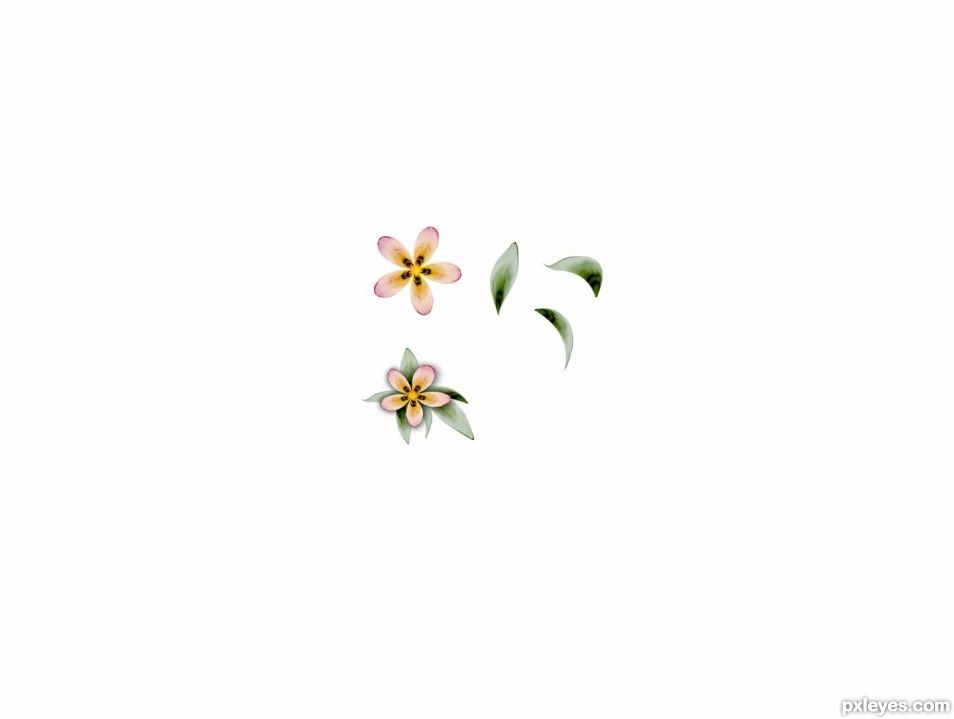
step 3 of 7
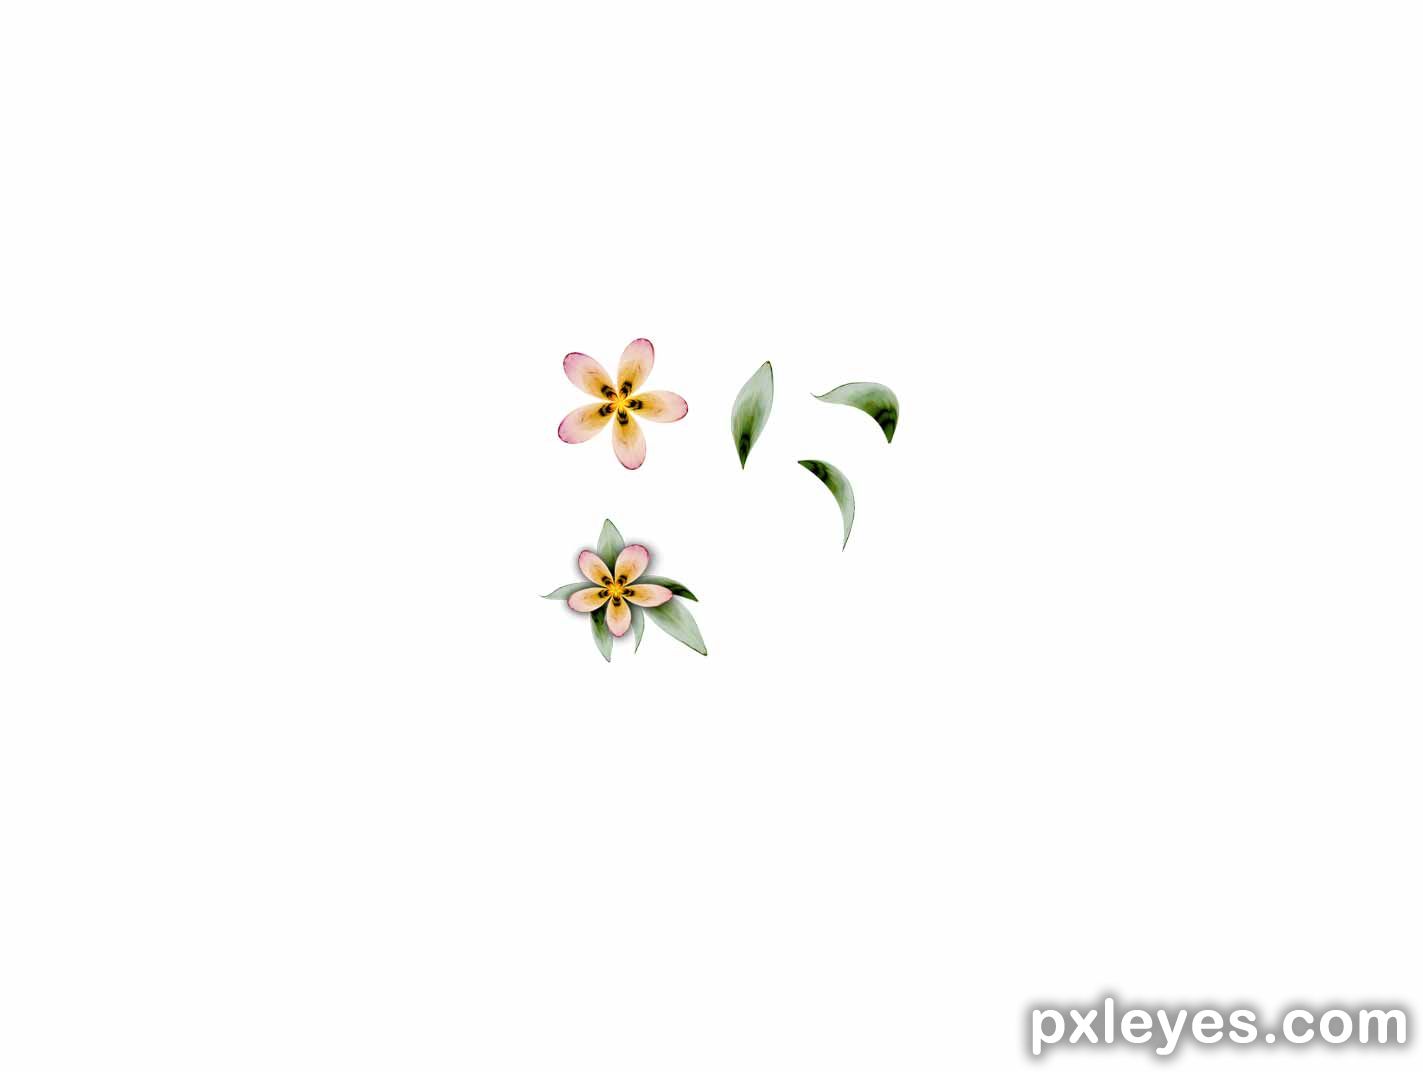
Duplicate the image...a lot...and construct the flowers and leaves. Use Transform-Warp to change up the shapes to give some variety. Use a radial gradient overlay to give some color to the flower and a color overlay for the leaves.
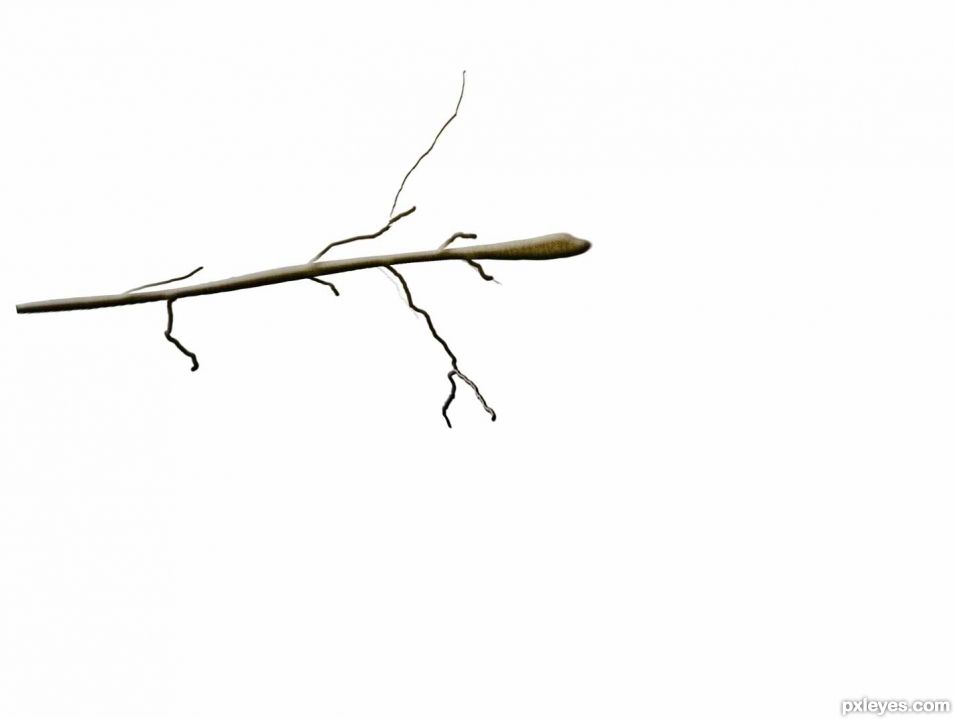
step 4 of 7
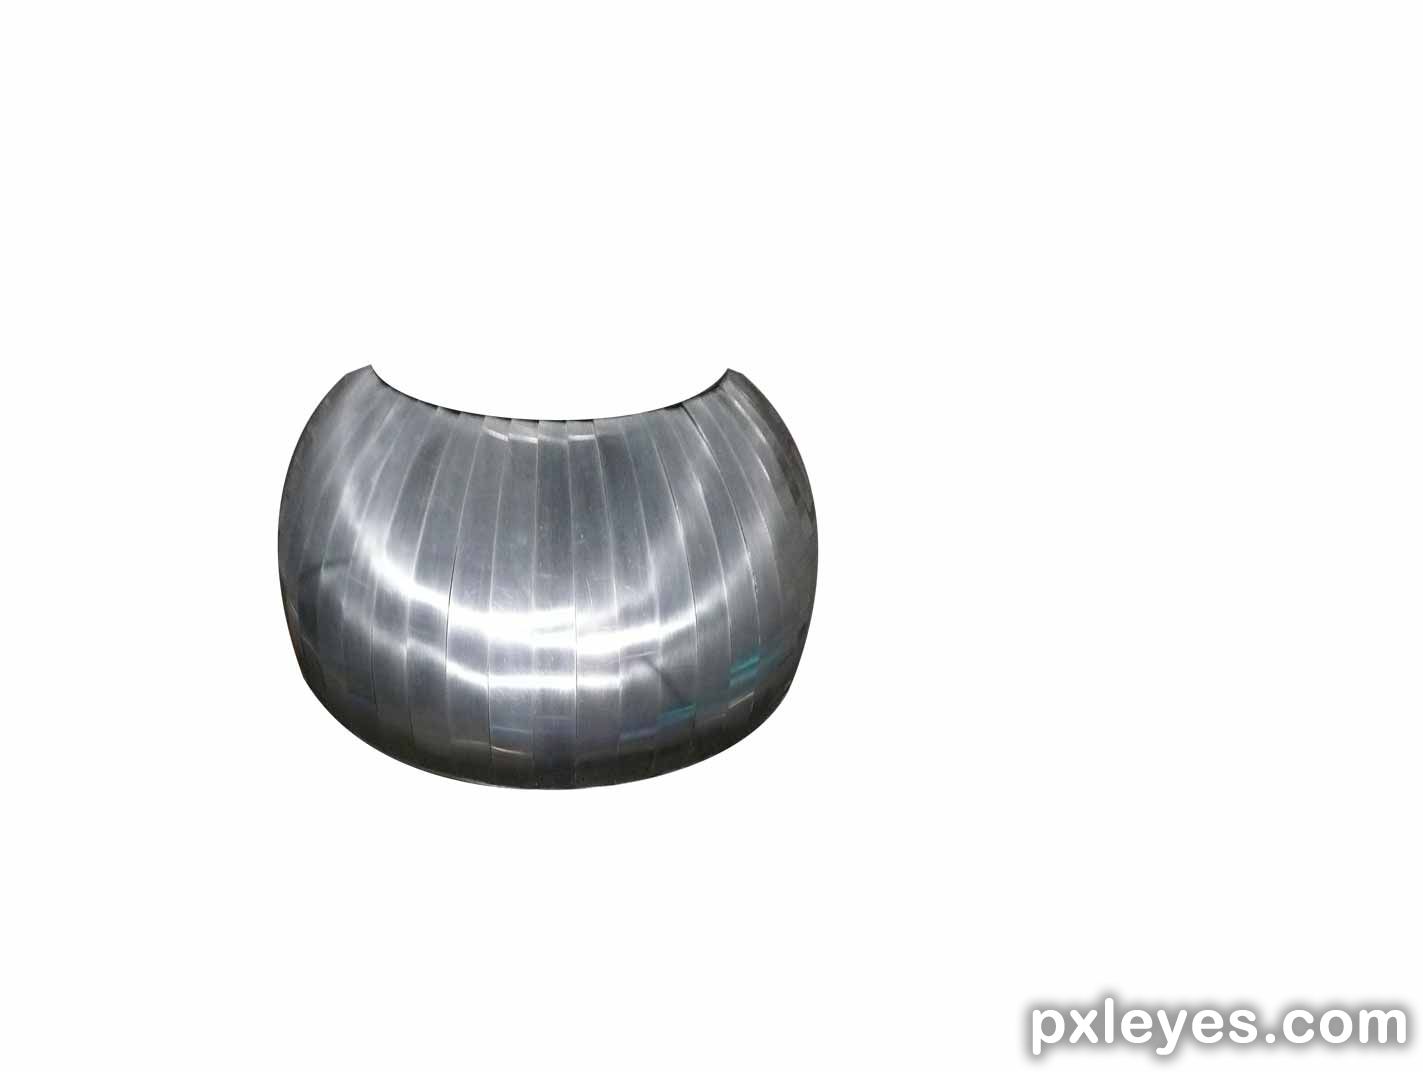
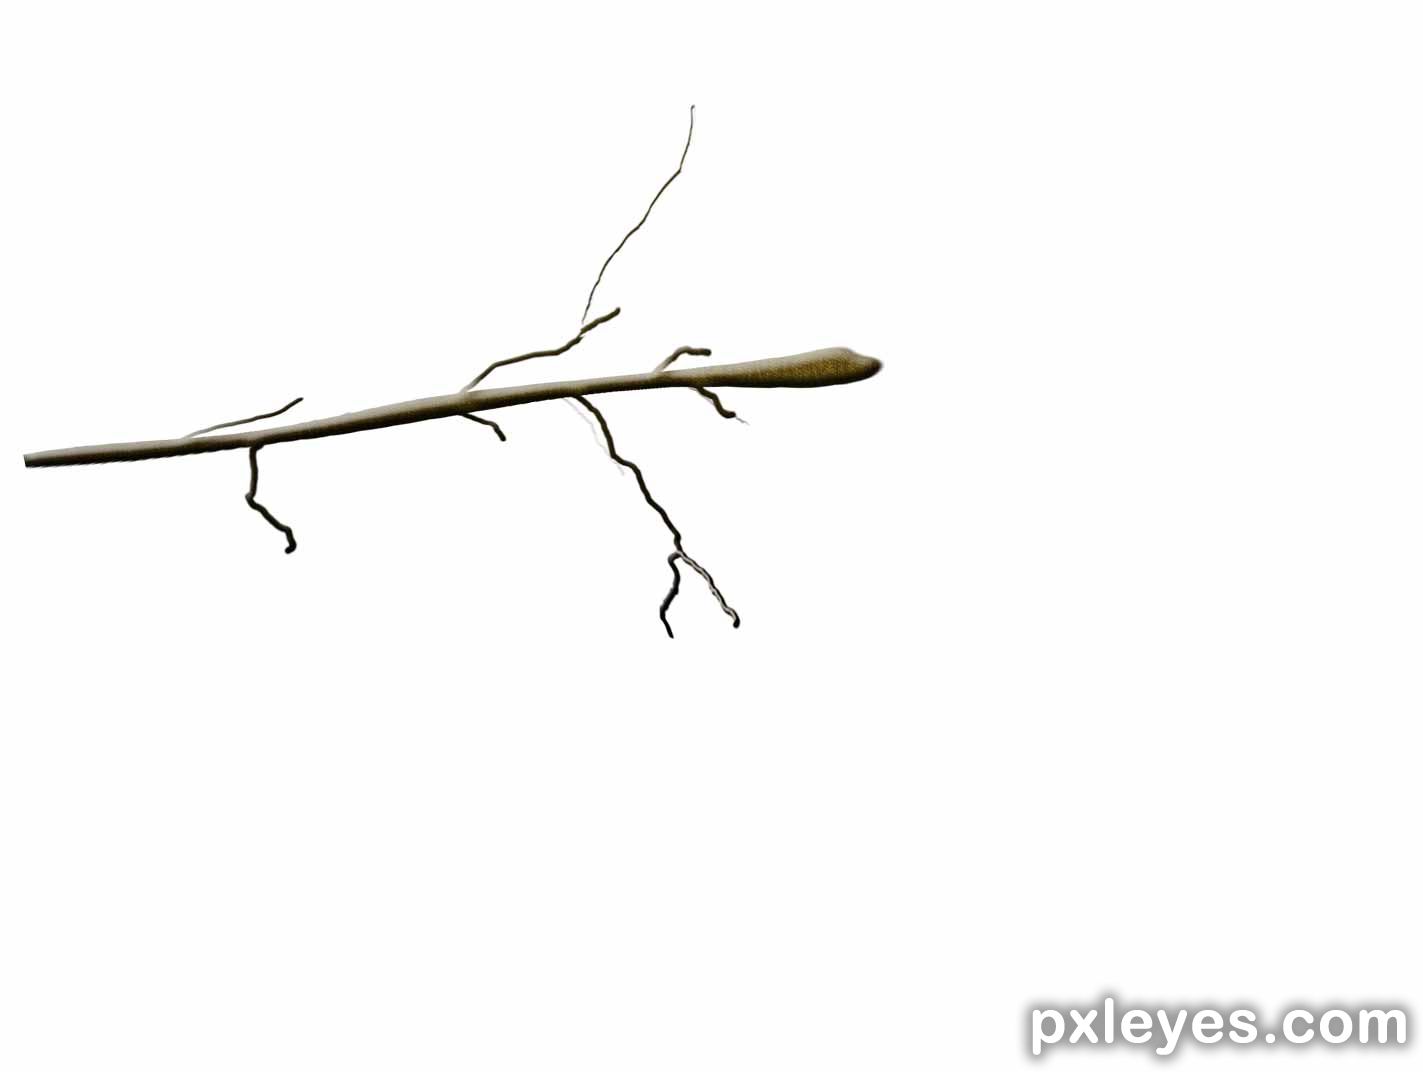
Draw a simple line in a medium brown tone, bevel it, give it a pattern overlay for texture and use the smudge tool to pull out the smaller branches. Duplicate this and transform it to a smaller size then move the smaller branch into position behind the larger to complete the branches
step 5 of 7
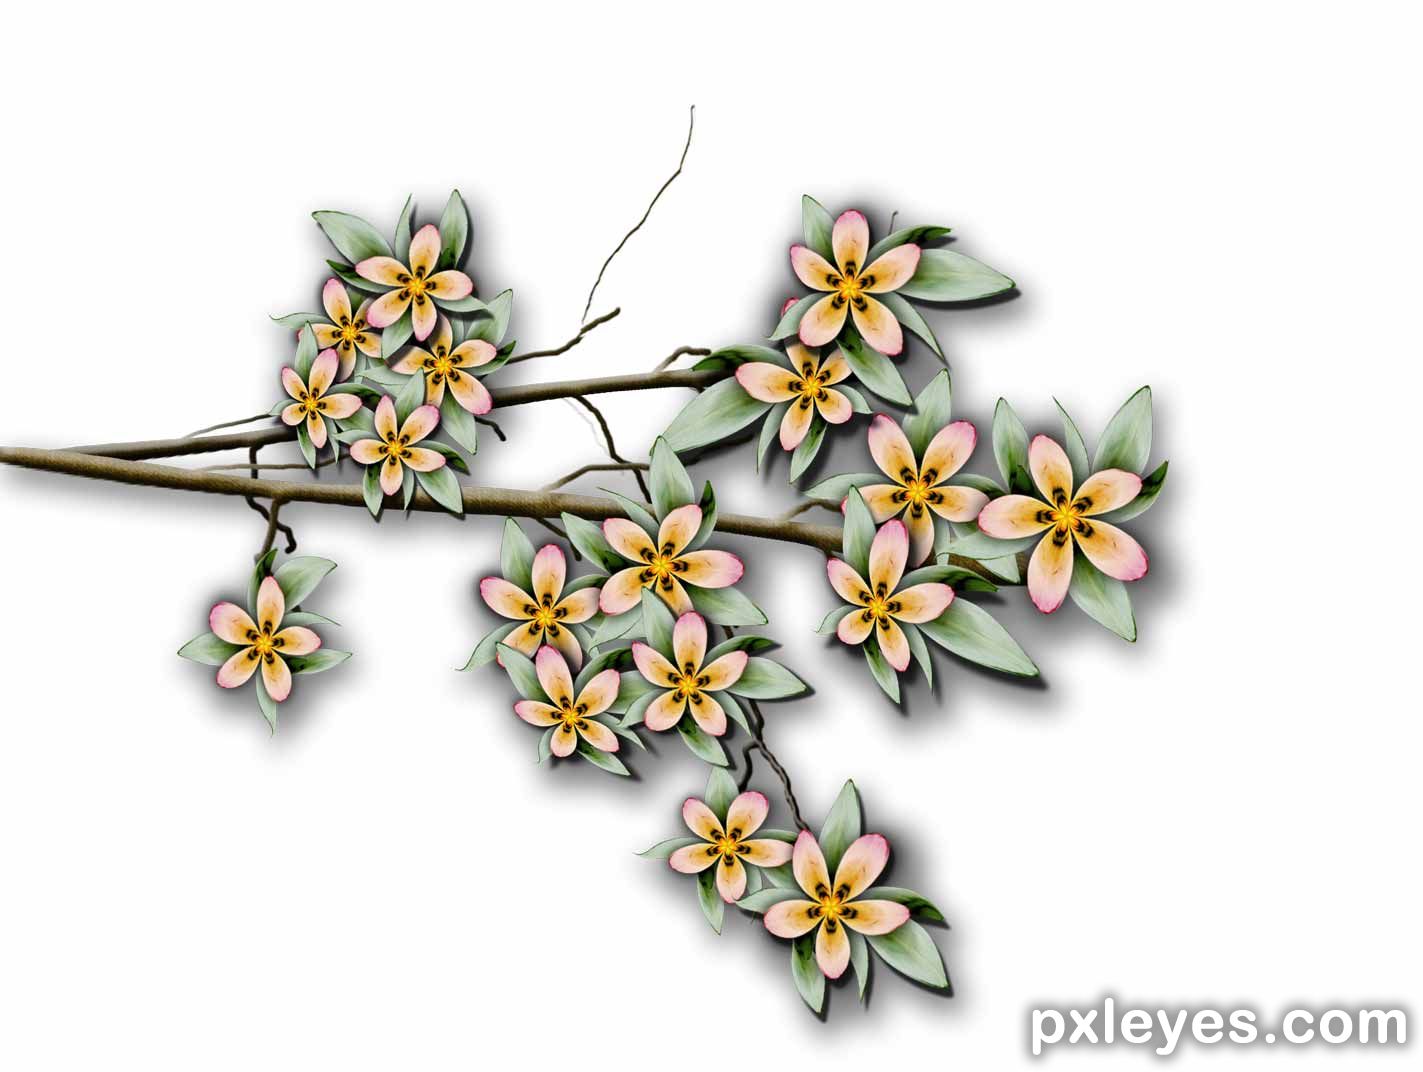
Time to put it all together. Make bunches of leaves and put one of the flowers on top to create a bunch. Add a drop shadow to the individual bunch. Merge the first bunch or two you make and use Transform-Warp and Perspective to give you some variety.
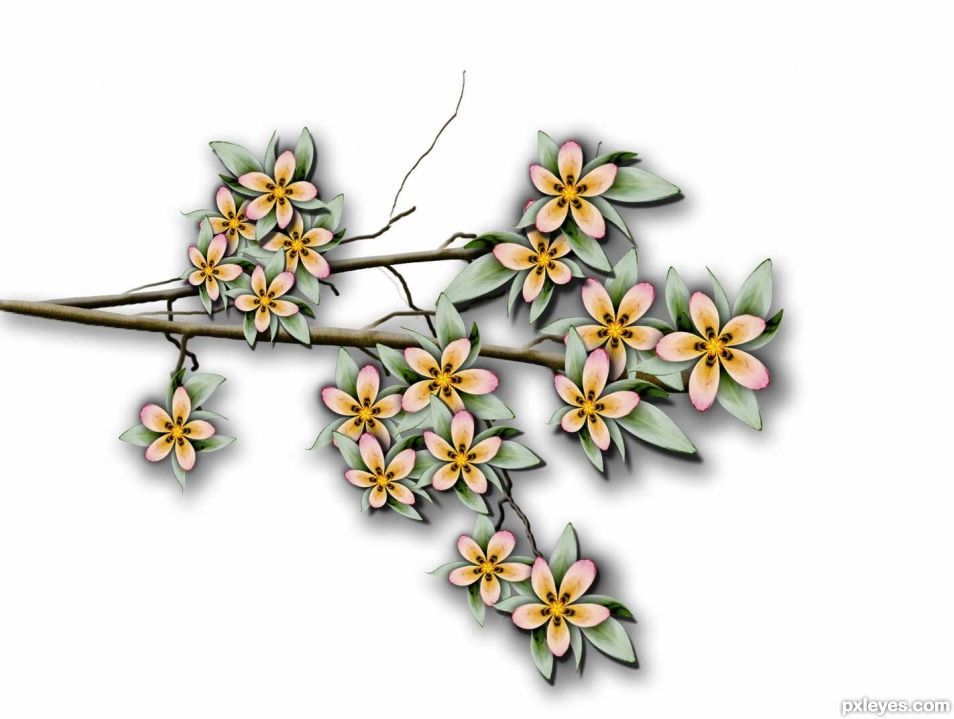
step 6 of 7
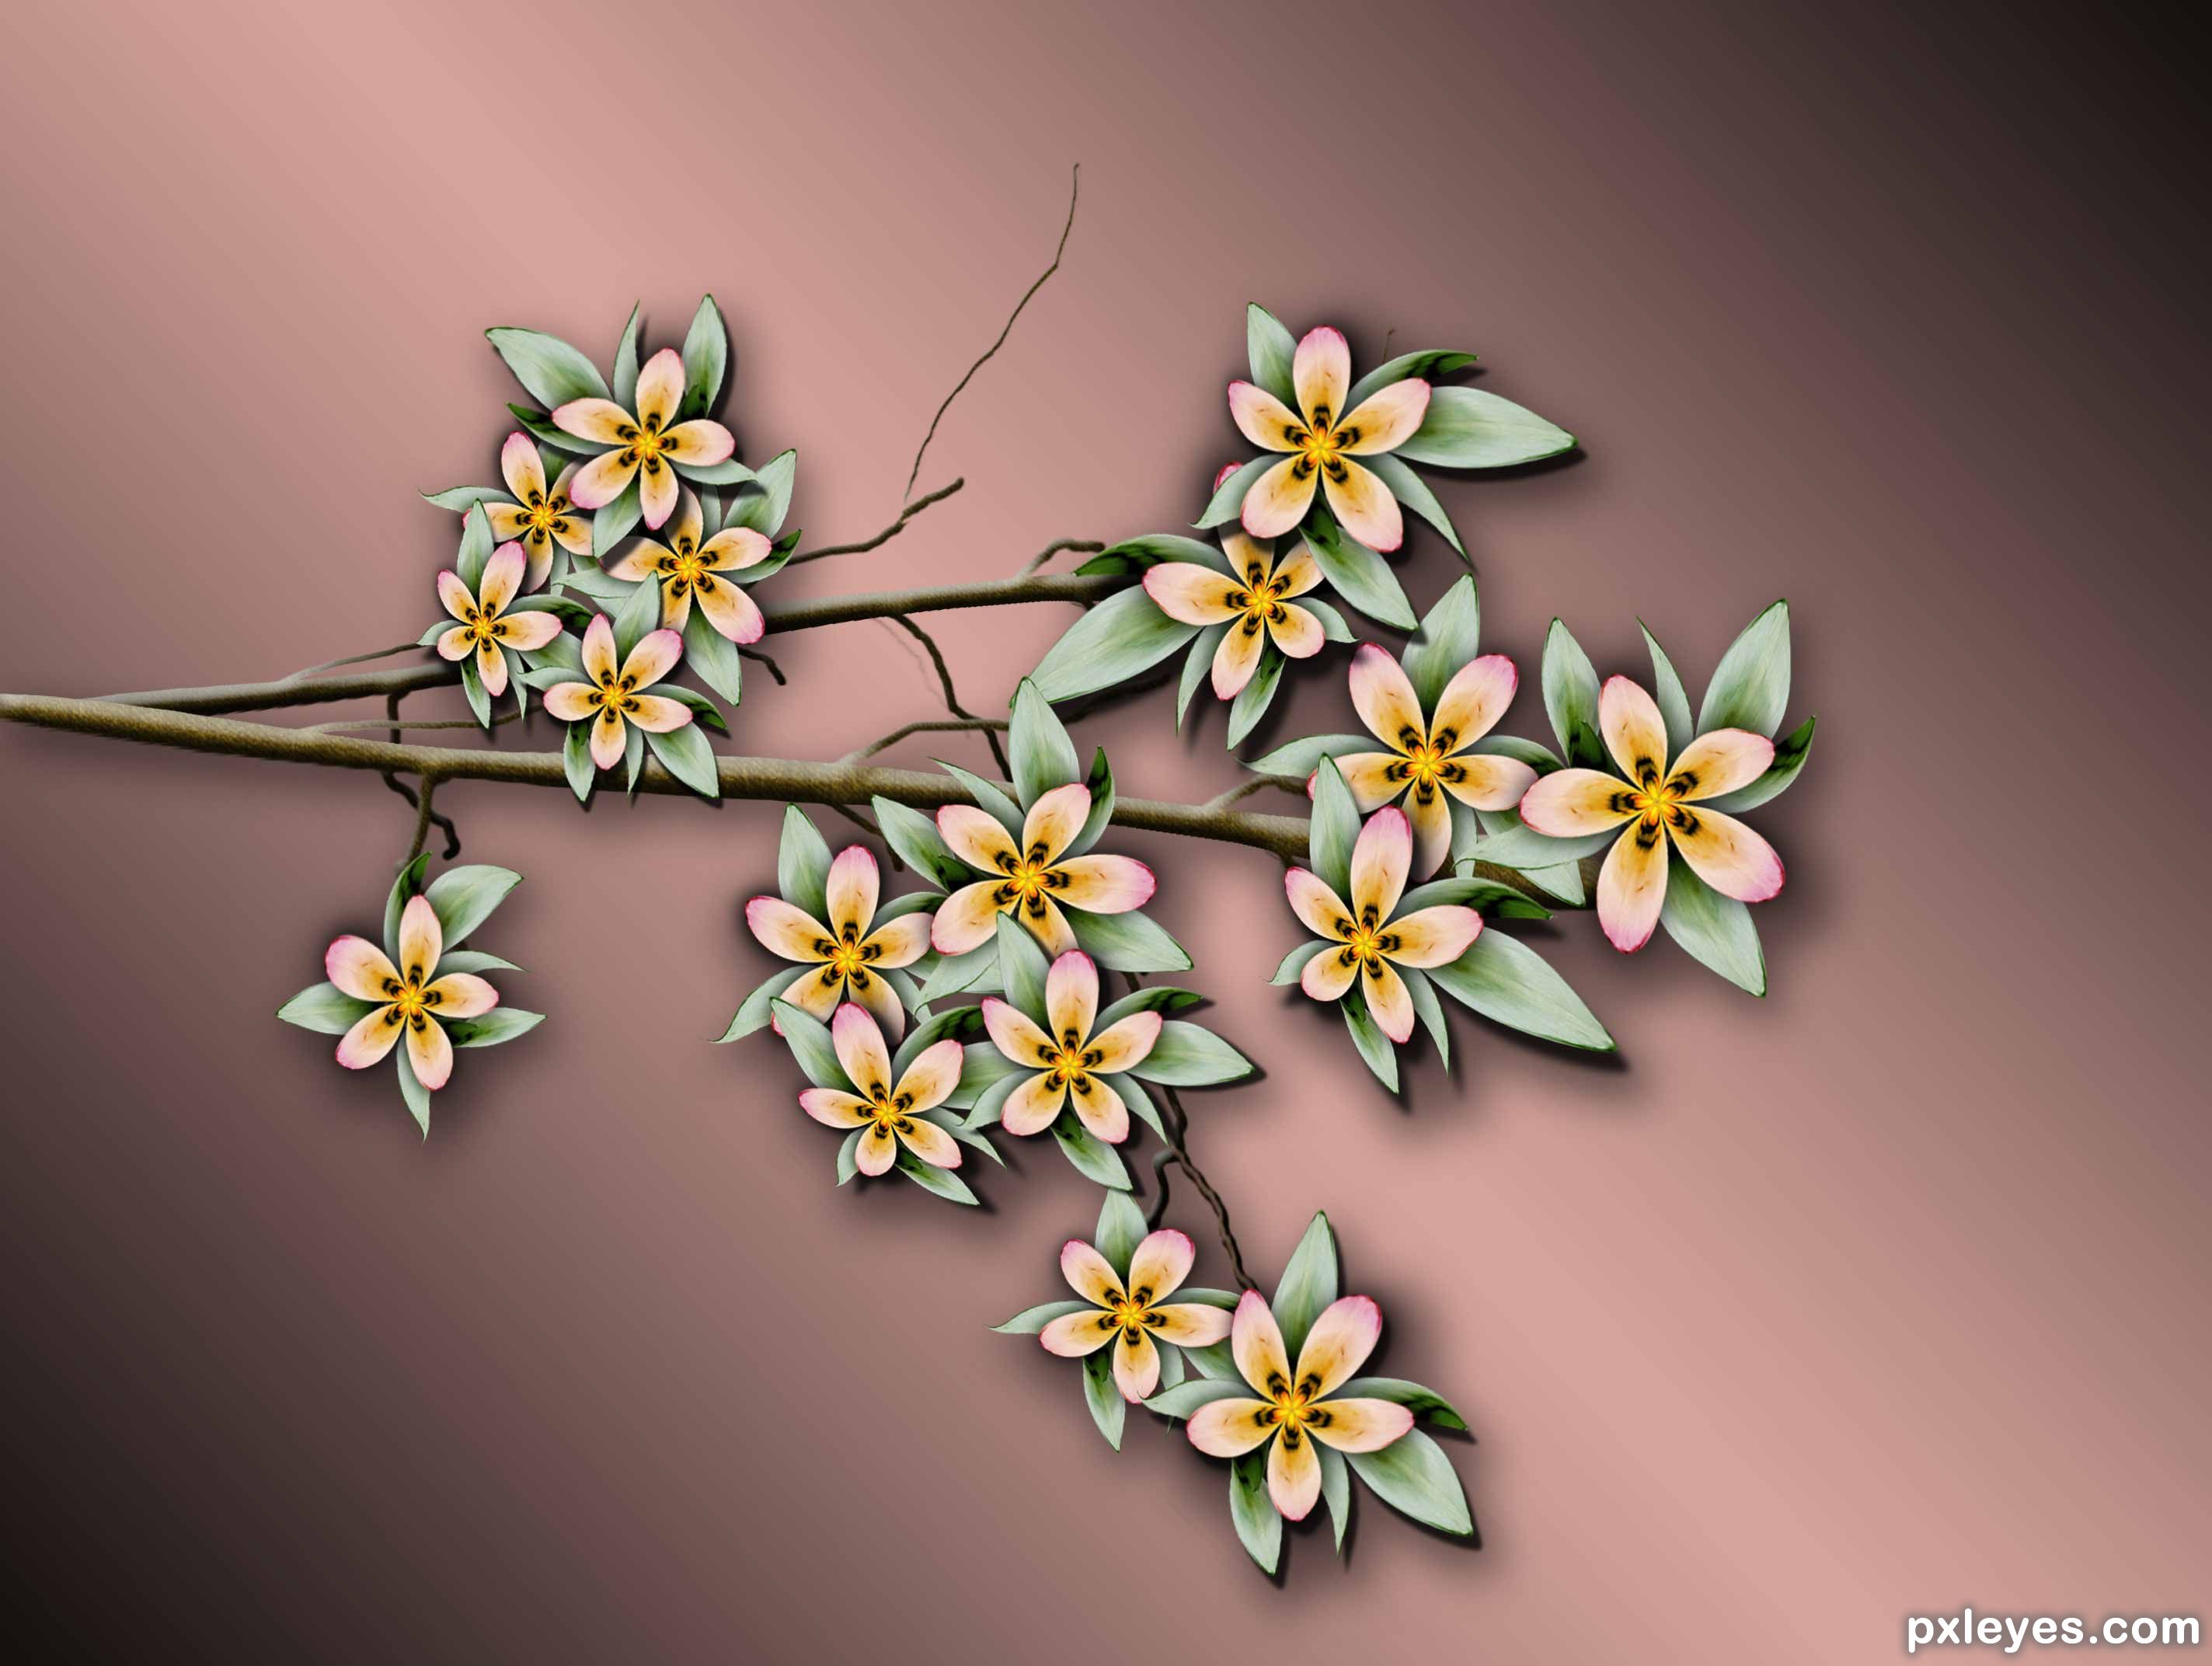
Add a reflected, black to white gradient overlay to a black background along with a color overlay to give some color.

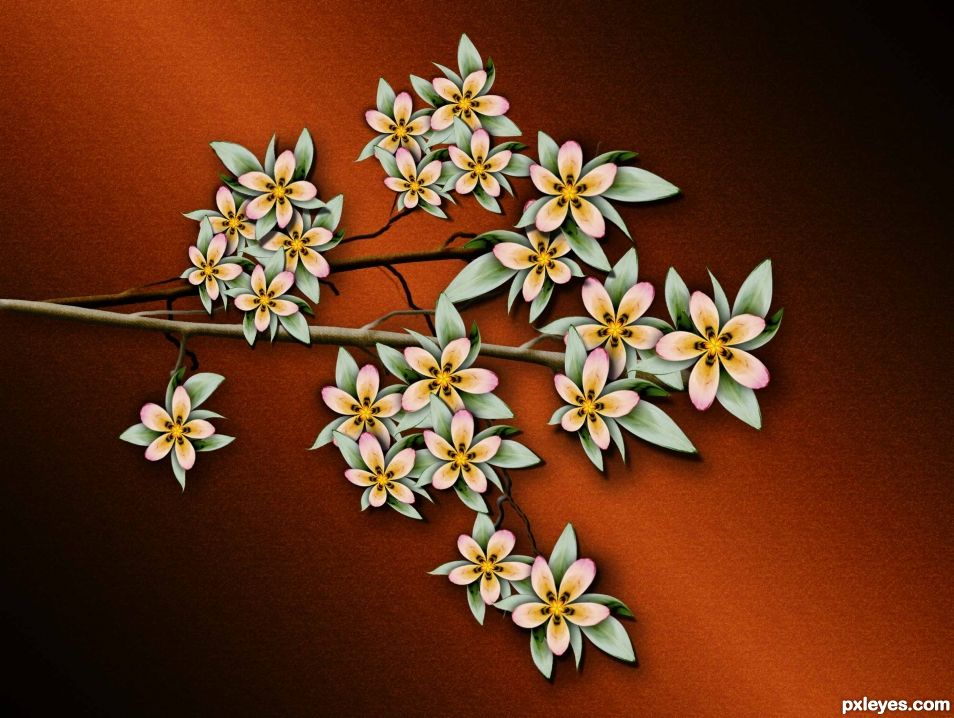
step 7 of 7
Finally add a colored paper adjustment layer between the background and the branches to complete.

Final result
Pxleyes
Photography and photoshop contests
We are a community of people with
a passion for photography, graphics and art in general.
Every day new photoshop
and photography contests are posted to compete in. We also have one weekly drawing contest
and one weekly 3D contest!
Participation is 100% free!
Just
register and get
started!
Good luck!
Follow us:


© 2015 Pxleyes.com. All rights reserved.