
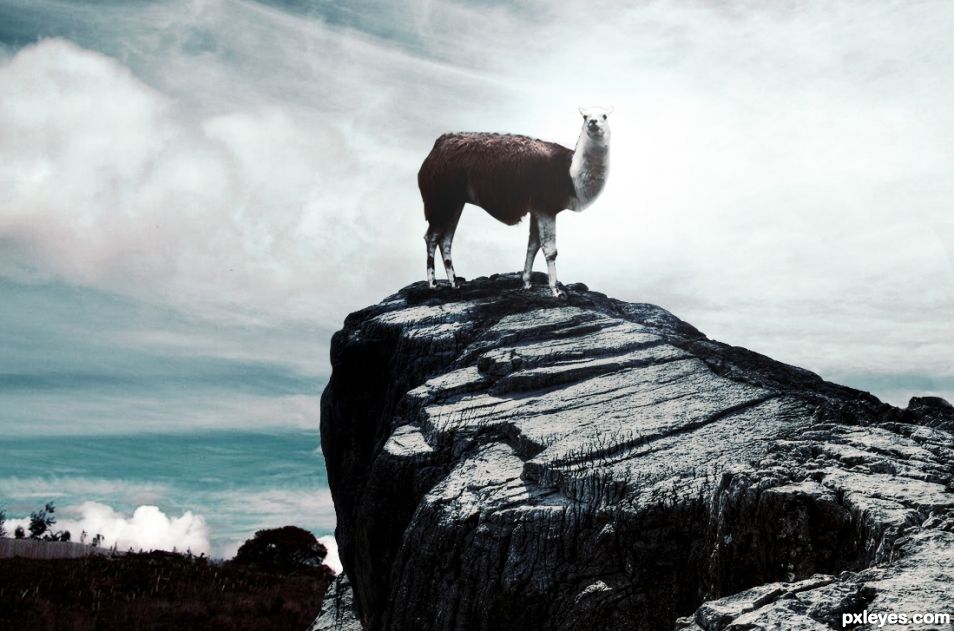
Original image
step 1 of 18
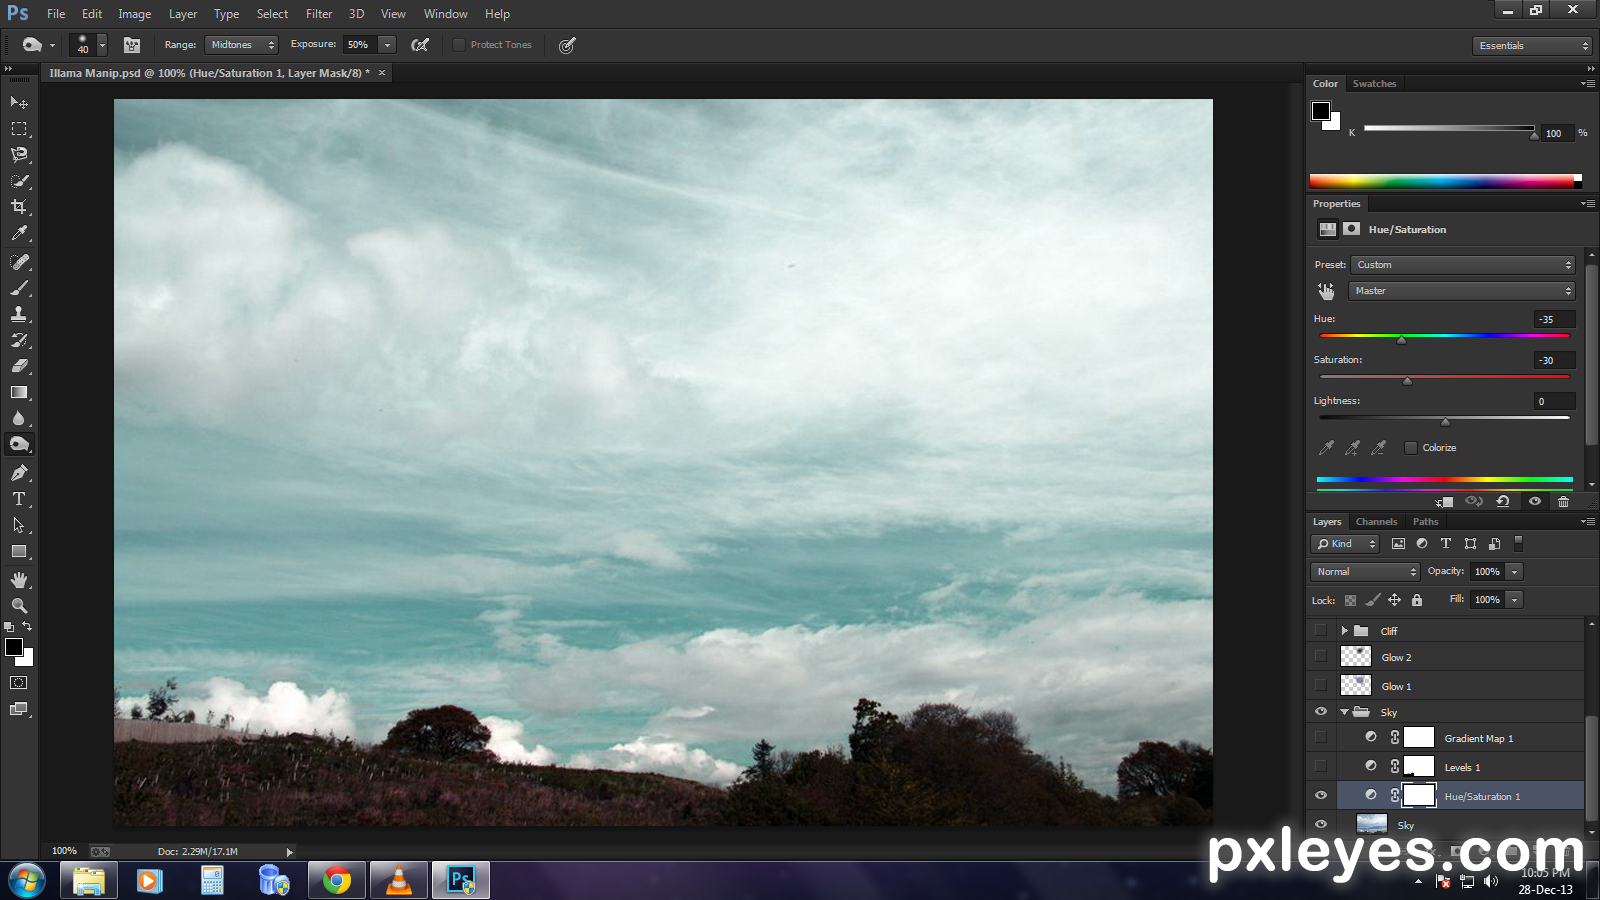
This is a simple manipulation and requires less than 15 mins to complete. We are going to adjust the hue, saturation, contrast and lighting of all the images to a common setting using adjustment layers as clipping masks. We start with the sky image.
step 2 of 18
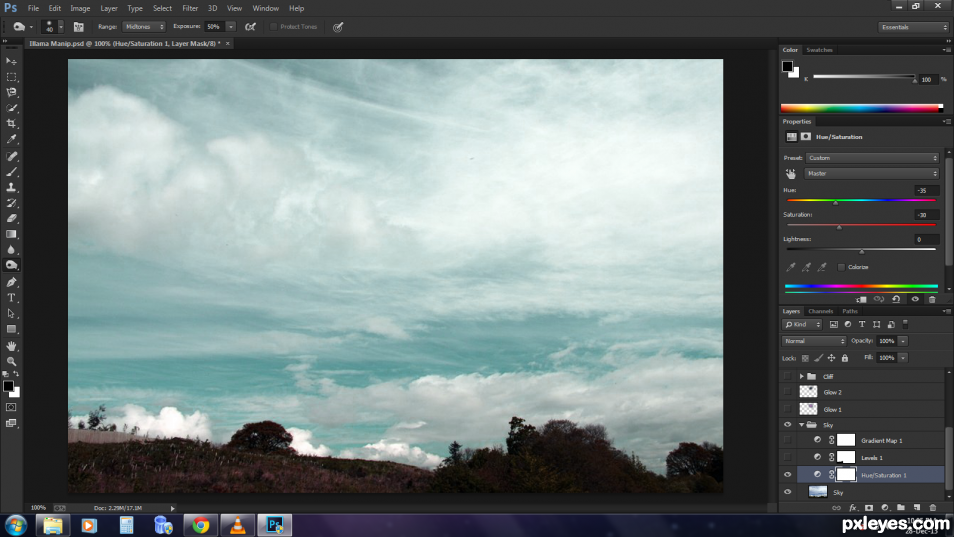
Click the adjustment layer icon beneath the Layers palette and select hue/saturation. Adjust the sliders and set hue to -35 and saturation to -30.
step 3 of 18
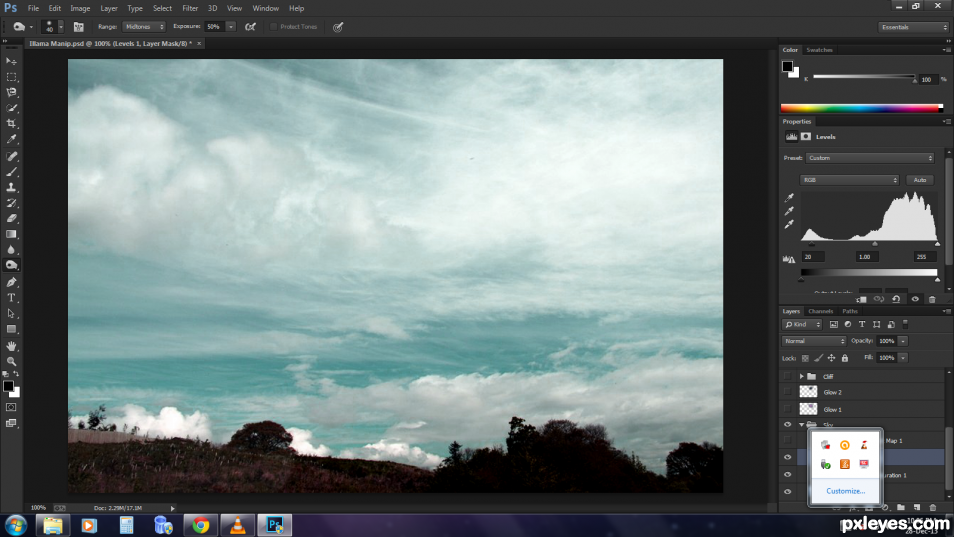
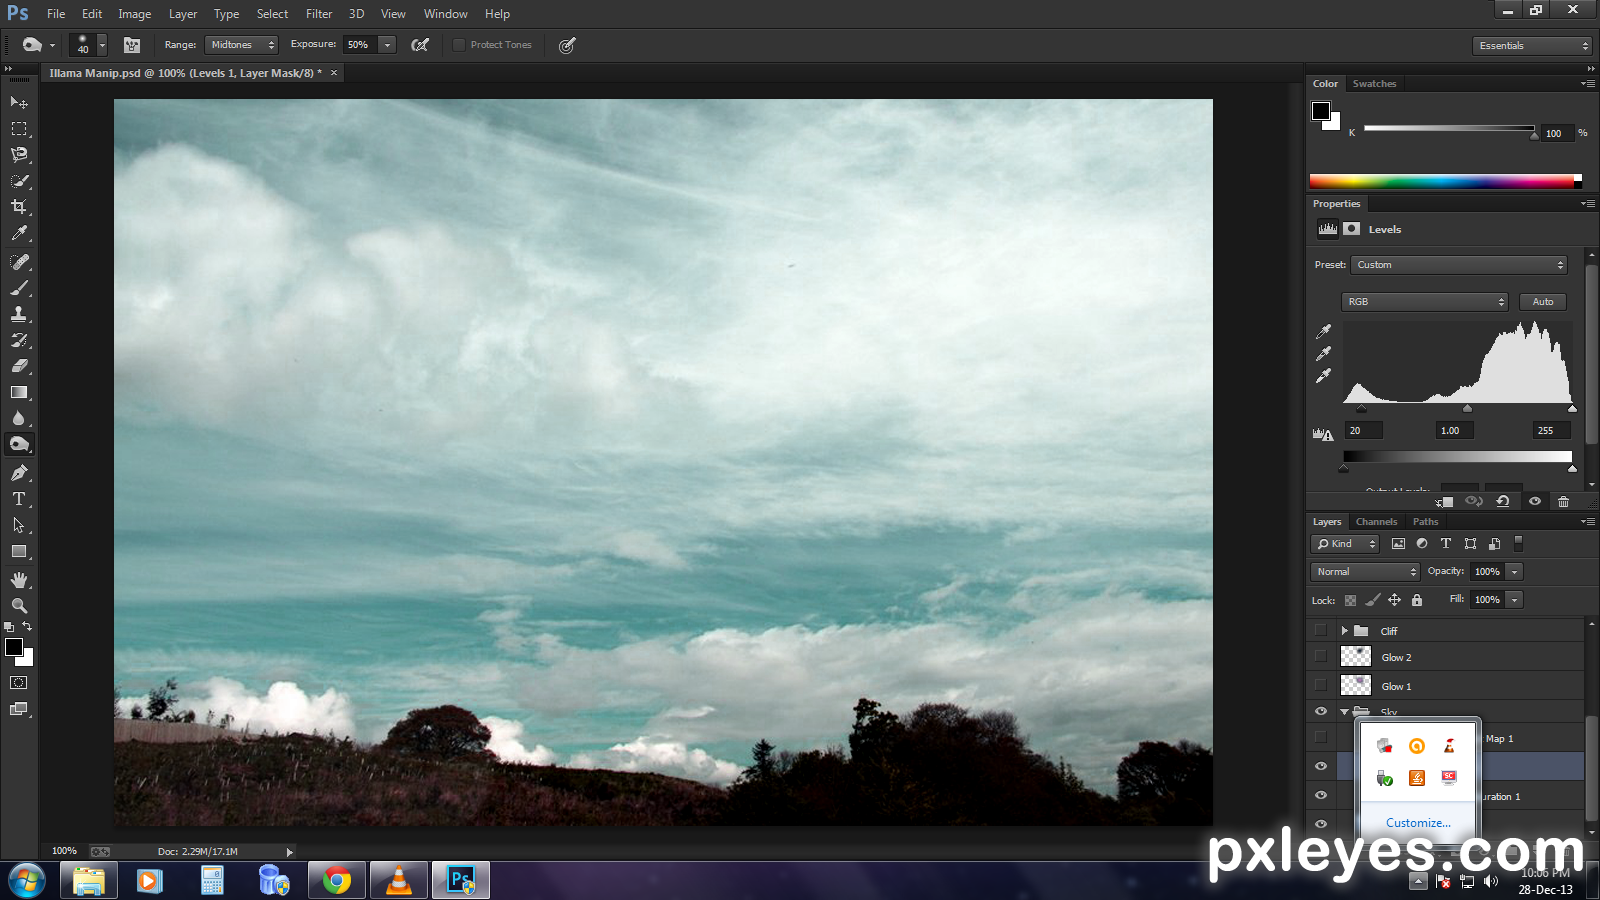
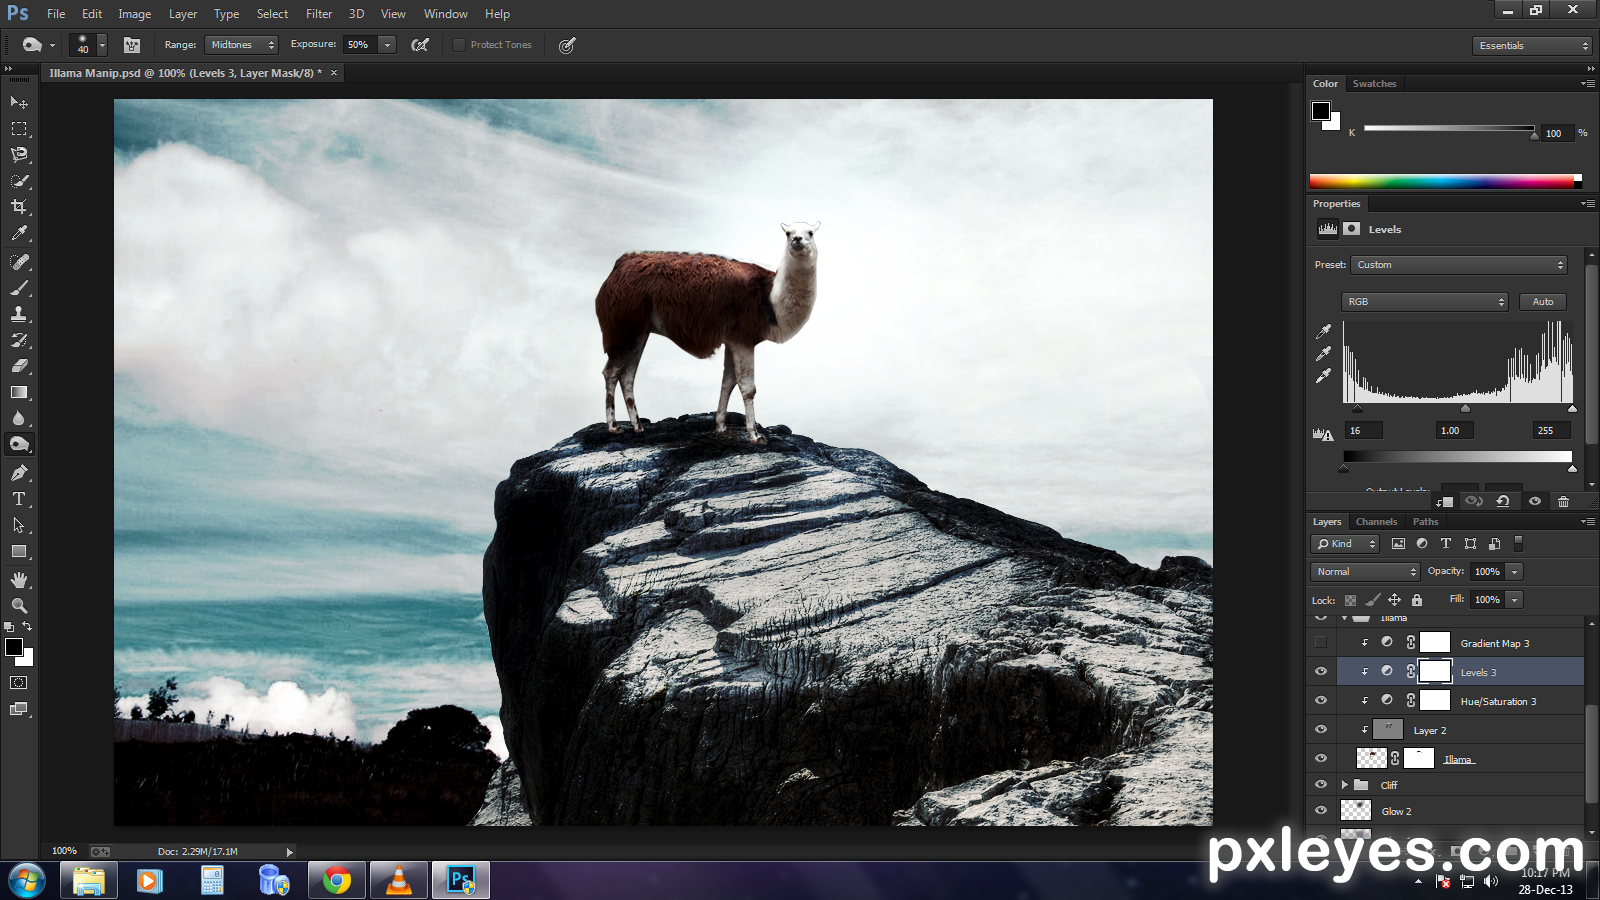
Add a levels adjustment layer above the hue/saturation layer. Adjust he black slider and set it to 20. In the mask, paint black on the lower left corner of where the grasses are visible to avoid over-darkening.
step 4 of 18
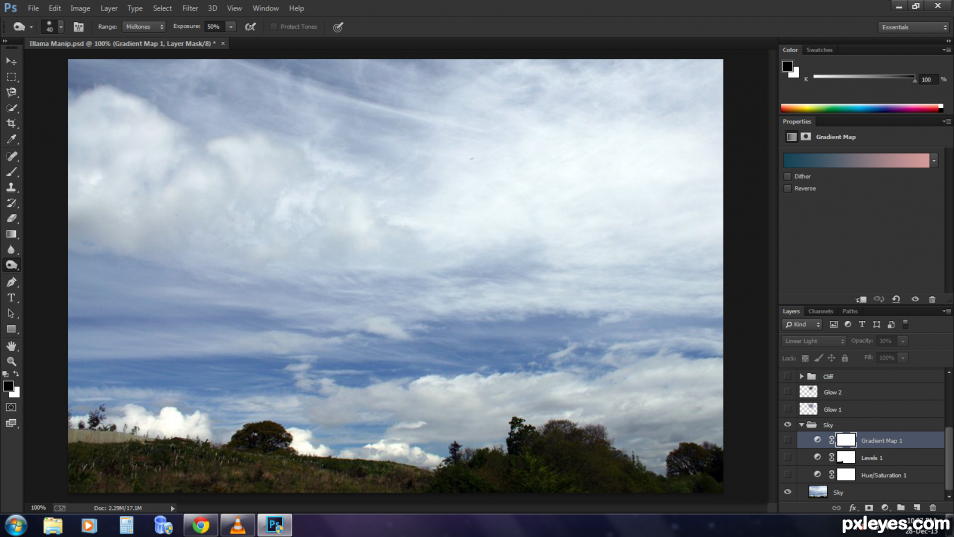
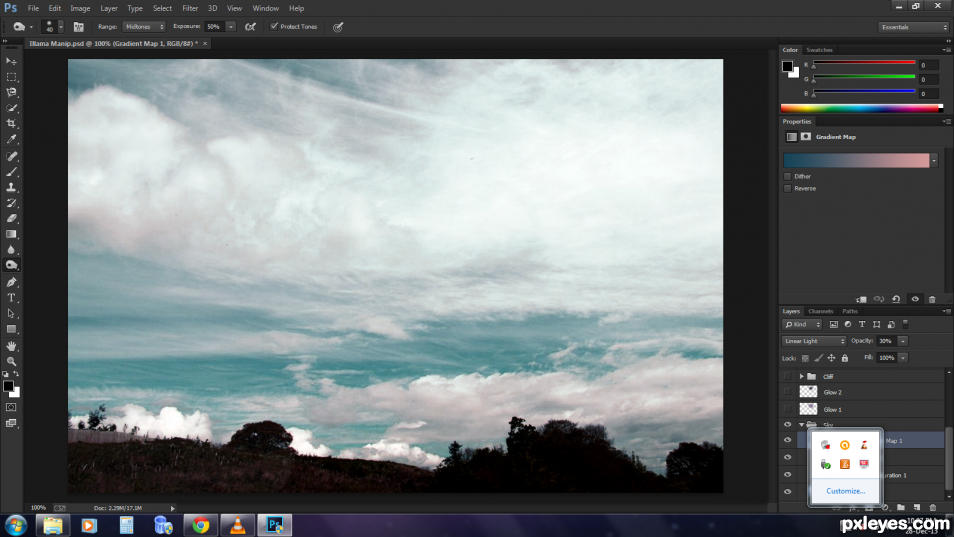
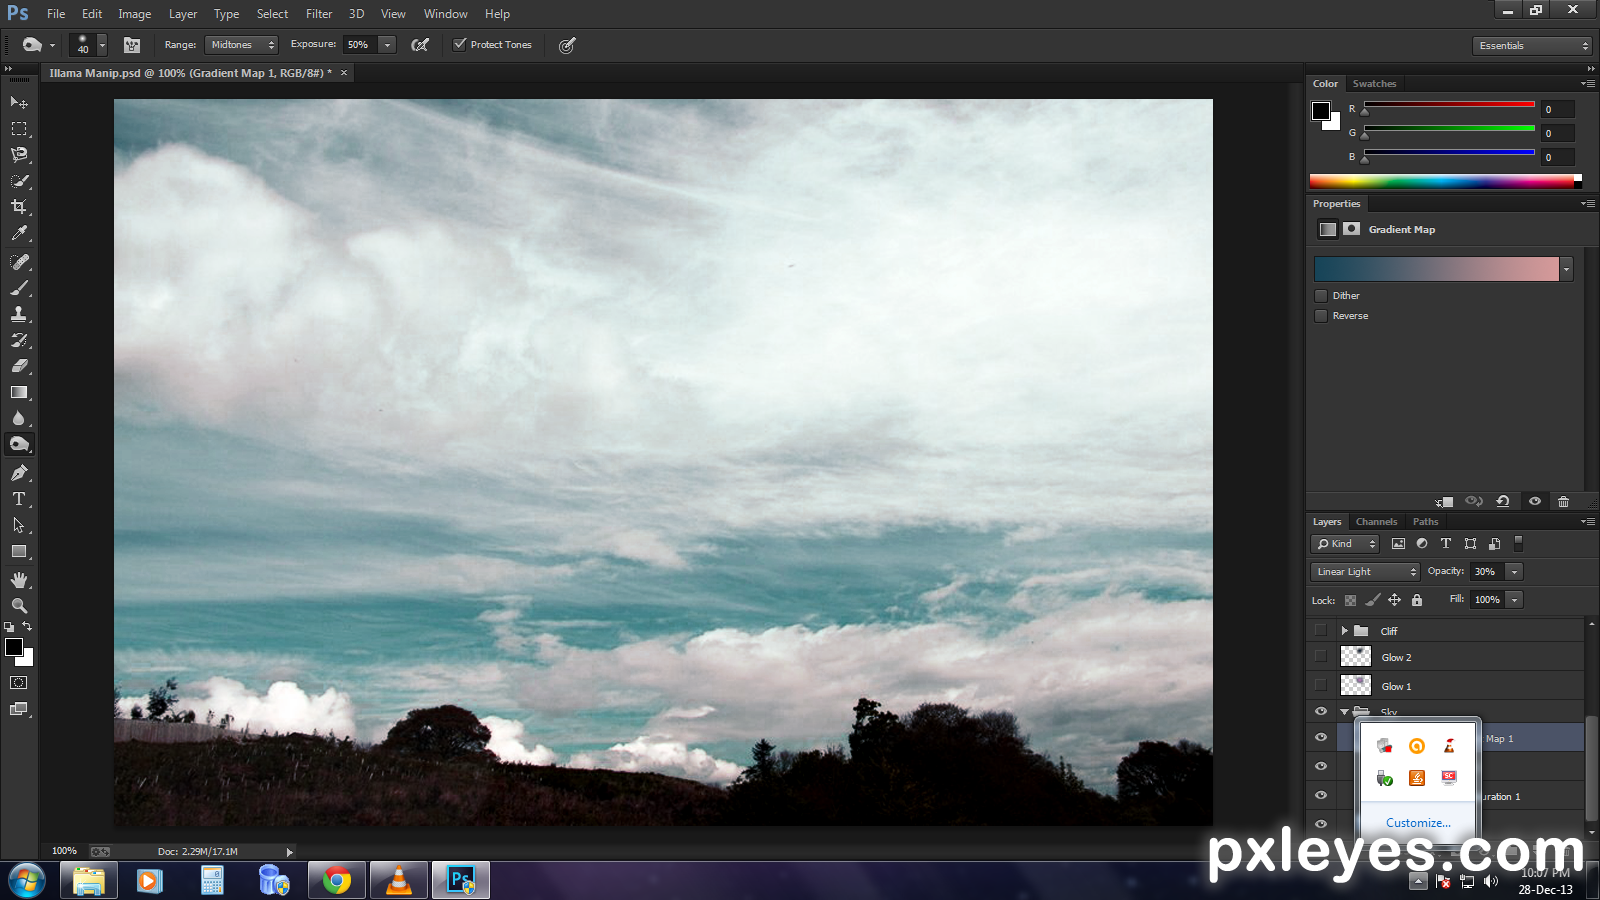
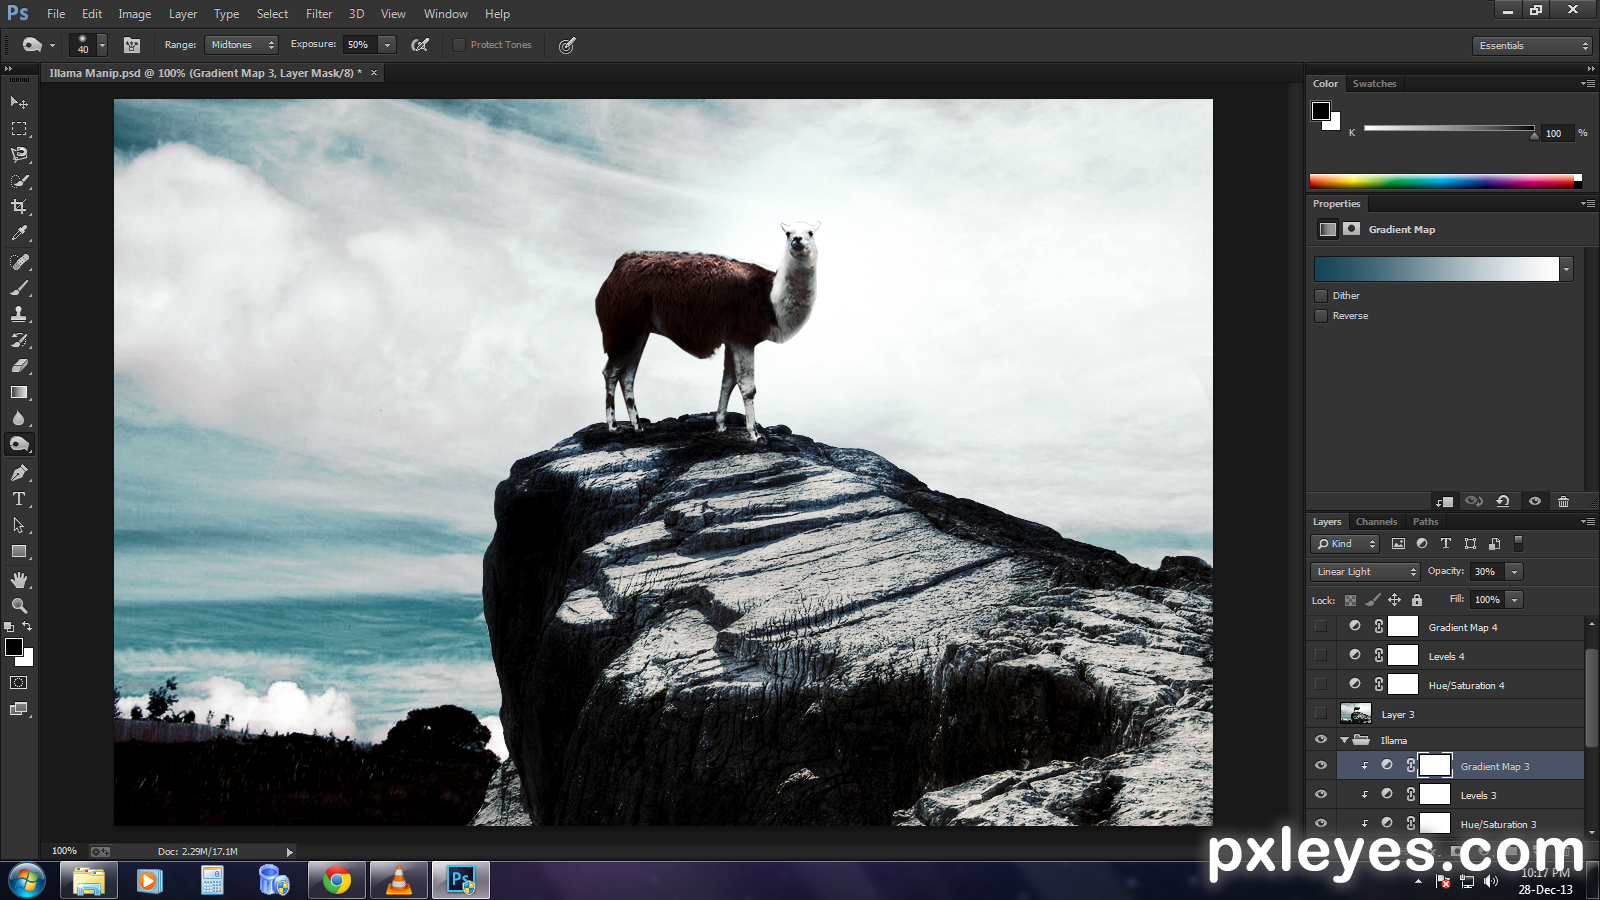
Add a gradient fill adjustment layer above levels layer and choose the colours, #14465c and #d59a9a as the gradient colours and reduce the opacity of the layer to 30% while setting the blending mode to 'Linear light'. The sky is complete and we are going to set the other layers to match with the properties of sky. Select all of the sky's layers and put them in a group.
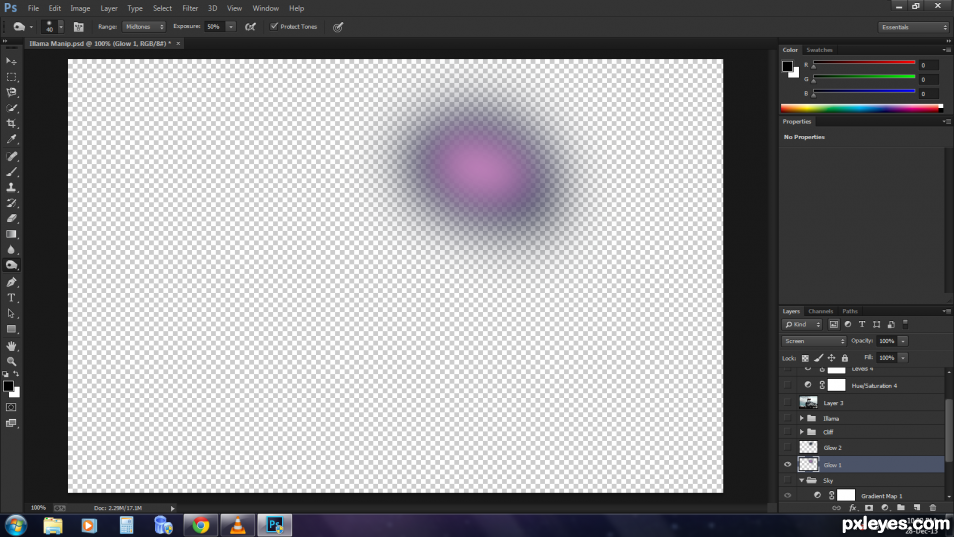
step 5 of 18
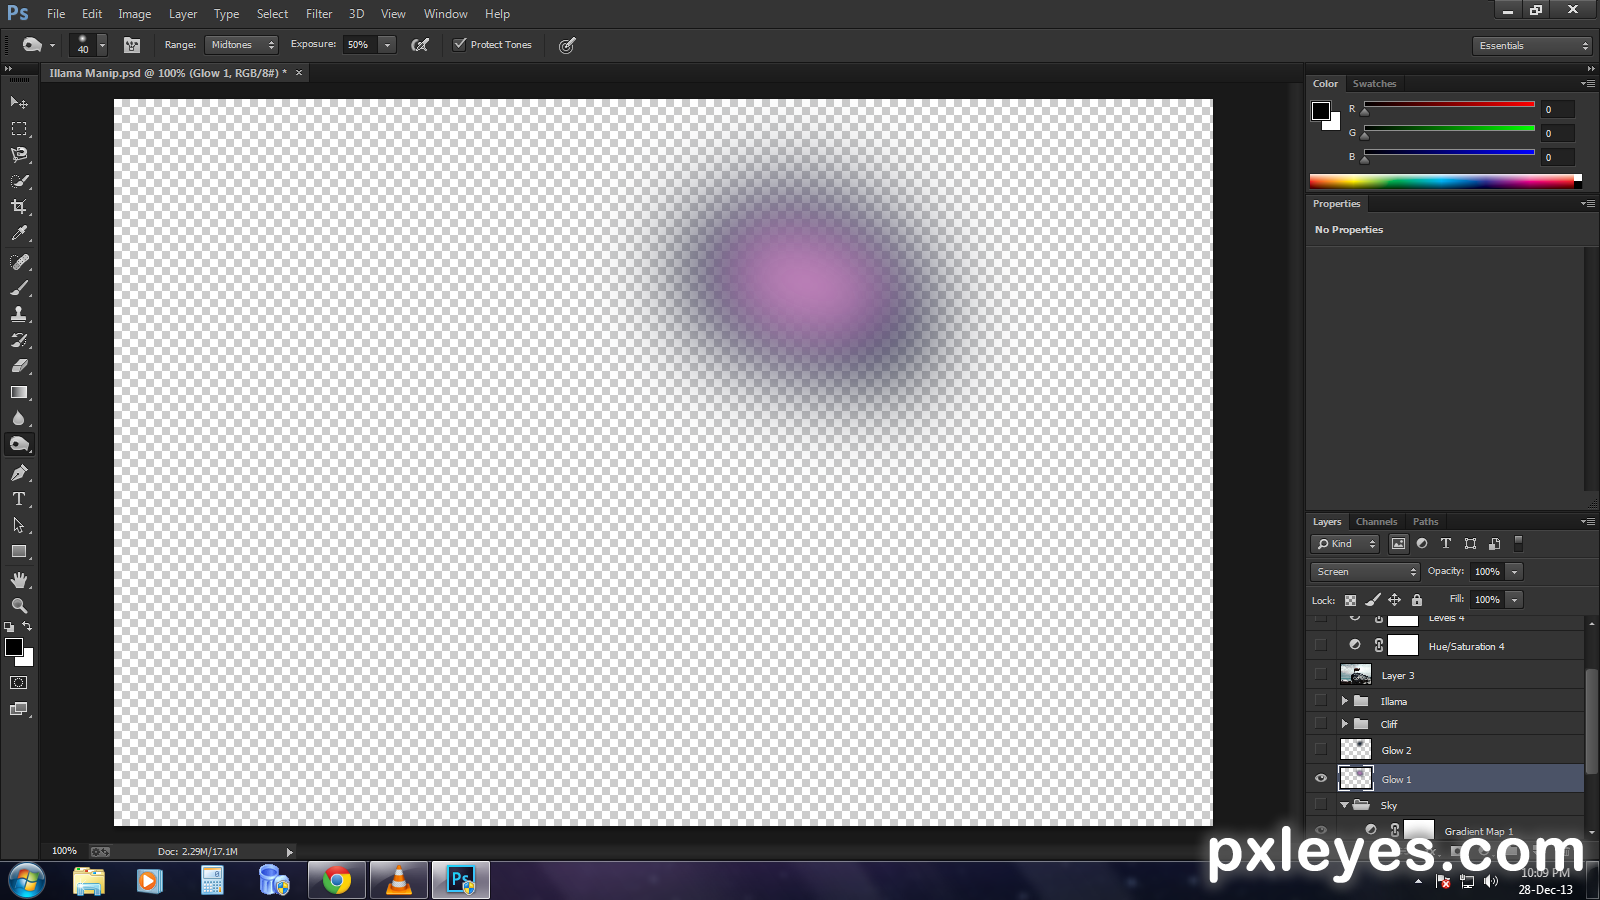
Before we take on the cliff, we can add a glow in the sky, behind the place where we are going to place the Illama. To do this, select a new layer, pick up a soft paint brush, paint a bigger & darker blue spot and also a lighter & samller blue spot over the darker & bigger one. Apply a guassian blur of 35% to 60%. Set the blending mode to 'Screen'.
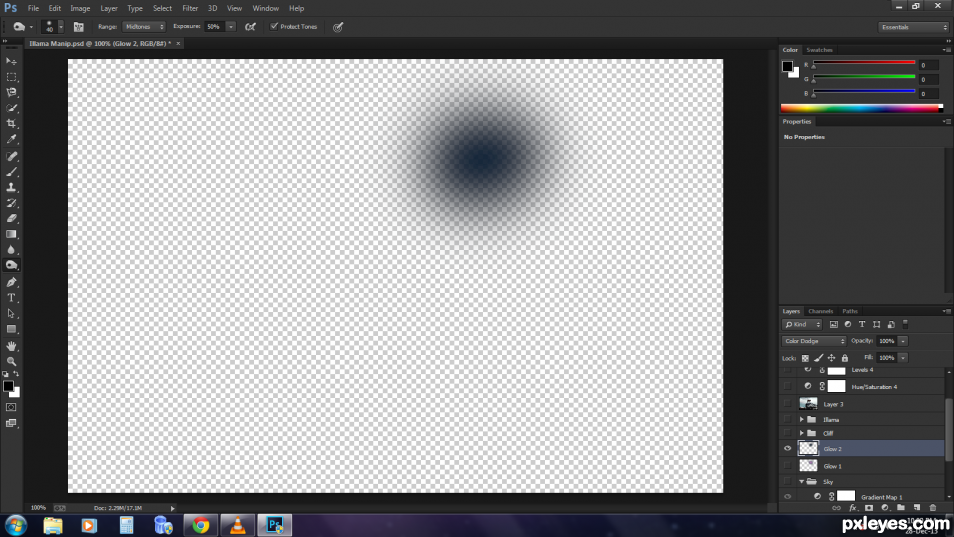
step 6 of 18
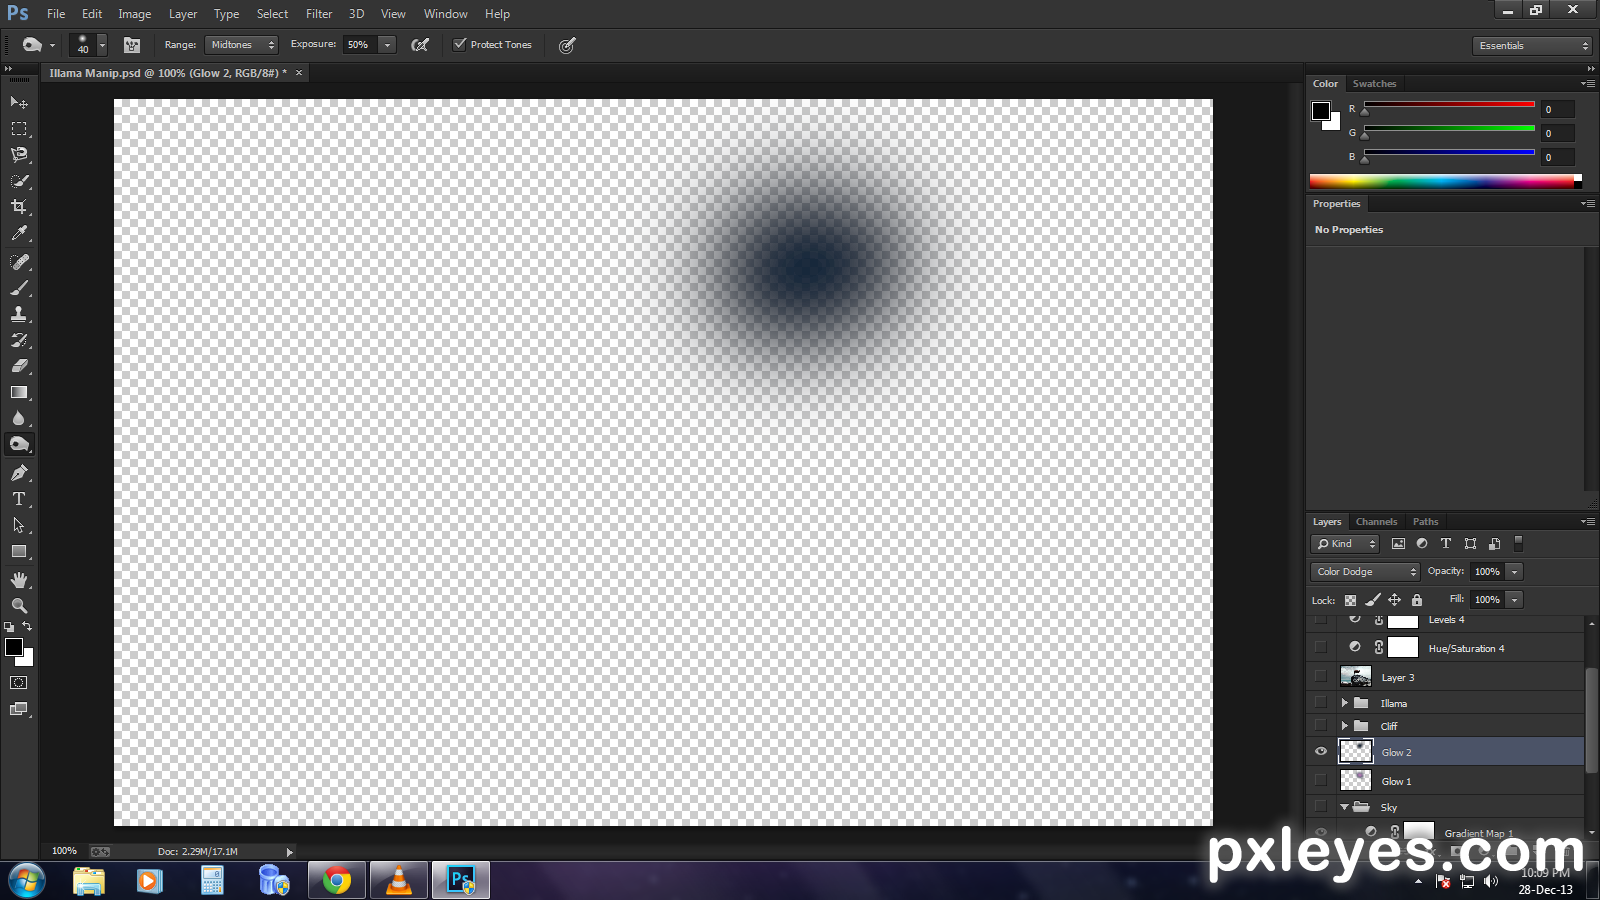
To add to the glow even more, create a new layer, pick up paint brush and add a bigger & darker blue over the same place where we previously painted and apply a guassian blur of the 35% to 60%. Set the blending to 'Colour Dodge'. You may reduce the opacity if you need. You can set the visibility of the sky group and the glow off and we'll turn them on later.
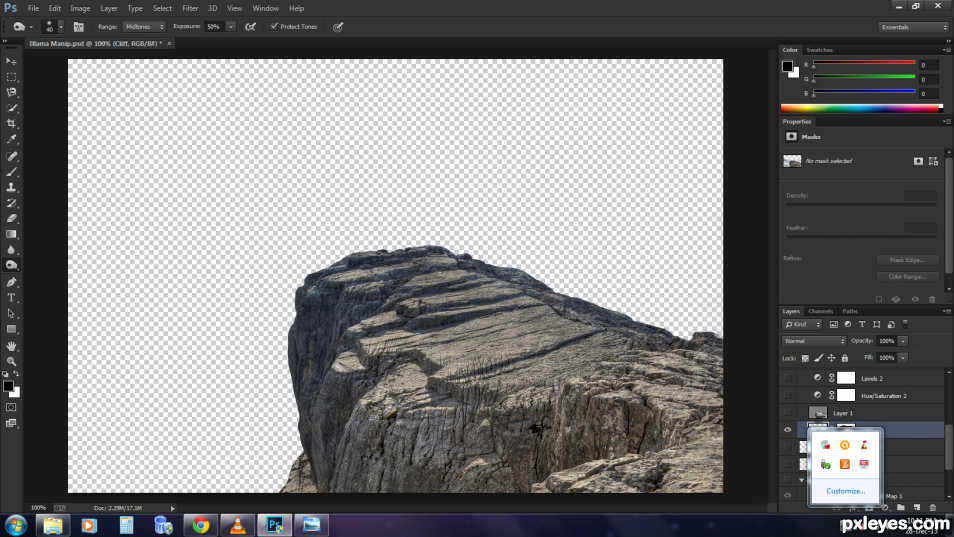
step 7 of 18
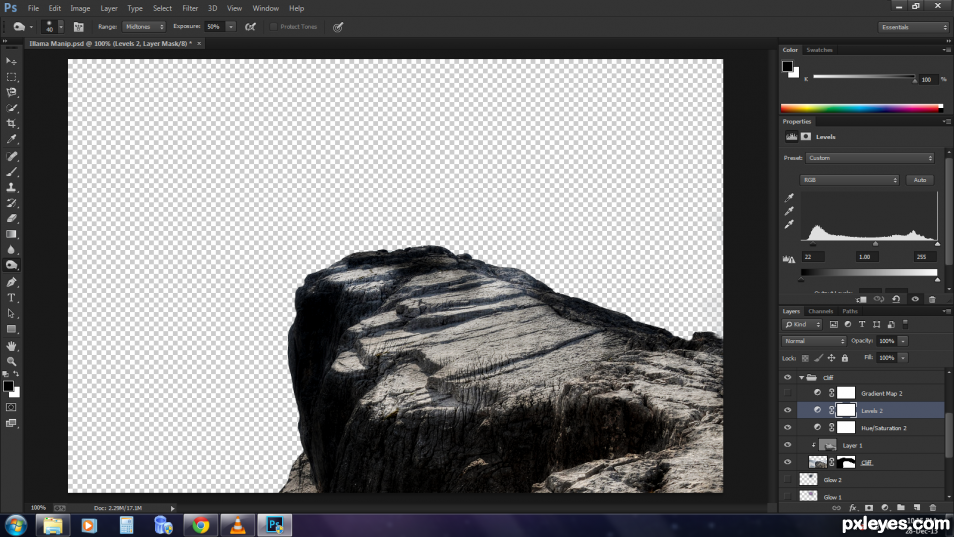
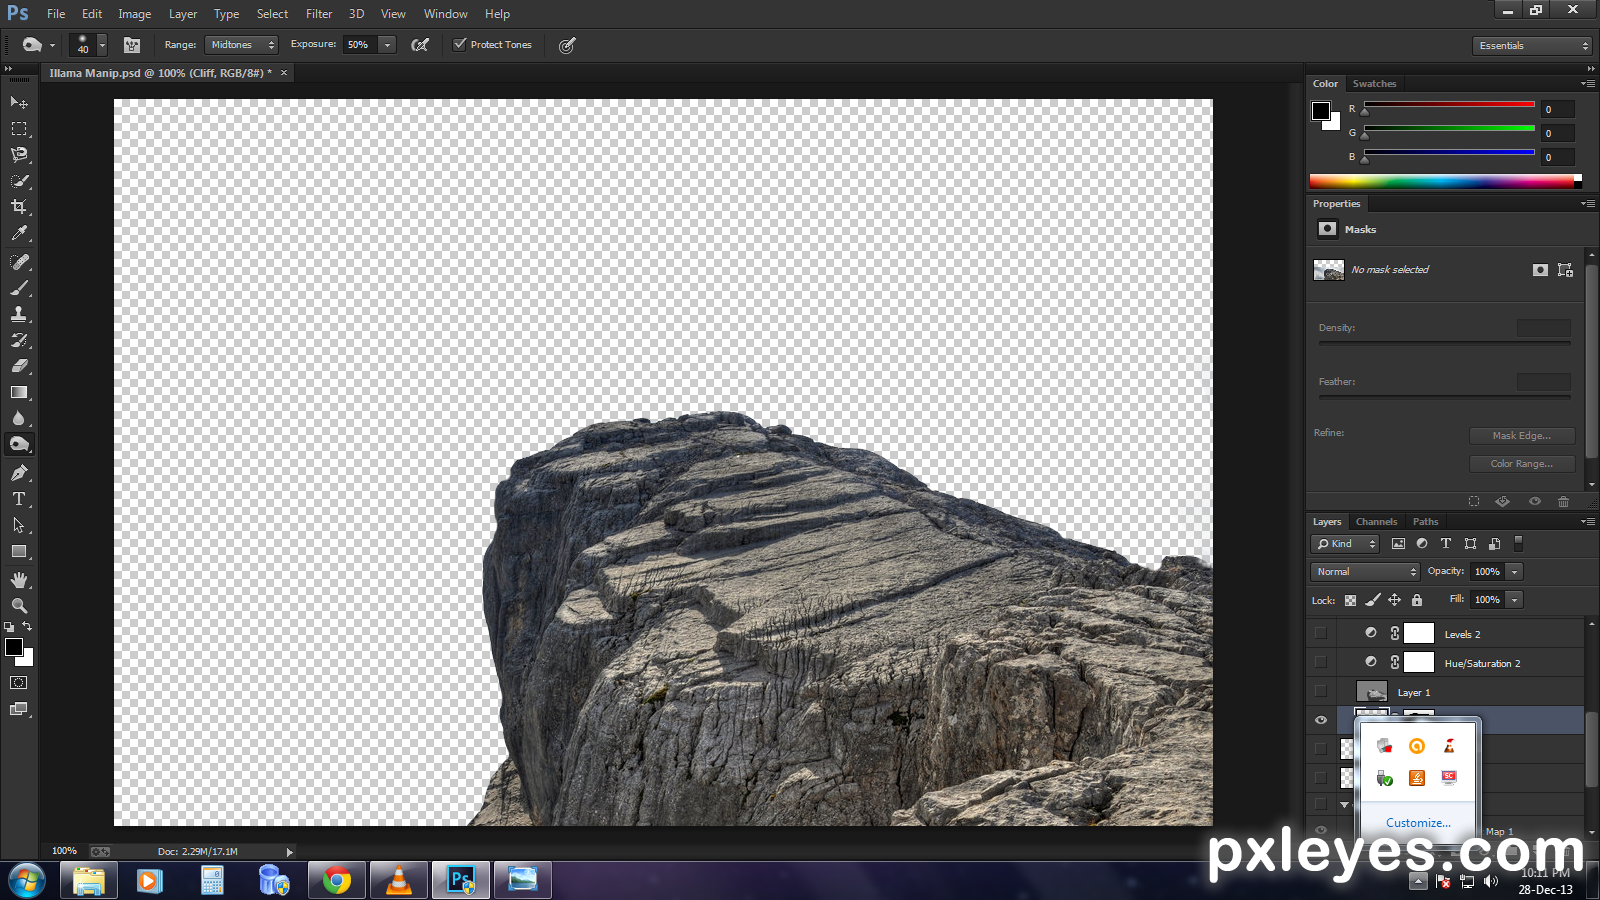
Place the cliff layer, mask out everything other than the cliff. We can now add the hue/sat, levels and grad map adj. layers to match it with scene.
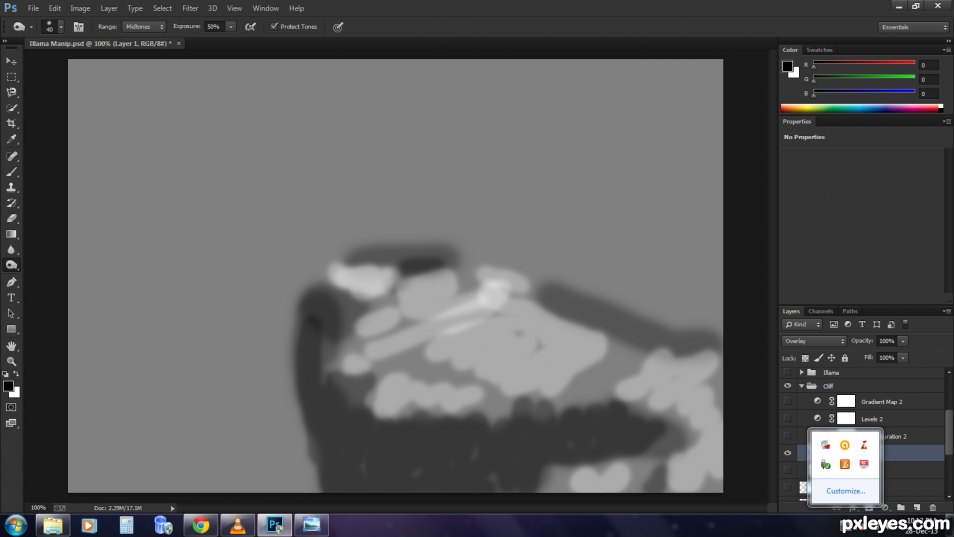
step 8 of 18
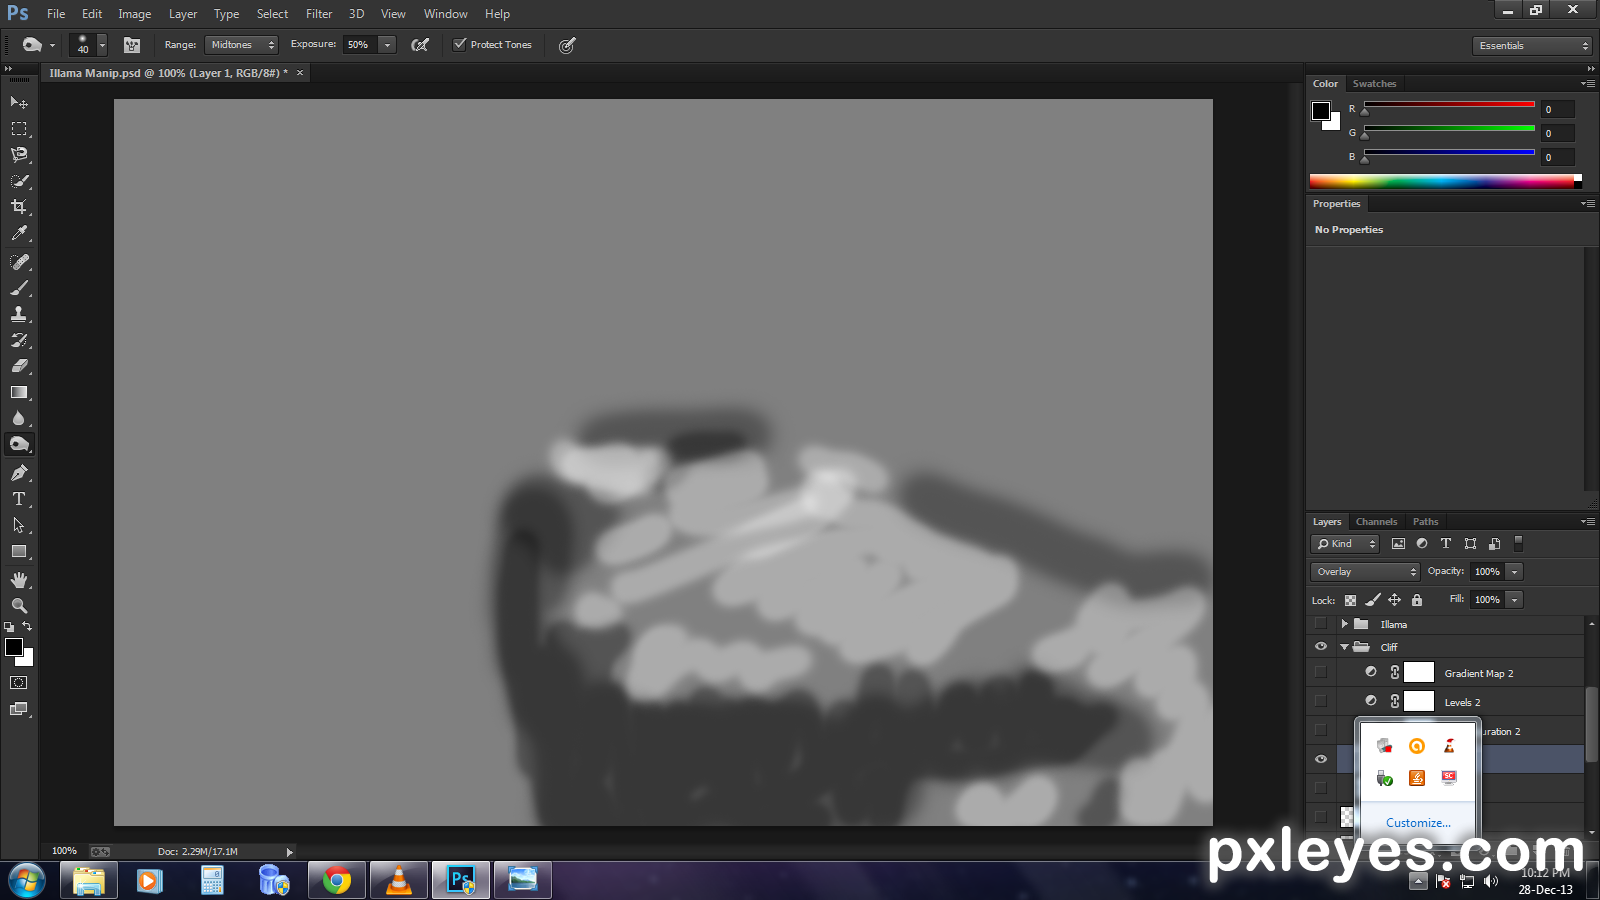
As the light is behind the cliff, we need to darken the portion of the cliff facing away from the sky. To do that, we add a new layer, fill it with 50% grey and set it to 'Overlay' mode. Now, we can take a soft brush, paint black over the areas where the cliff needs to be darkened and white over the areas where it needs to be lightened.
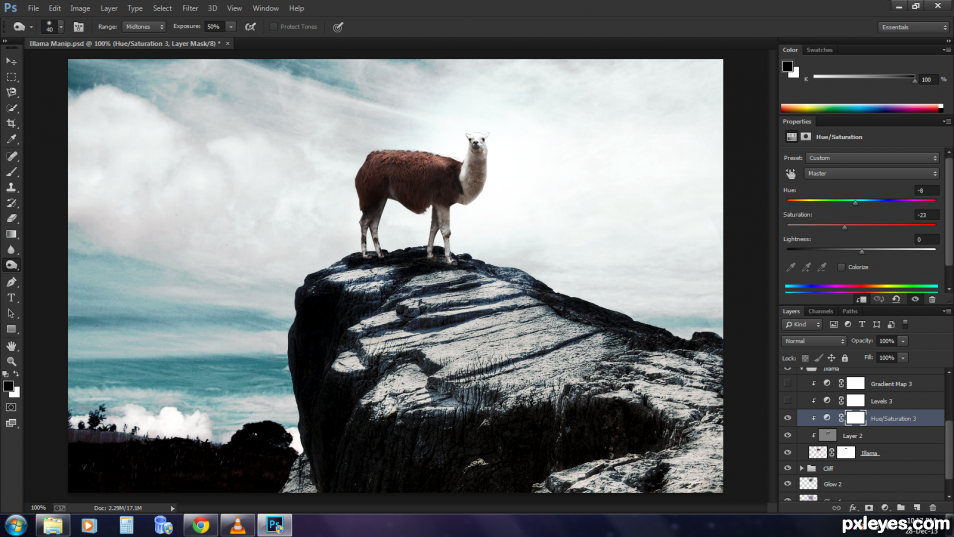
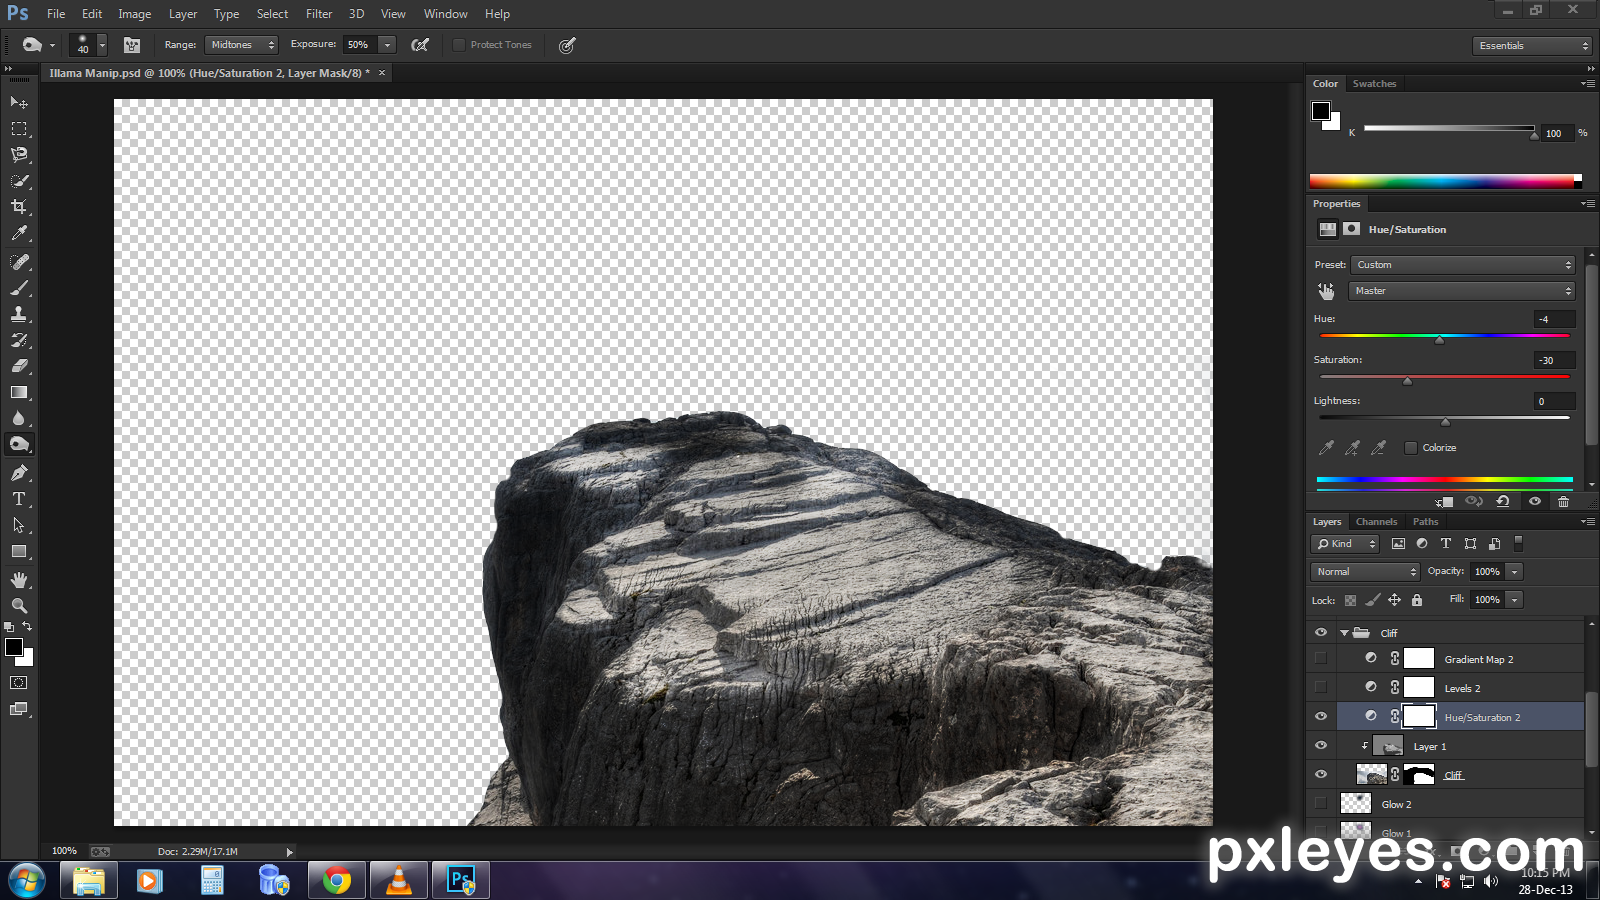
step 9 of 18
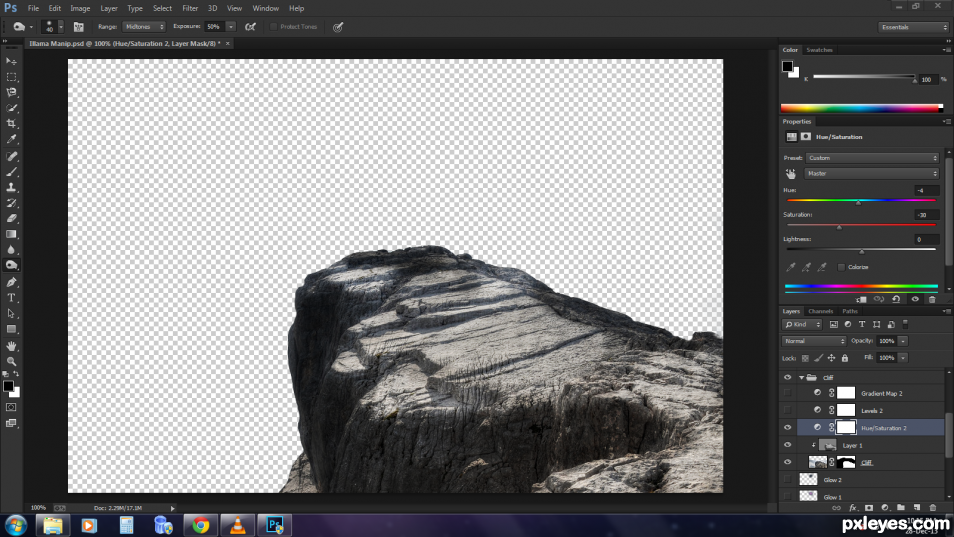
Add a hue/sat adjustment layer, press 'alt' and click the lower part of the layer to clip the effeciveness to only the layer beneath. We need to clip all the upcoming adjustment layers likewise. Set the hue to -4 and the saturation to -30.
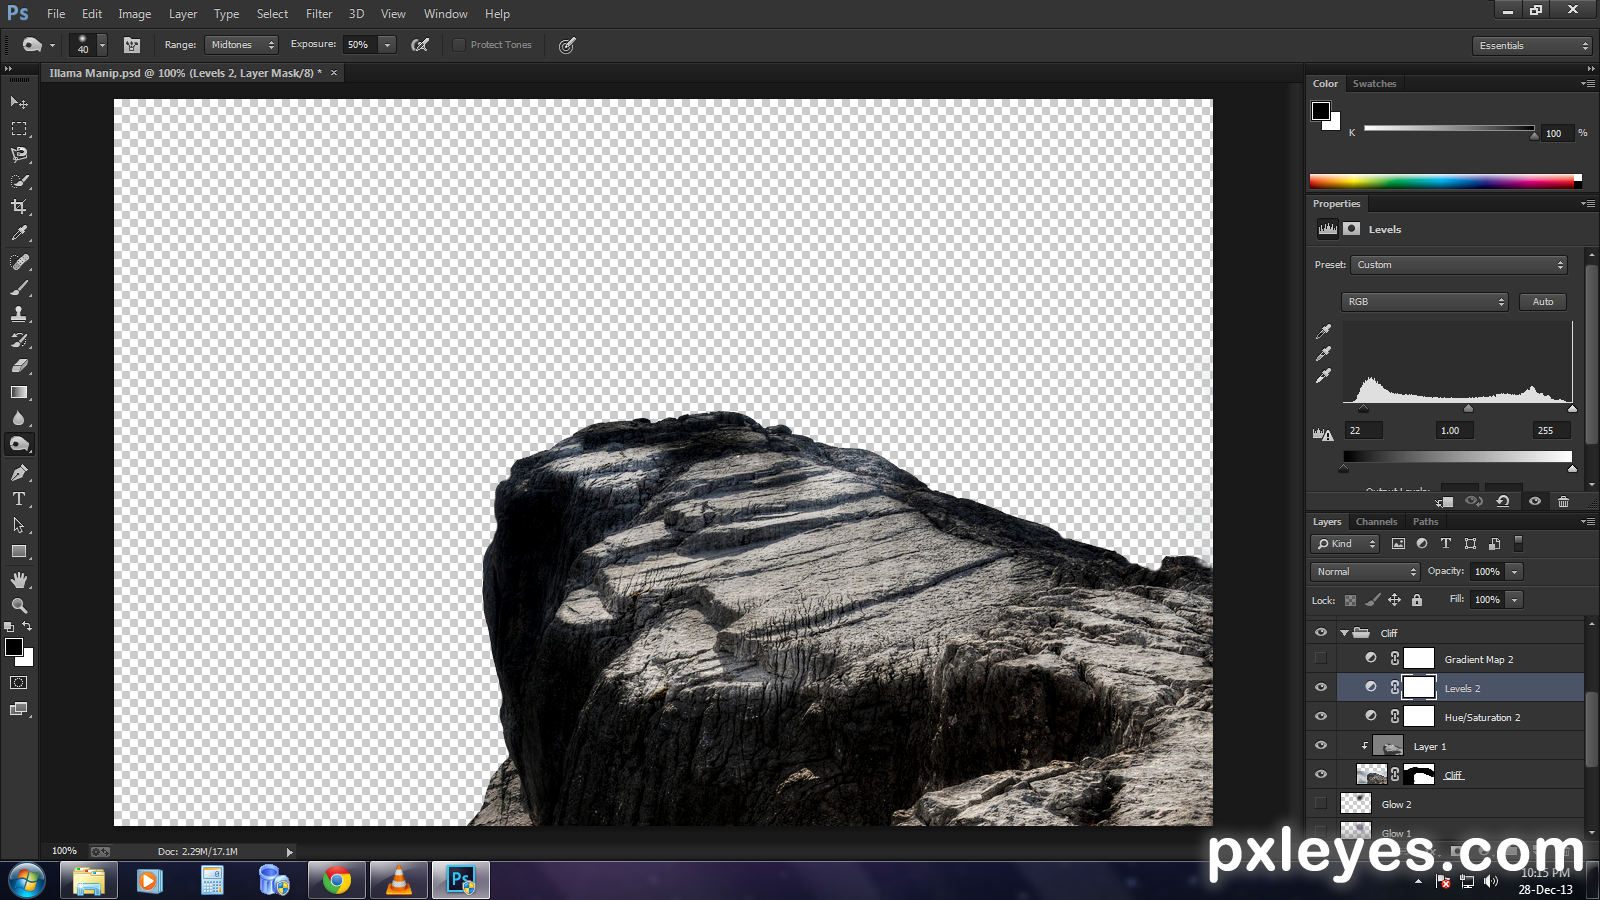
step 10 of 18
step 11 of 18
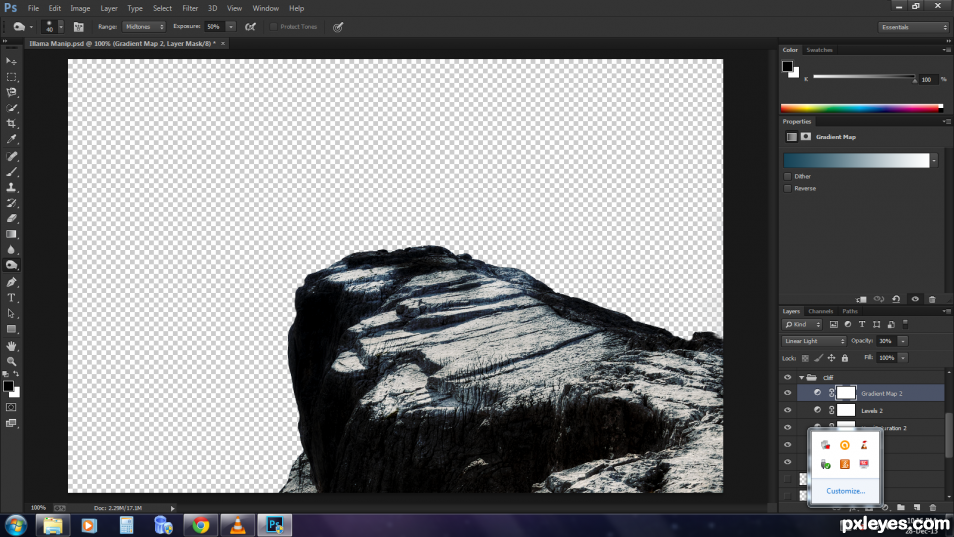
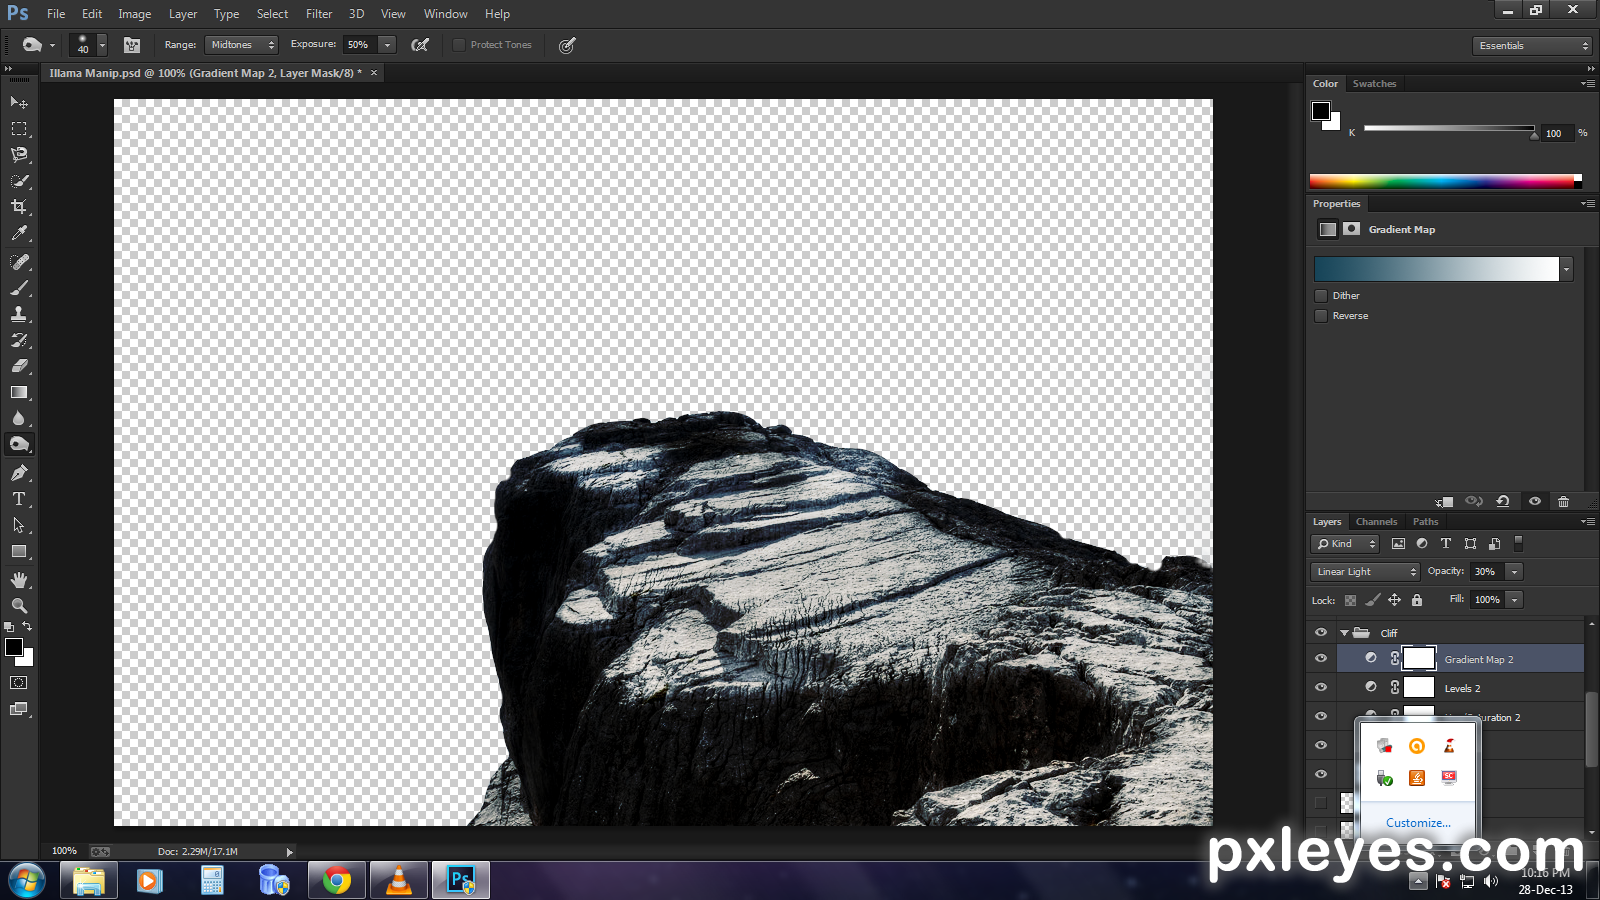
Add a grad. map layer, add the colours, #14465c and pure white and set the blending mode to 'Linear light' and opacity to 30%. Put all the cliff layers in a group.
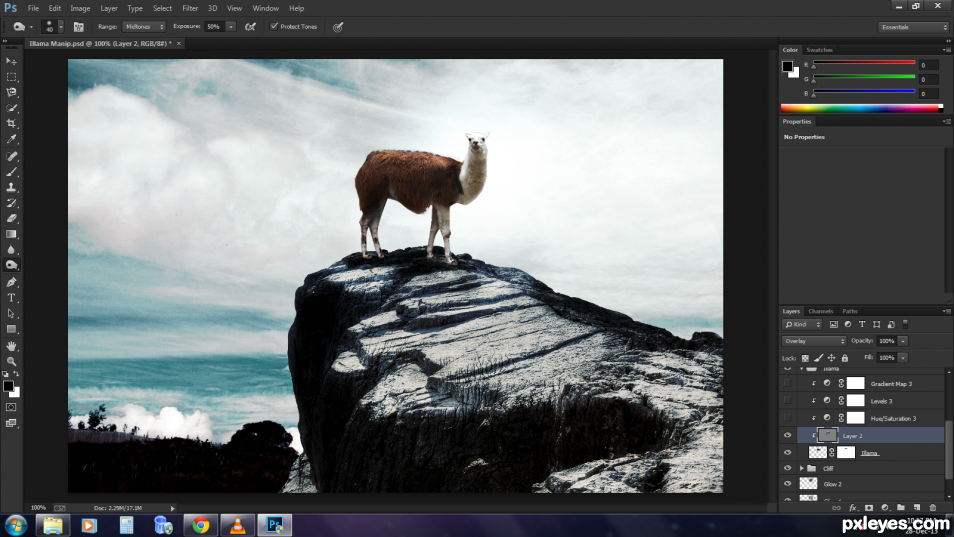
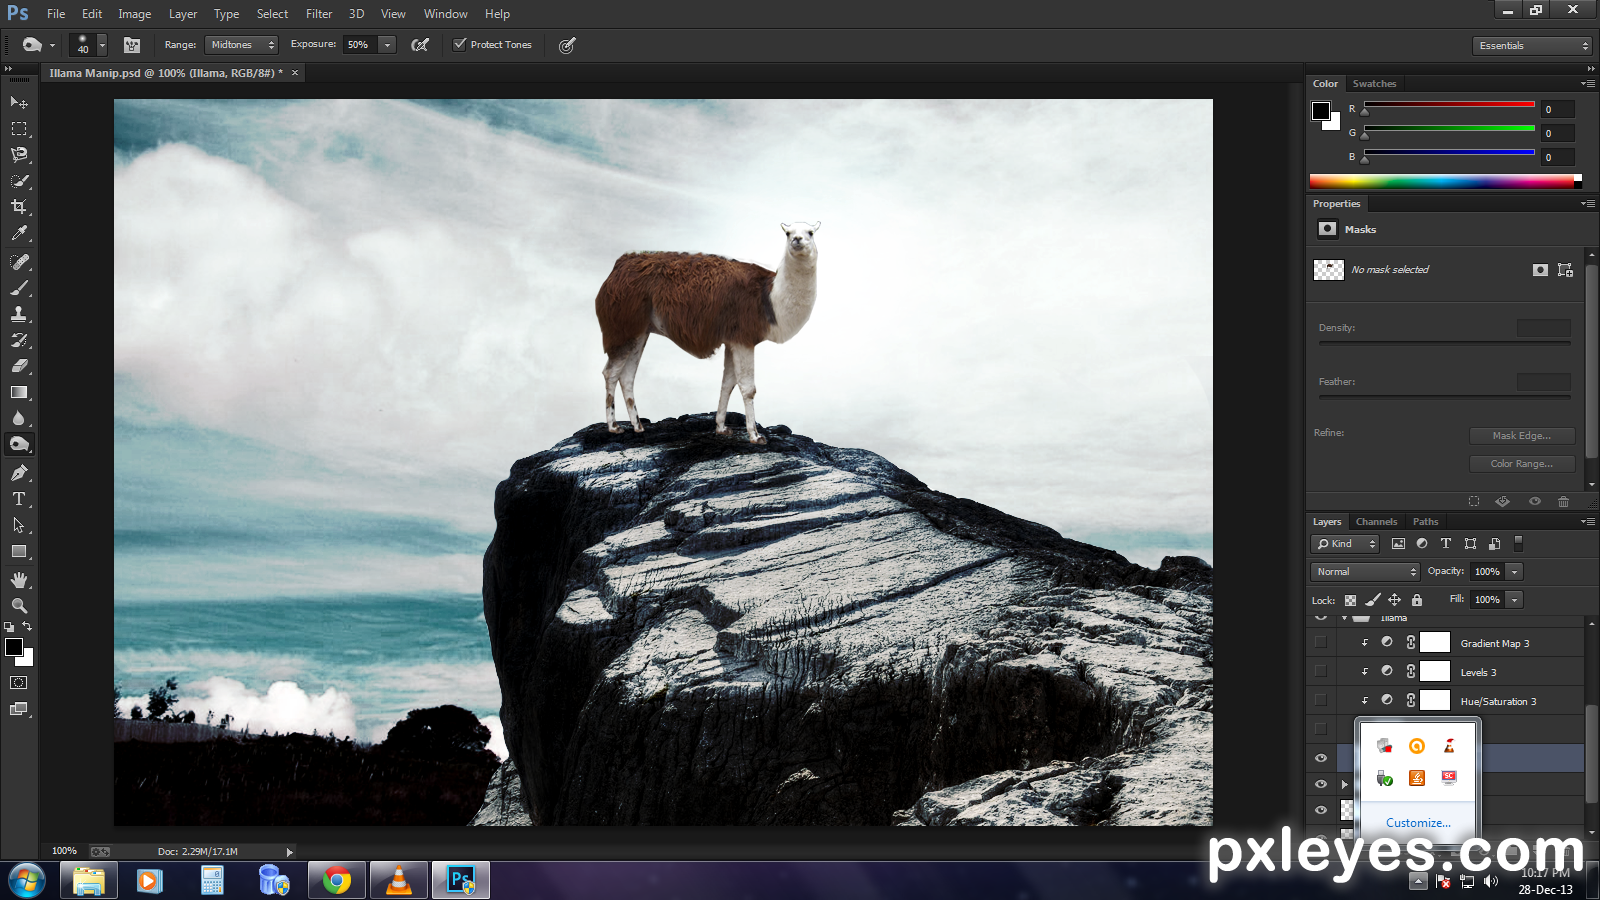
step 12 of 18
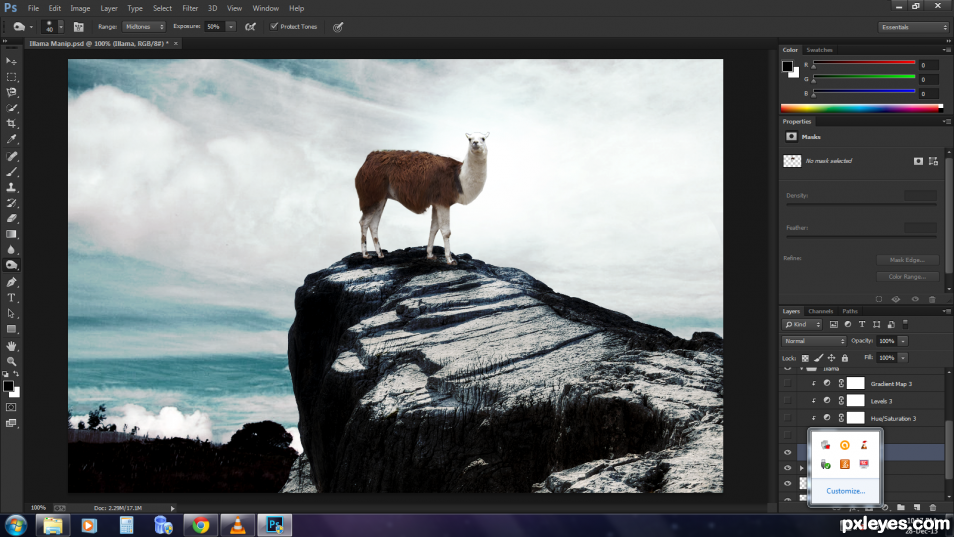
Turn the visibility of all the layers on. Add and resize the Illama layer just enough to make it stand on the top of the cliff.
step 13 of 18
Now, create a new layer, fill it with 50% grey and set the blending mode to 'Overlay'. With a soft paint brush tool, paint black and white on the areas facing away and towards the sky respectively, like the cliff layer.
step 14 of 18
step 15 of 18

step 16 of 18
Add a grad. map layer, add the colours, #14465c and pure white and set the blending mode to 'Linear light' and opacity to 30%. Put all the Illama layers in a group.

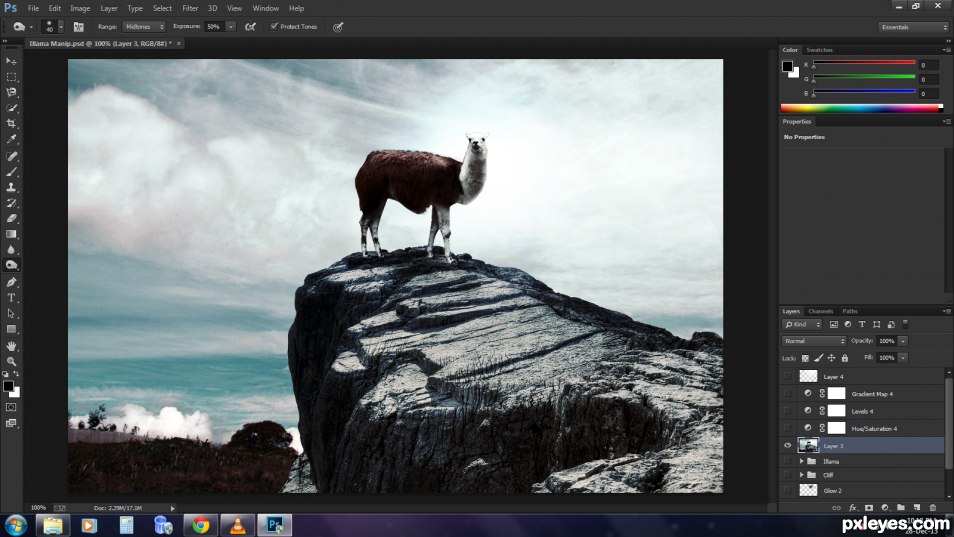
step 17 of 18
Press 'Alt+Ctrl+Shift+E' to create a merged copy of all the layers and we can set off the visibility of all other layers below.
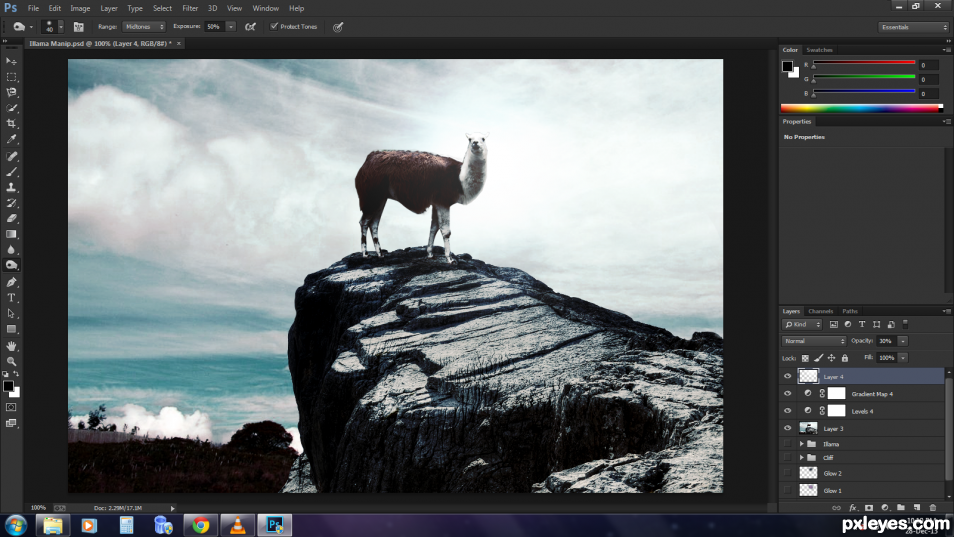
step 18 of 18
You can add a hue/sat, levels and grad map layers to the final merged image to tweak it up. Finally, add a white paint, blur it, set the opacity to 30% and keep it on the glowing portion of the sky to finish the manipulation.
Final result
Pxleyes
Photography and photoshop contests
We are a community of people with
a passion for photography, graphics and art in general.
Every day new photoshop
and photography contests are posted to compete in. We also have one weekly drawing contest
and one weekly 3D contest!
Participation is 100% free!
Just
register and get
started!
Good luck!
Follow us:


© 2015 Pxleyes.com. All rights reserved.