
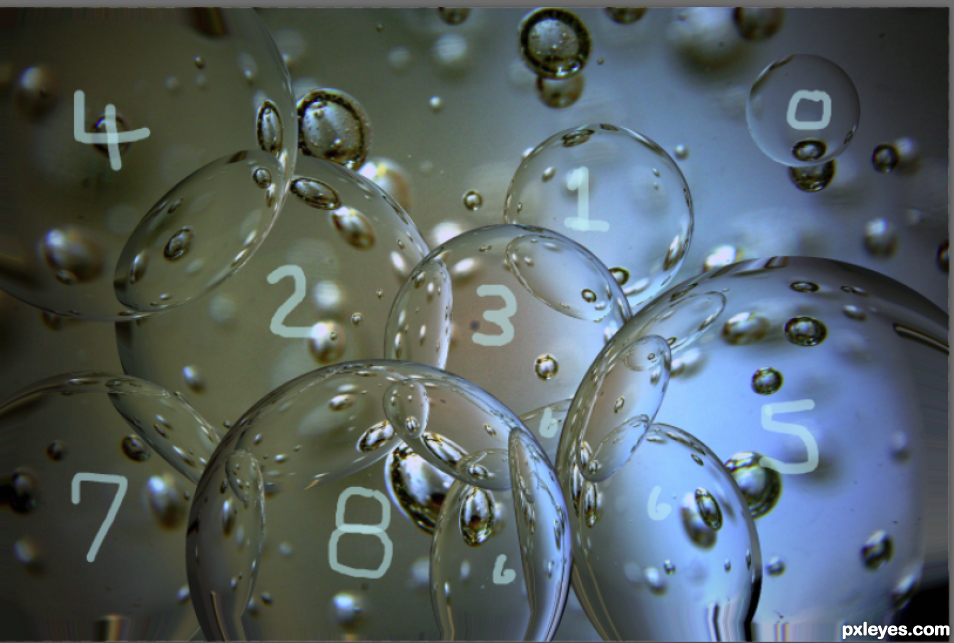
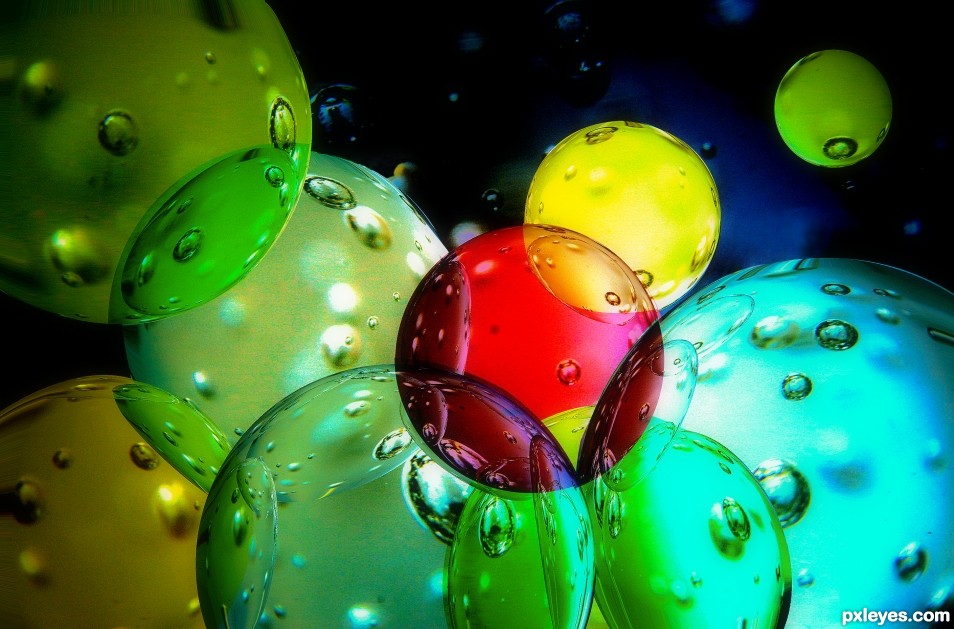
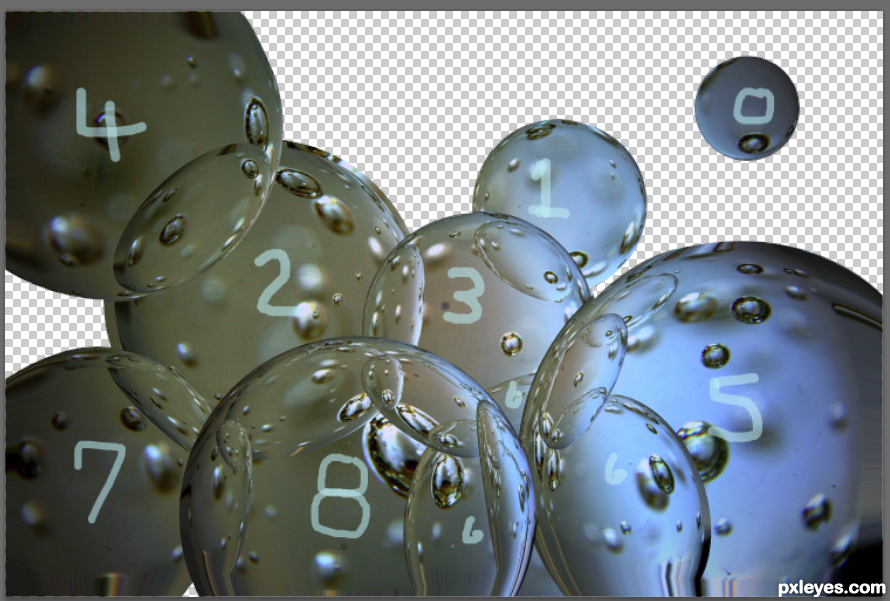
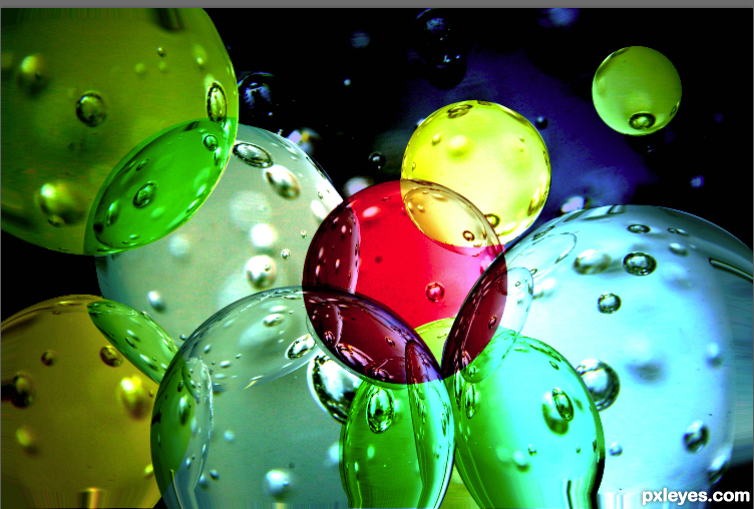
Original image
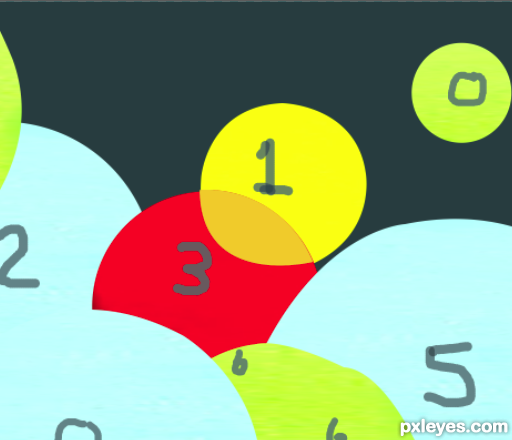
step 1 of 11
step 2 of 11

step 3 of 11
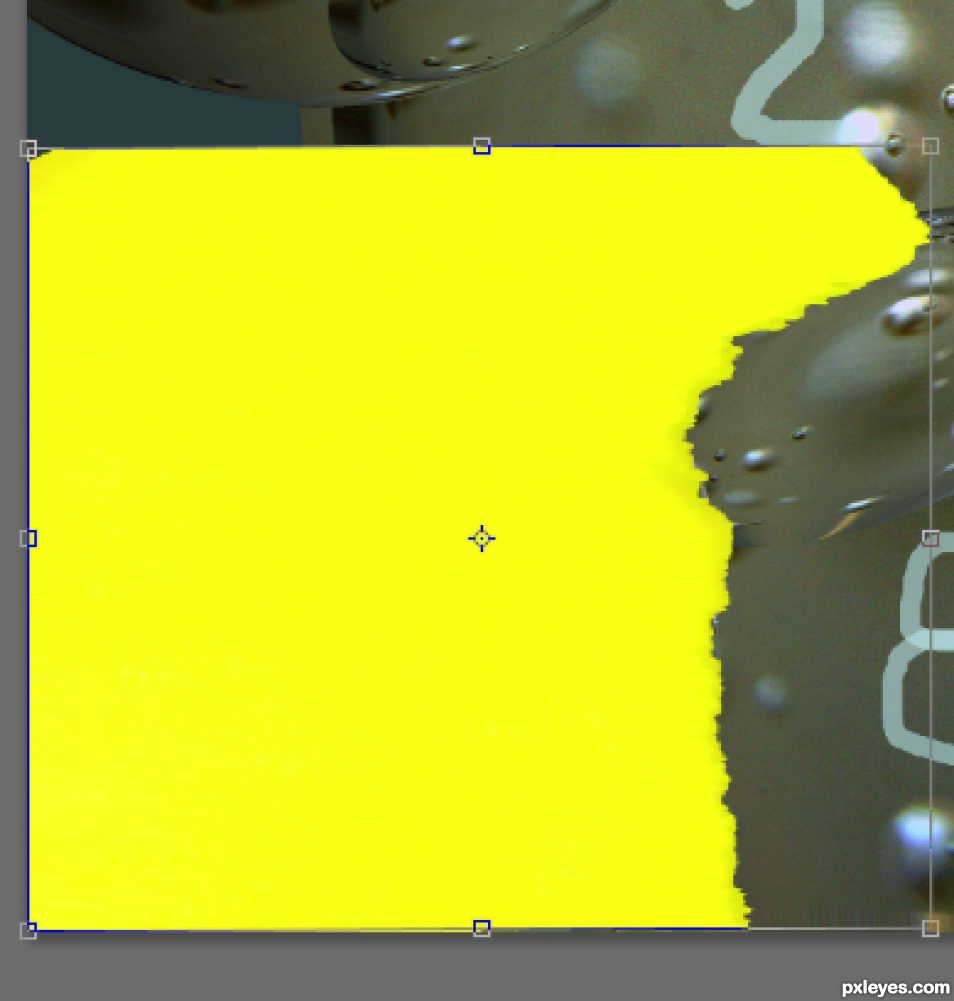
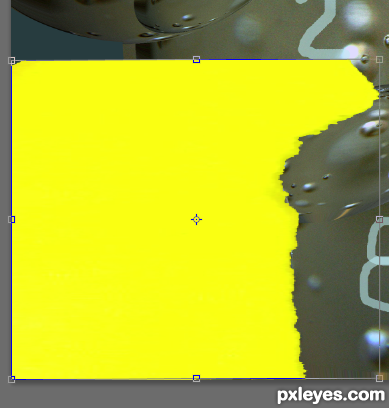
Start distorting patches from bottle and save as seperate layers. This one is for the yellow.
step 4 of 11
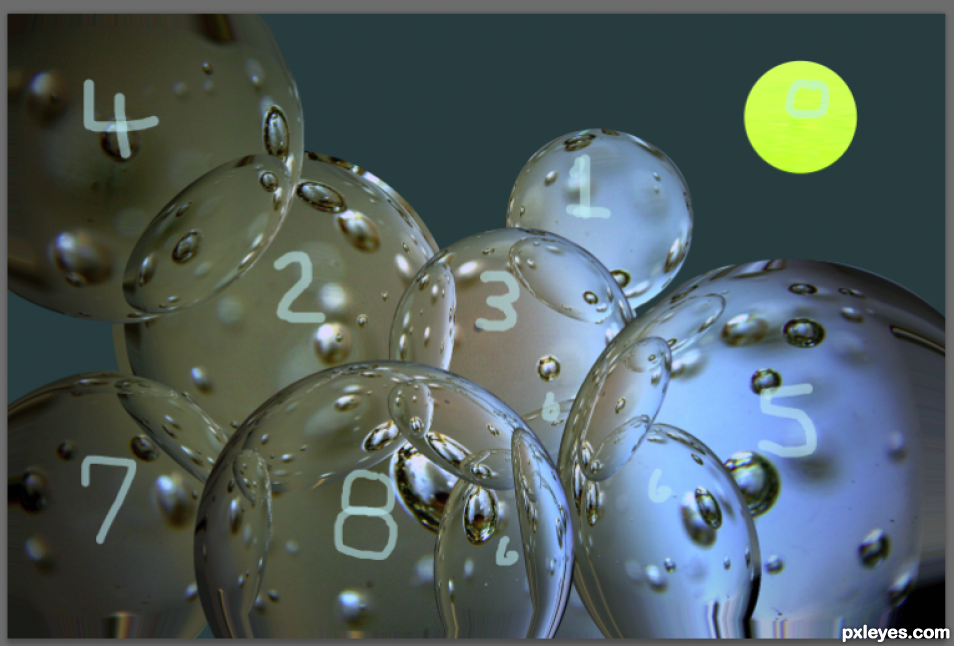
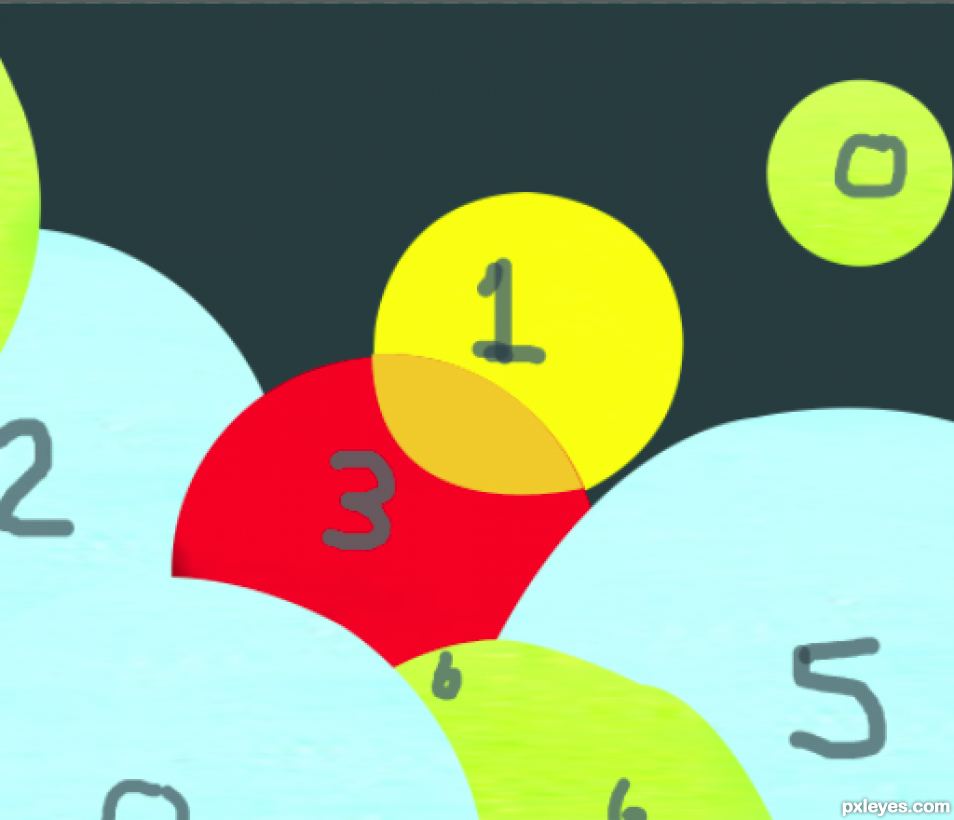
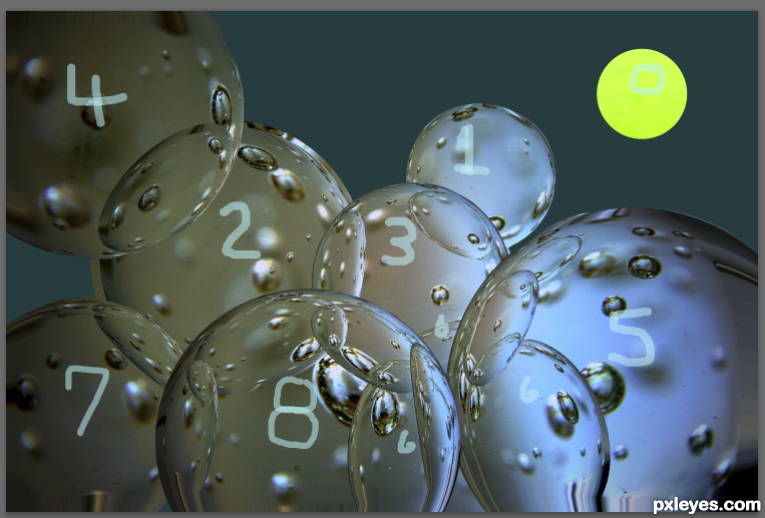
Place copy of appropriate color patch over each circle layer and clip to appropriate circle. Here I did small yellow circle.
step 5 of 11
step 6 of 11
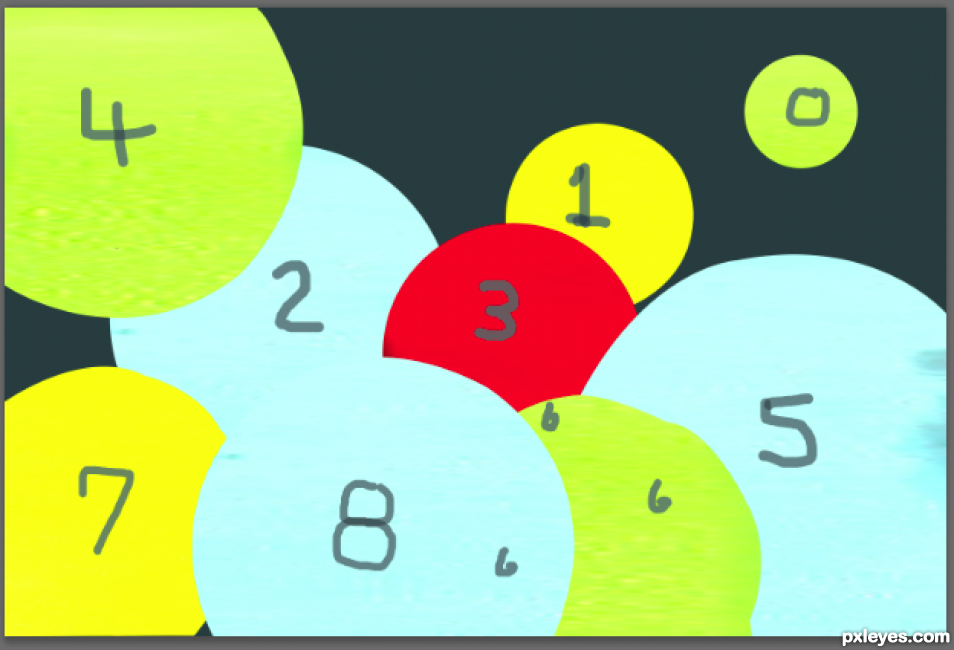
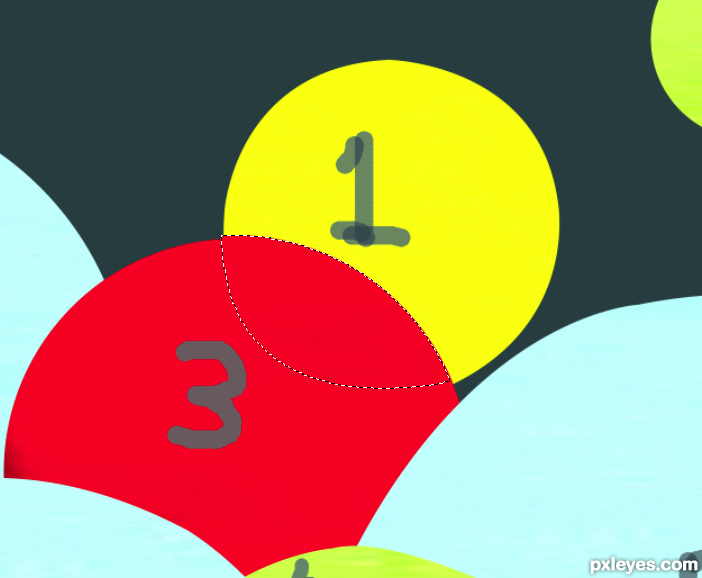
Create intersection selection for layers 1 and 3 and copy selection to a new layer. This will be colored with an orange as their is no overlapping of red and yellow in the bottle picture.
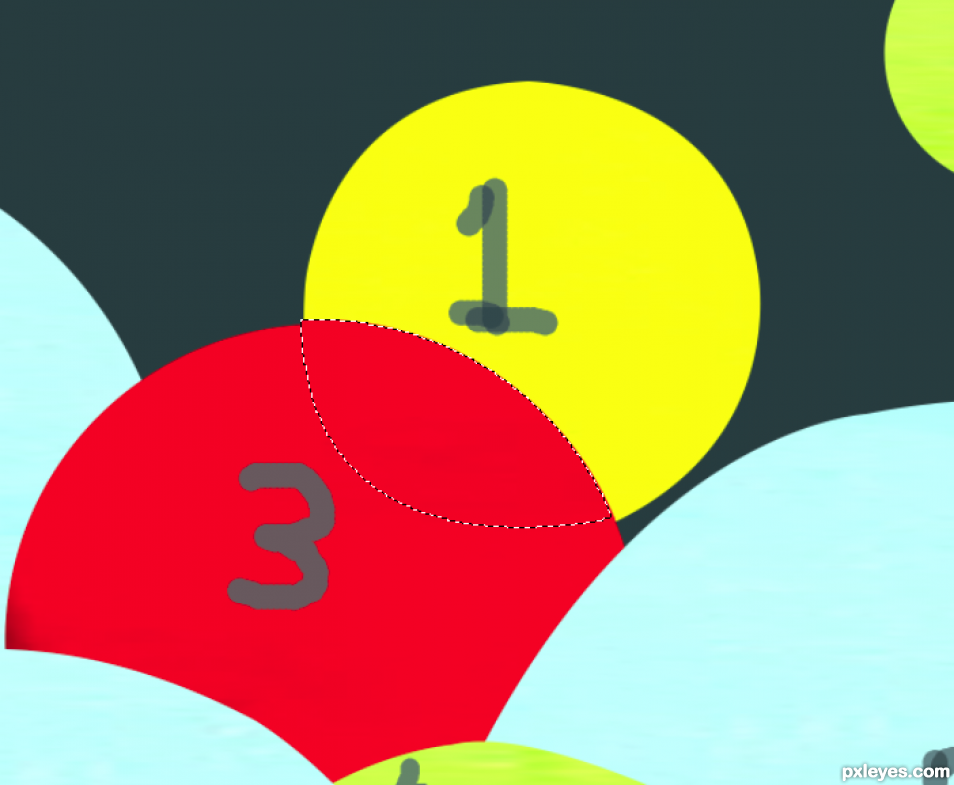
step 7 of 11
step 8 of 11
step 9 of 11

step 10 of 11

step 11 of 11

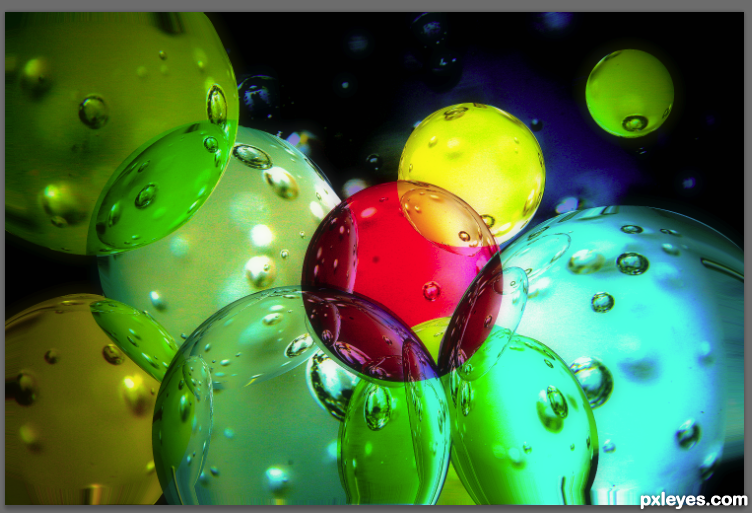
Final result
Comments
Pxleyes
Photography and photoshop contests
We are a community of people with
a passion for photography, graphics and art in general.
Every day new photoshop
and photography contests are posted to compete in. We also have one weekly drawing contest
and one weekly 3D contest!
Participation is 100% free!
Just
register and get
started!
Good luck!
Follow us:


© 2015 Pxleyes.com. All rights reserved.
thank you!
(5 years and 2509 days ago)