
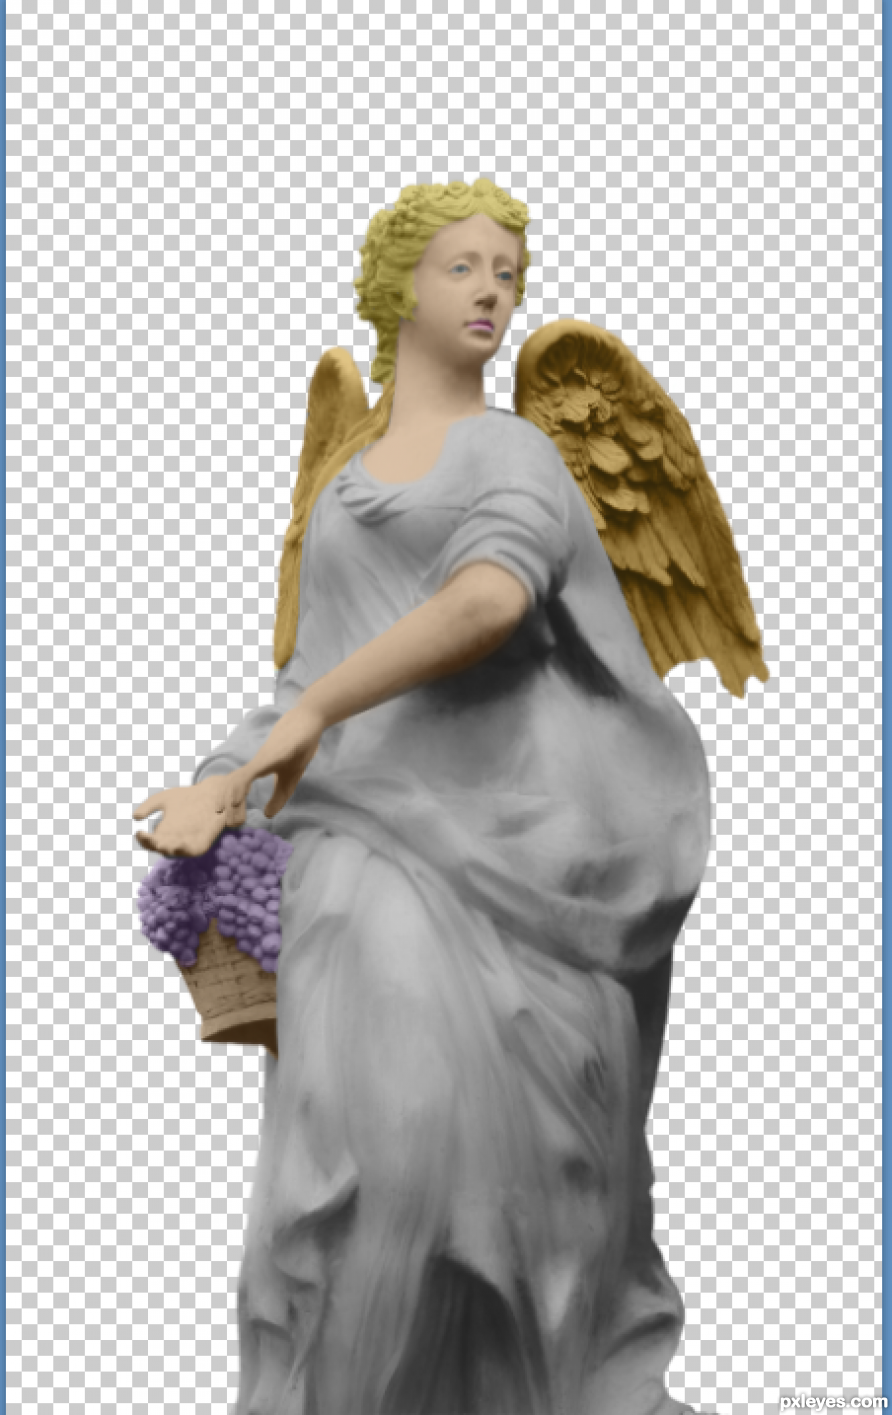
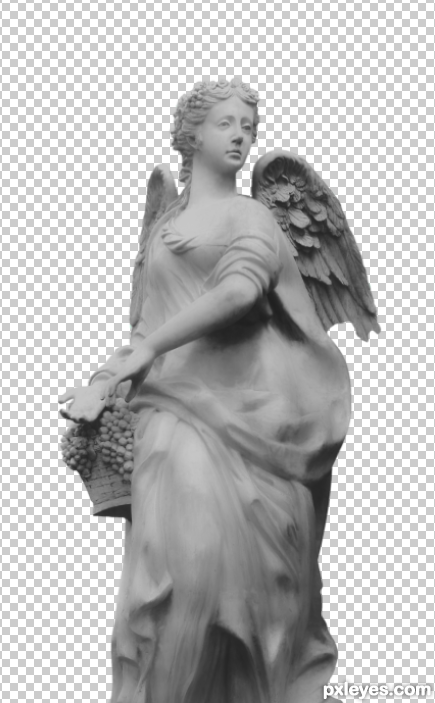
Original image
step 1 of 11

step 2 of 11
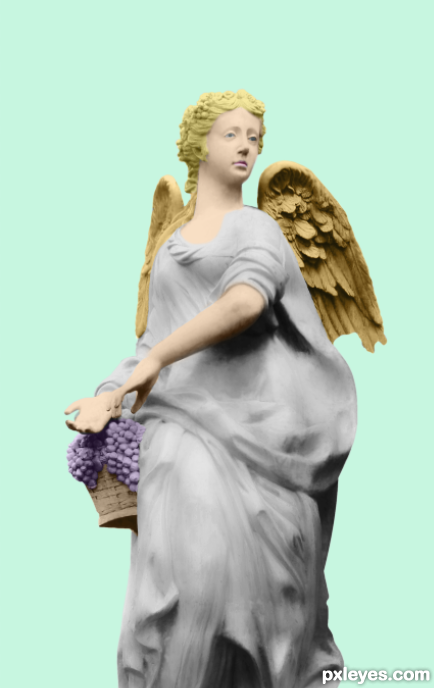
Color hair,skin,wings,basket,grapes,lips, and eyes using clipped layers with color blending mode.
step 3 of 11
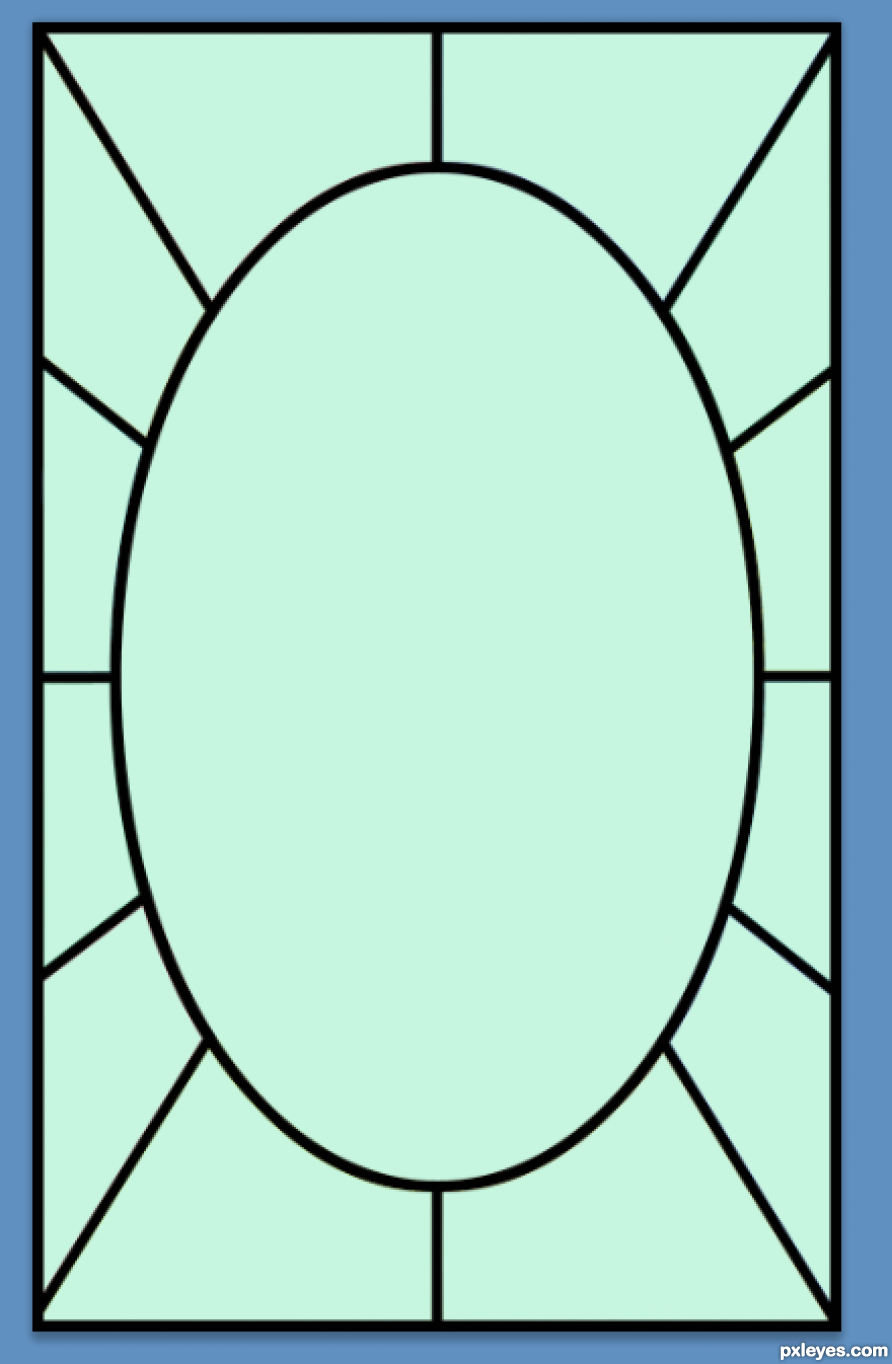
Adjust statue levels and brightness using clipped adjustment layers. Added Light green background.

step 4 of 11
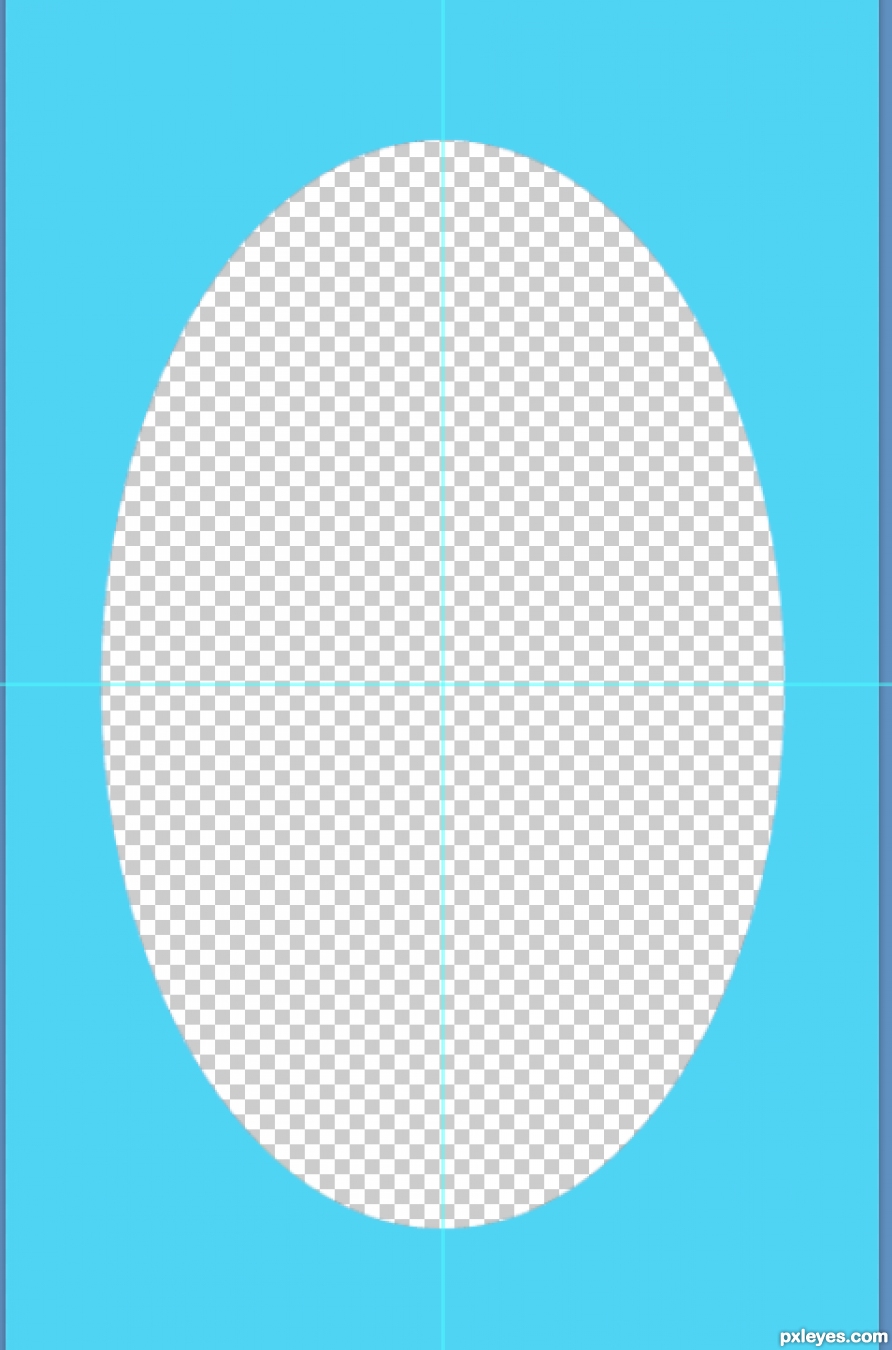
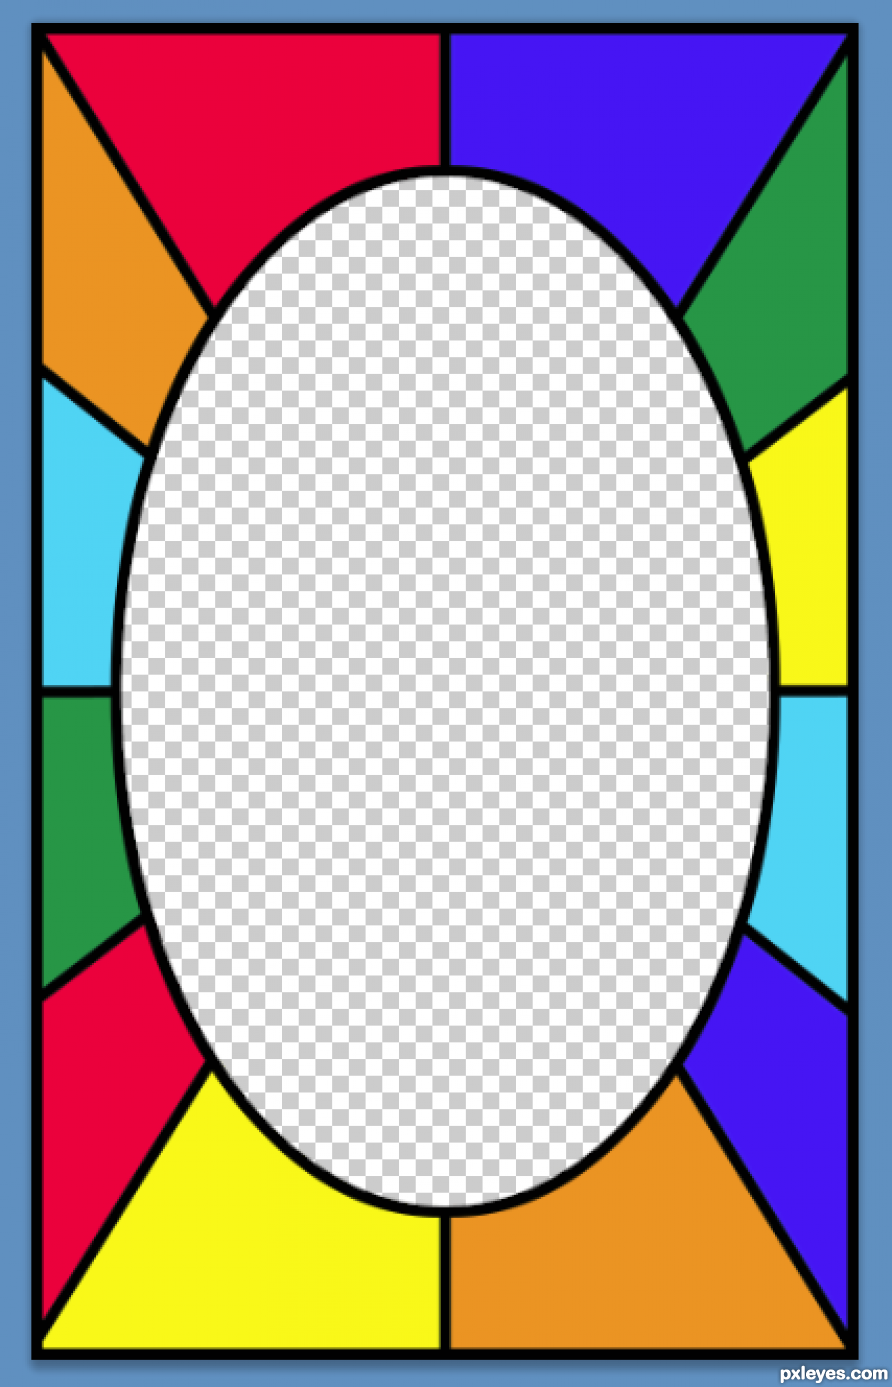
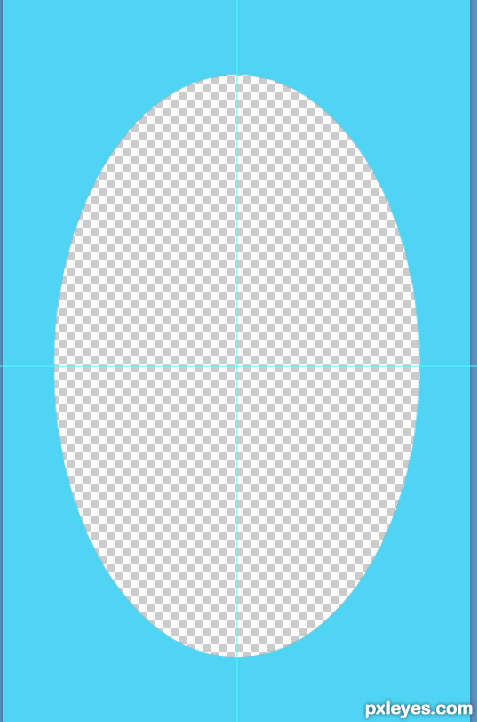
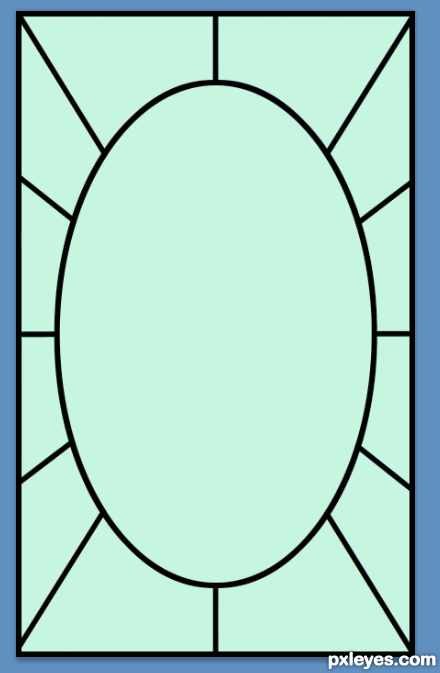
Made a layer out of an oval with elipse tool. Used centered ruler guide to find a mid-point.
step 5 of 11
step 6 of 11
step 7 of 11
step 8 of 11
step 9 of 11
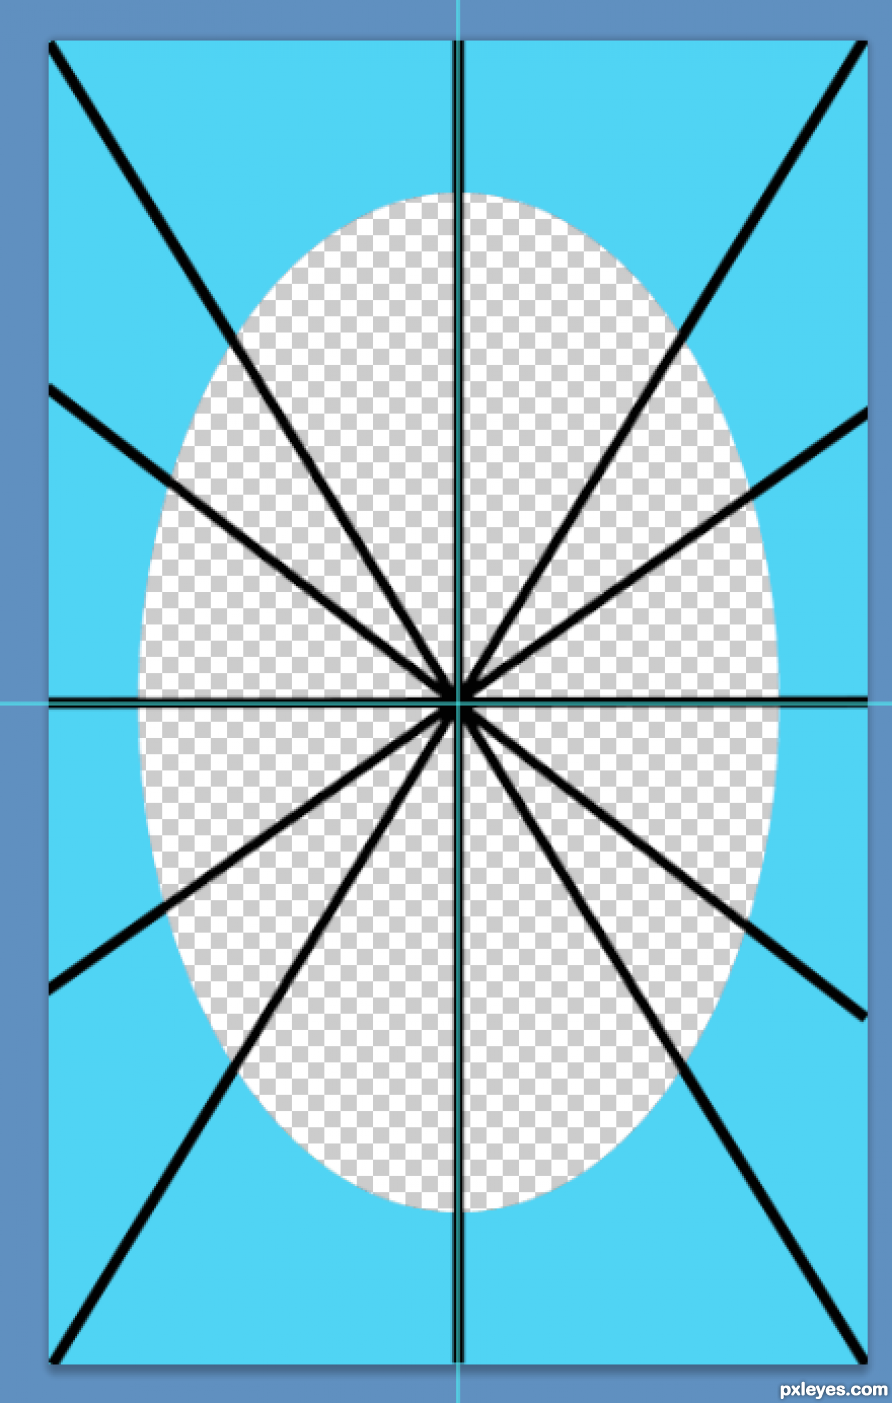
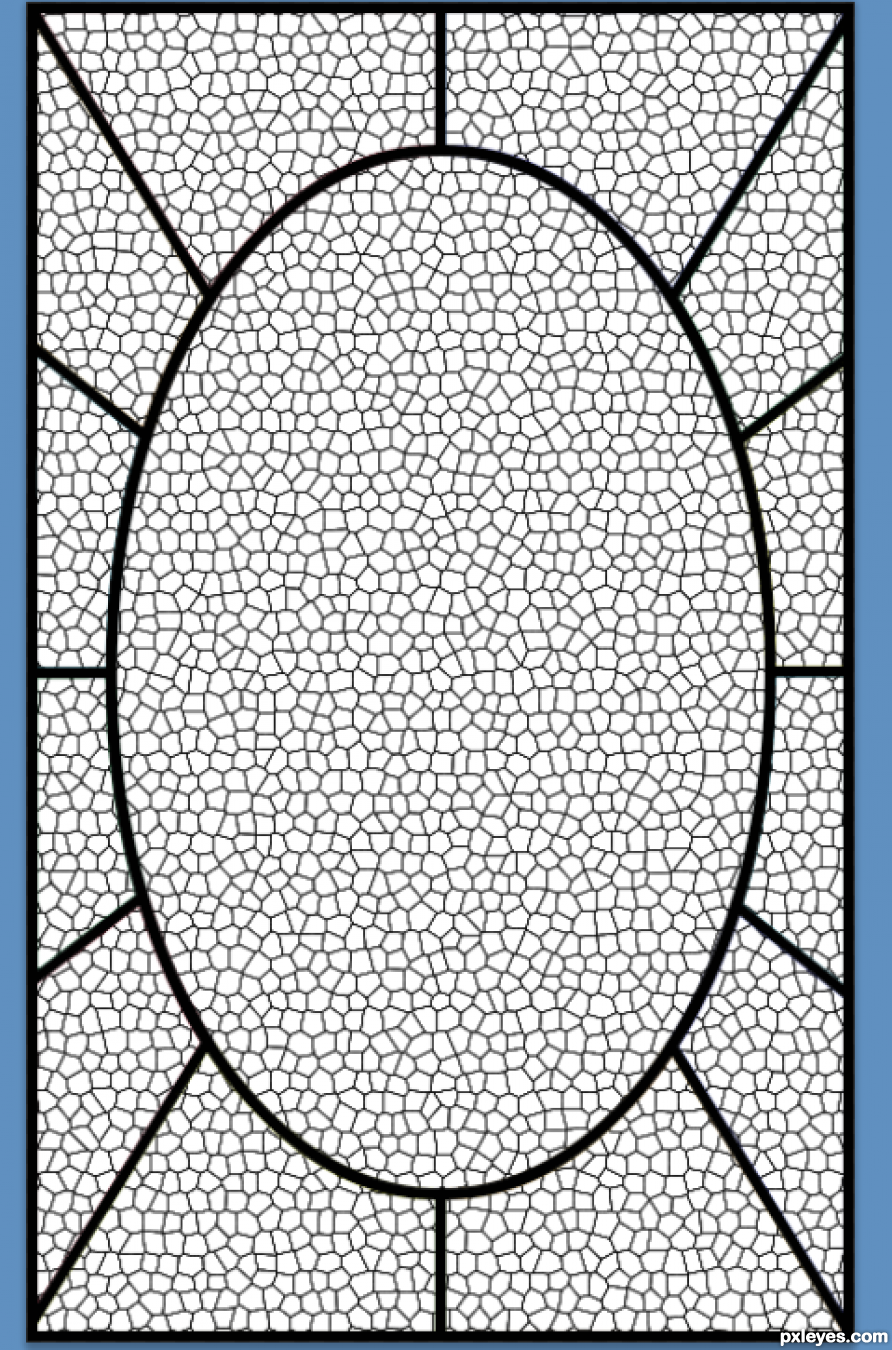
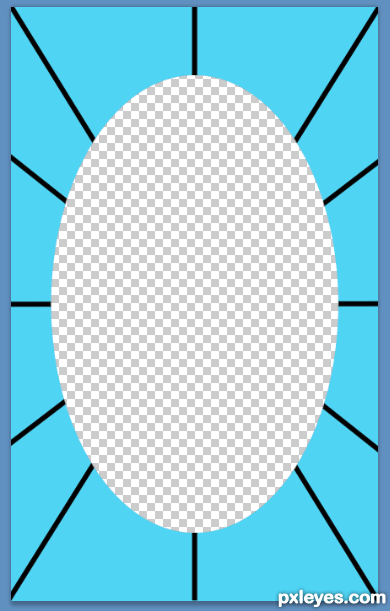
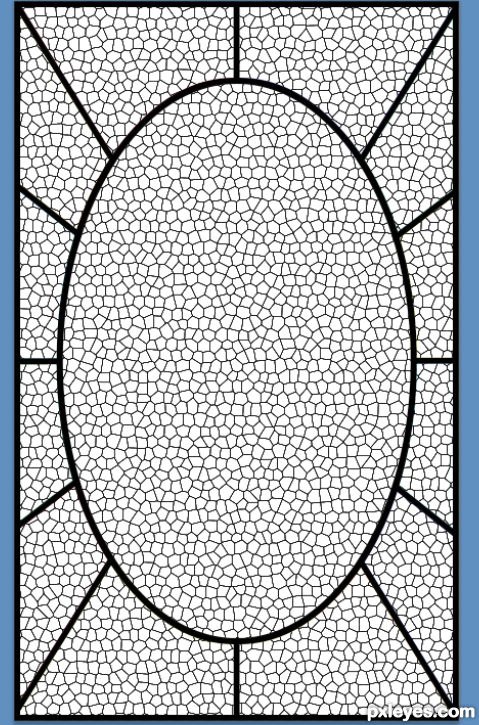
Make a layer with just pattern for panes in black and white. Then darken with levels adjusment.
step 10 of 11
step 11 of 11
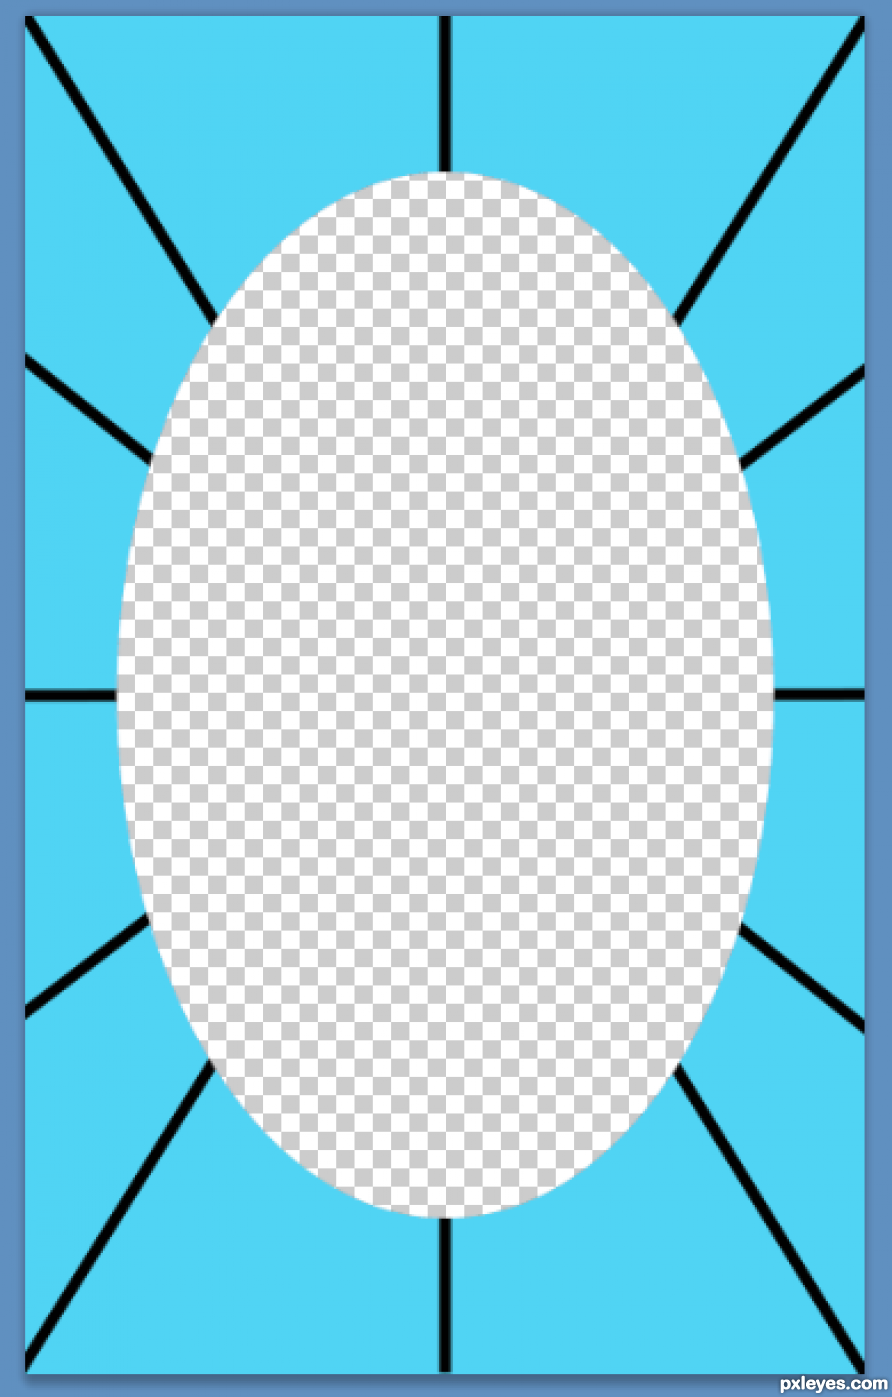
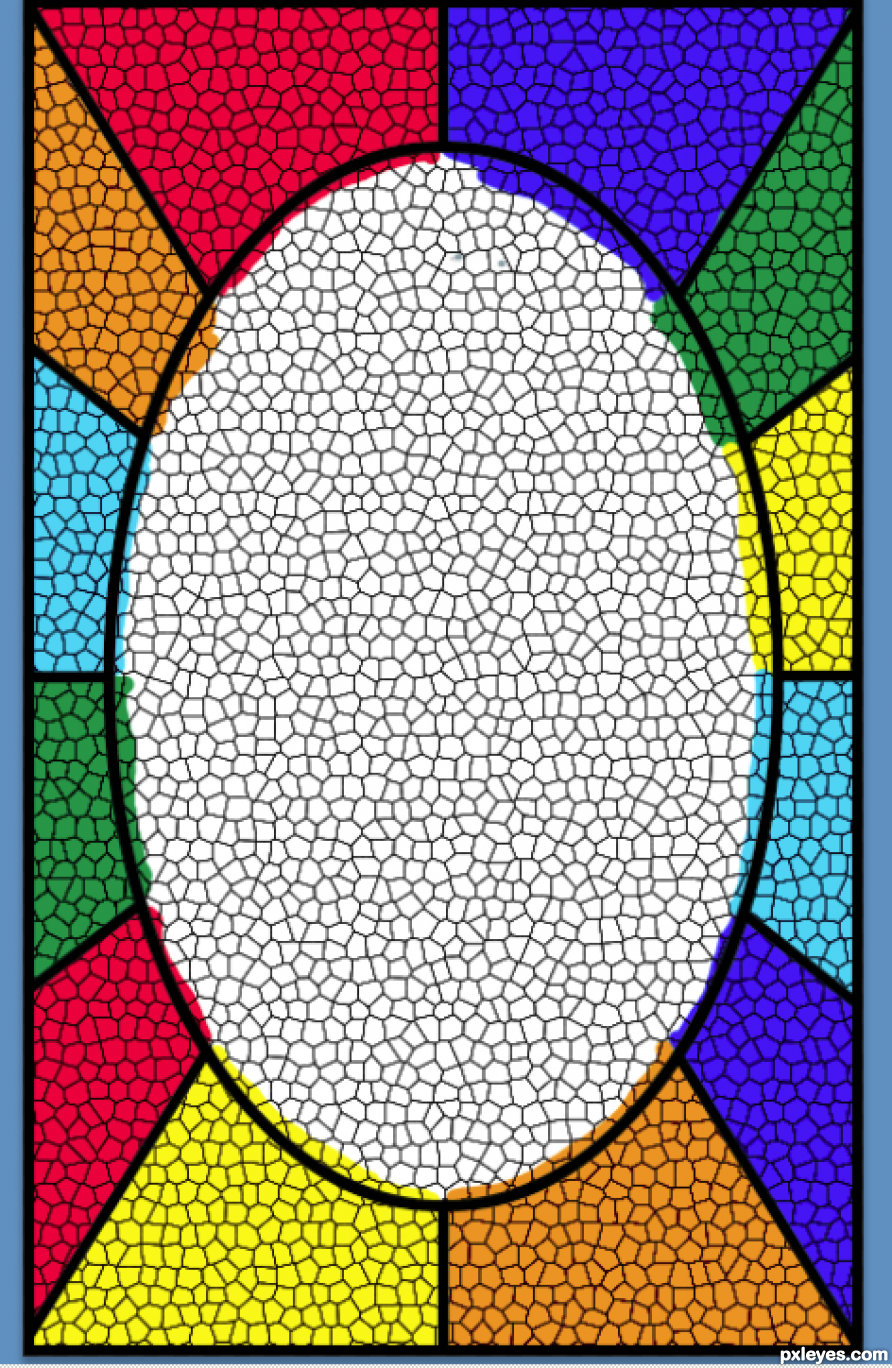
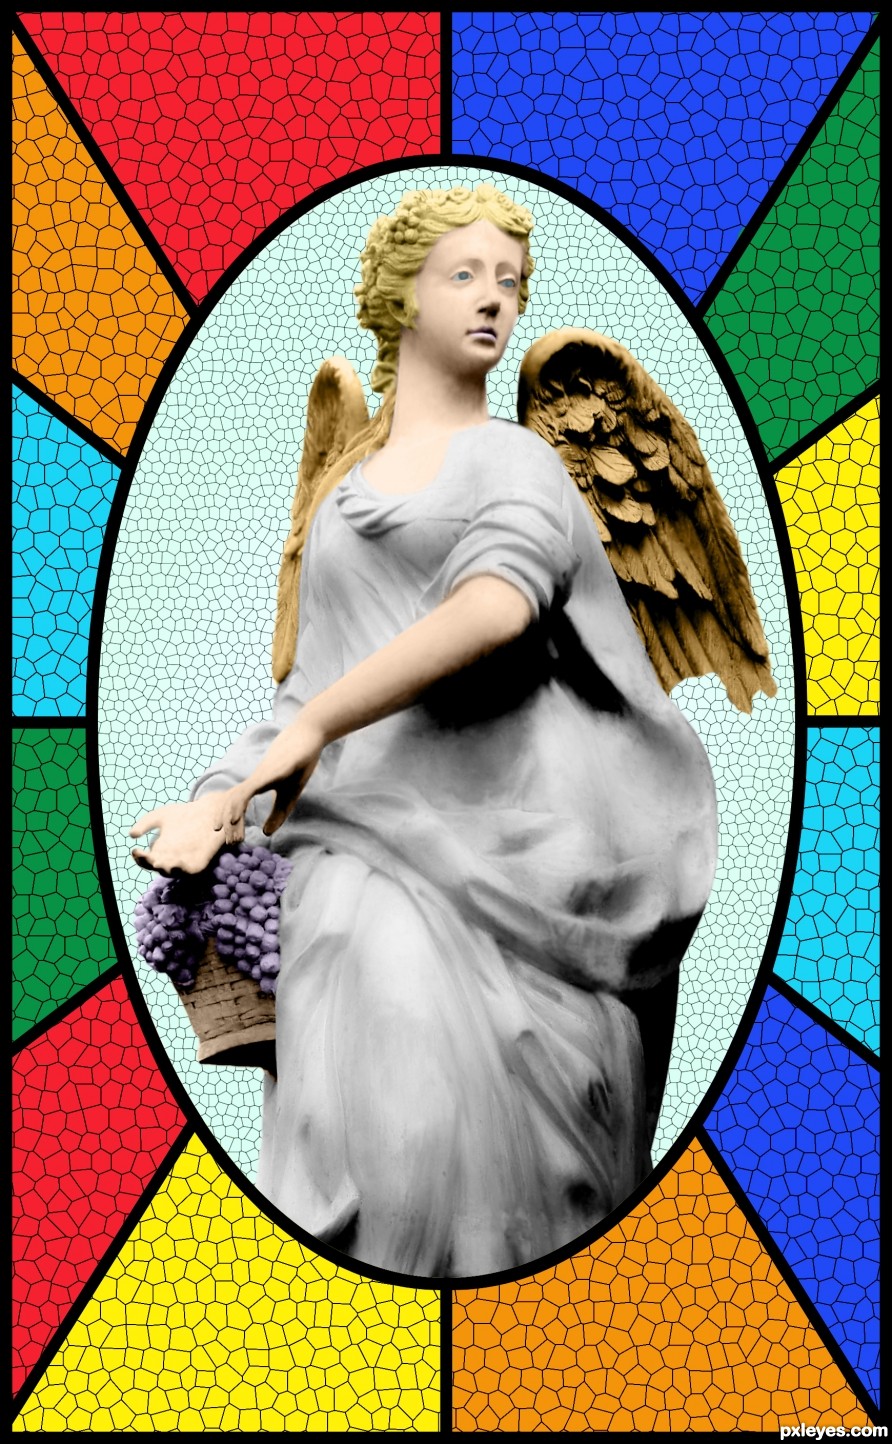
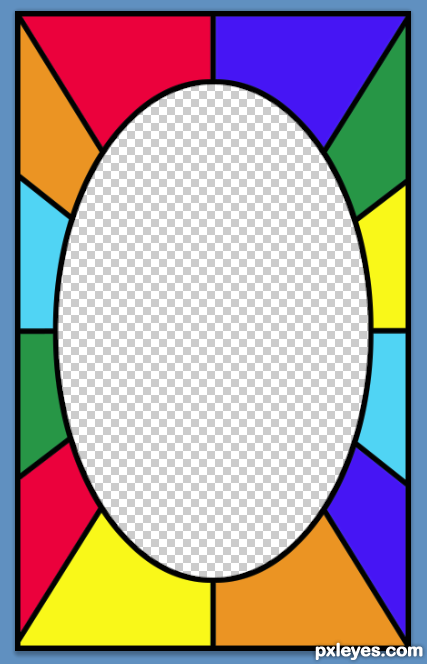
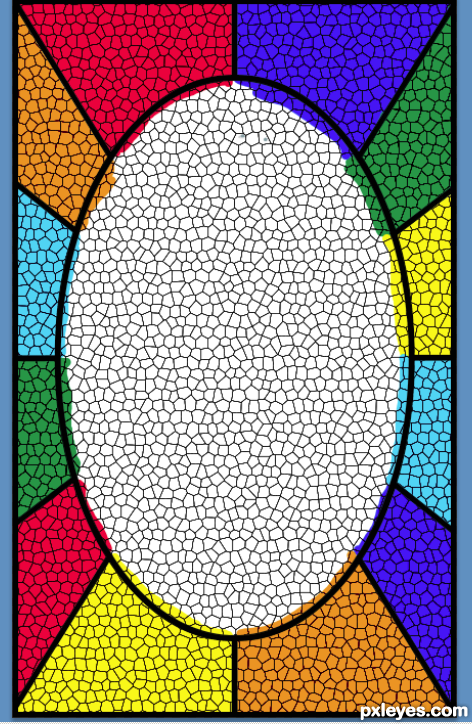
Delete inside of oval and make a light green background layer with a smaller celled stain glass filter applied. Then place angel.
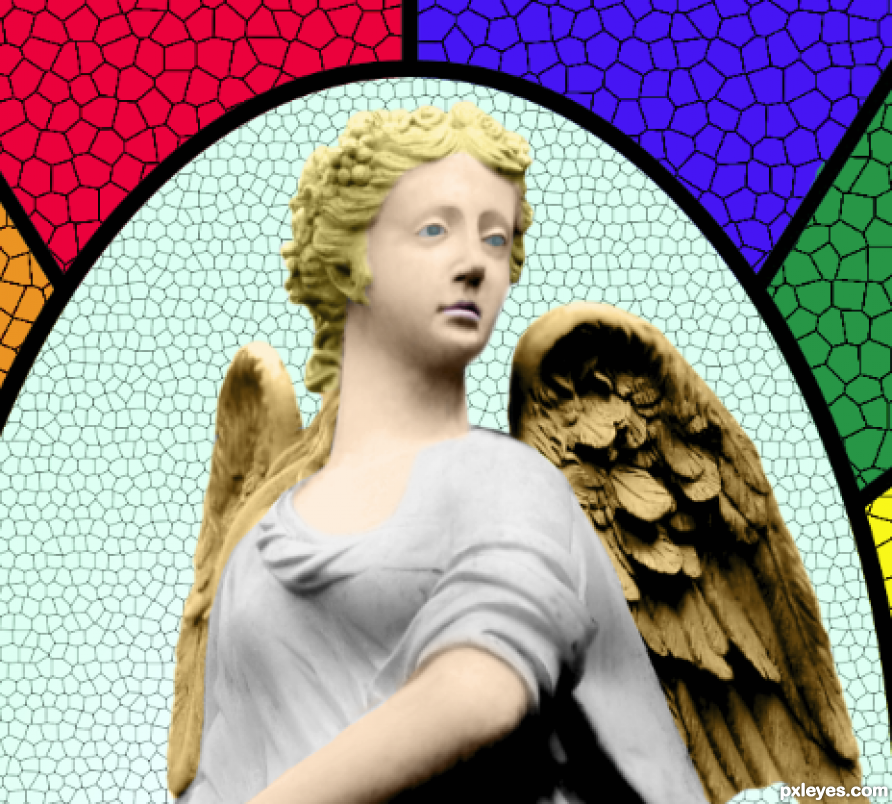
Final result
Pxleyes
Photography and photoshop contests
We are a community of people with
a passion for photography, graphics and art in general.
Every day new photoshop
and photography contests are posted to compete in. We also have one weekly drawing contest
and one weekly 3D contest!
Participation is 100% free!
Just
register and get
started!
Good luck!
Follow us:


© 2015 Pxleyes.com. All rights reserved.