A Work in Progress: Gallows Humor


This guide was made for entry:
Gallows Humor
In Contest:
demotivational poster


step 1 of 4

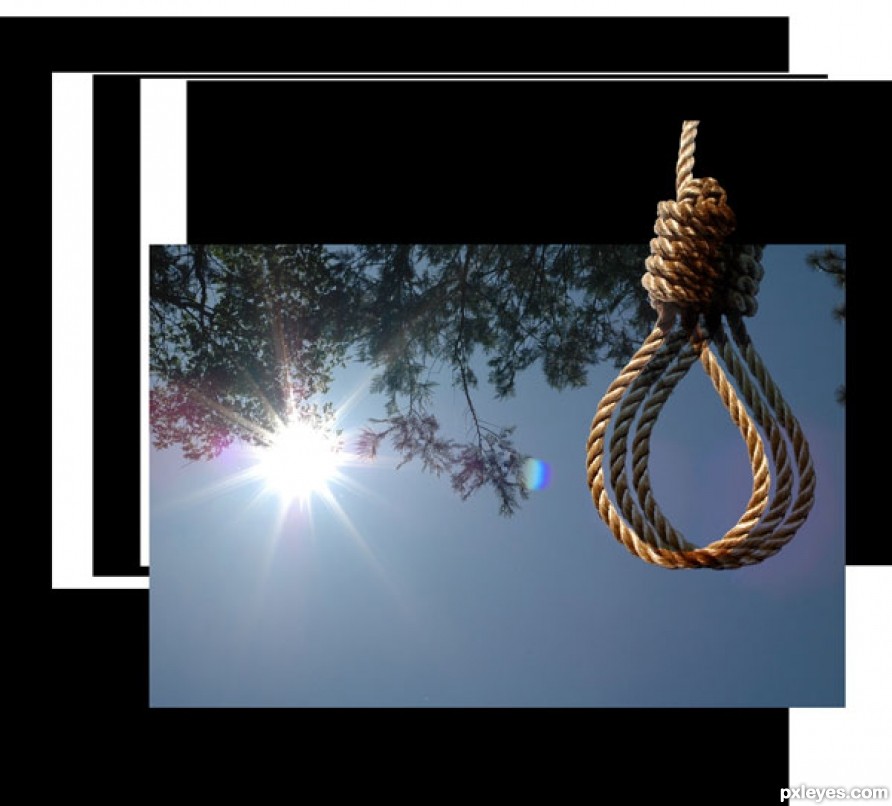
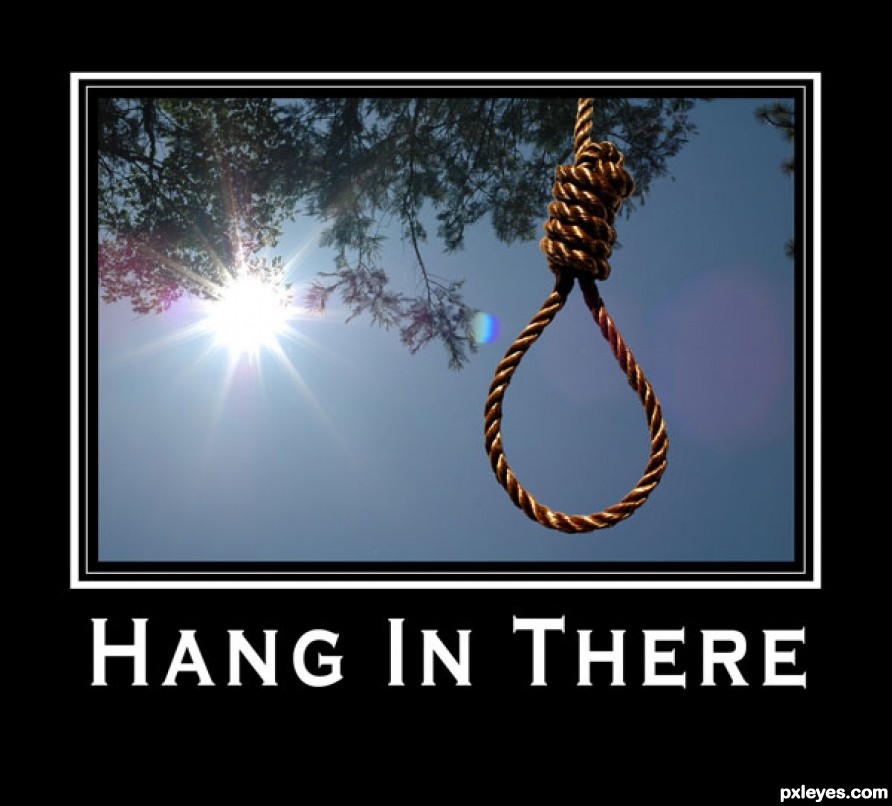
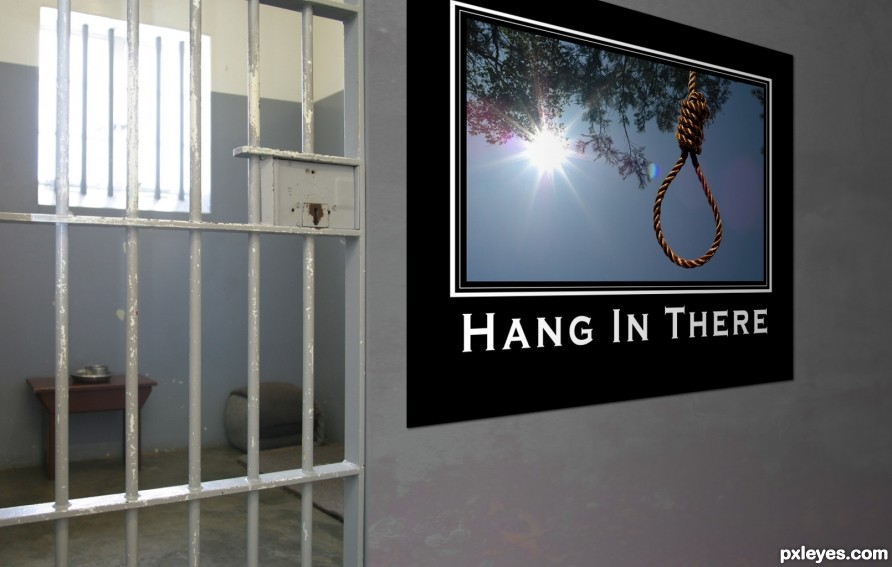
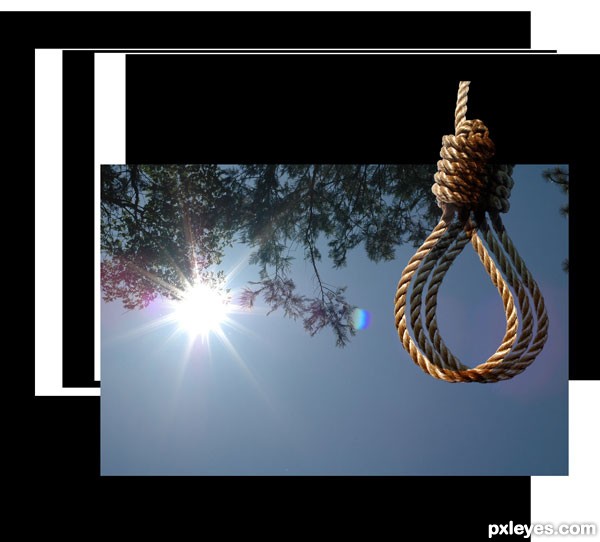
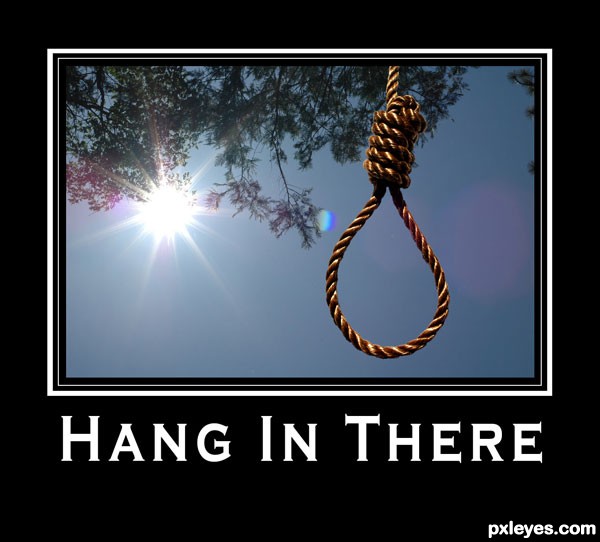
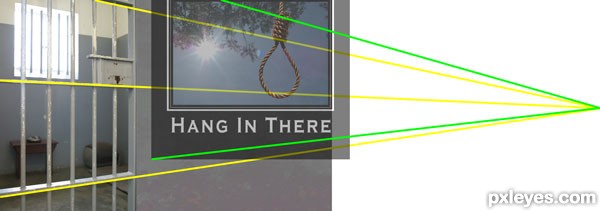
I cut out the noose, duplicated it twice, and set the blend mode for both of the duplicates at Multiply as a means to darken the noose to have it fit in better with the scene's intense back light. I used stacked black and white rectangles to make the border lines for the picture which gave me pointy corners and made it easy to fine-tune the size and placement of the border lines.

Creation of Gallows Humor: Step 1
( hi-res )

step 2 of 4

Final poster.

Creation of Gallows Humor: Step 2
( hi-res )

step 3 of 4

The prison cell photo has some barrel distortion. I used the Lens Correction filter to straighten the vertical bars.

After recoloring the wall texture to match the edge of the photo, I stretched the texture and then skewed it so that the scarring along the bottom roughly angled up toward the vanishing point. To make the wall a bit smoother, I duplicated the layer, blurred it, and set its opacity to 50%. A gradient layer mask made the blur layer negligible on the left, increasing as you move to the right (farther away from the viewer).

Creation of Gallows Humor: Step 3
( hi-res )

step 4 of 4

The cell door extends outside the image frame so I positioned my poster to do the same for compositional consistency. I determined the vanishing point for the cell door so I could distort my poster to have a matching vanishing point. I gave the poster a tiny shadow.

A slight gradient shadow on the right side of the image adds to the impression that the wall is receding.

Creation of Gallows Humor: Step 4
( hi-res )

Final result

Creation of Gallows Humor: Final Result

LOGIN or REGISTER FOR FREE
to rate this guide and create your own guides.