
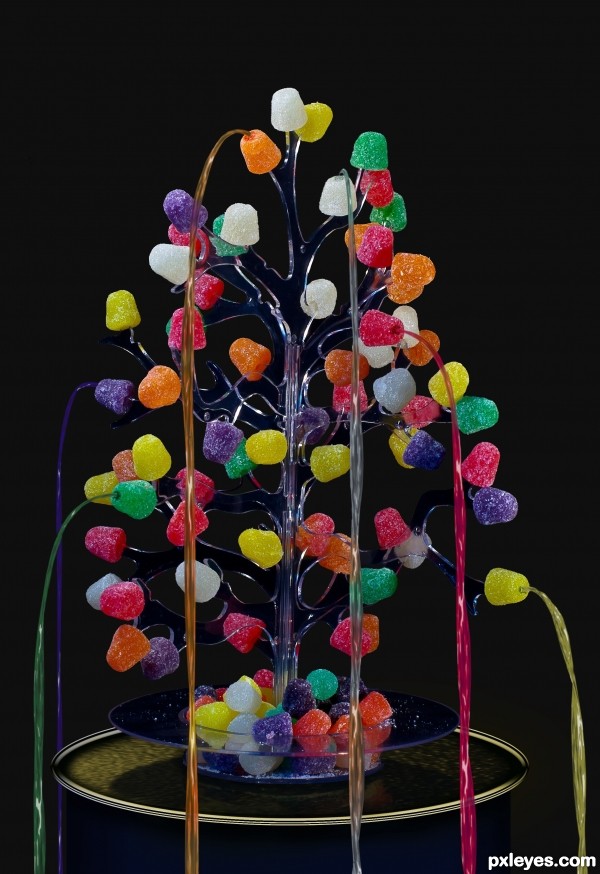
Original image
step 1 of 13
First I used various selection methods like magic wand, polugon lasso, color range and sometimes manual erasing with eraser to separate the object from black background.

step 2 of 13
On a new layer, using round marquee selection tool I filled a circle. Then applied monochromatic noise, and gaussian blur. After that used plastic wrap filter on it to give an illusion similar to ripples in water. Then transformed it to match the perspective.

step 3 of 13
On a new layer made base of the water pond by filling a lasso selection. Then used another layer on top of it to draw shadows with brush tool, changing the blending mode of shadow layer to multiply when done.

step 4 of 13
To create reflections on water I copied the bottom part of tree to a new layer and flipped itt vertically. Then matched it to make it similar to reflection using various transform methods.

step 5 of 13
After that I used the marqee tool again to create reflection of wide glass part at bottom of tree. Matched it with other layers accordingly and then lowered the opacity of both reflection layers to make them look like reflections. Filling the second reflection layer with marquee tool without any feather meant there were sharp edges. So I used smudge tool to make them uneven and give illusion of ripples. In the image difference between edges of reflection on both sides can be seen clearly.

step 6 of 13
Creating water streaks was a bit tricky so I had to look for help and found a video on Youtube. It involved using many filters and layer blendings.
Started with a gray rectangle on a new layer and applied fiber filter on it. Try to randomize the filter till you get an even distribution of fibers.
Started with a gray rectangle on a new layer and applied fiber filter on it. Try to randomize the filter till you get an even distribution of fibers.

step 7 of 13
After applying fibers, I used a gaussian blur and then a vertical motion blur on the layer to smoothen the layer.After that I used plastic wrap filter to bring highlights on the layer.

step 8 of 13
After wrap I used chrome filter on it. Chrome filter will help in bringing those sudden contrsts which will later look like bright highlights on water streak.

step 9 of 13
If you think chrome filter is giving more contrast than what you think was required, then its possible to simply decrease the effect of filter. After applying filter I selected Edit-> Fade Chrome and changed the blending mode of filter to Overlay. We can also adjust the effects by changing opacity of effect of trying one on the blending options.

step 10 of 13
When all the effects and filters have been applied the layer will be ready to be used as an overlay layer to create water streaks. So now the last thing thats left before that is, to transform the rectangular layer to something close to a water streak. This can be done using wrap transform. Twist the ends of wrap to make it look like a twisted streak of fluid and then just duplicate and add the layers to increase the length.

step 11 of 13
After transforming the overlay layer I made a selction of that layer and then filled the desired color in a layer below the overlay layer. The color of layer underneath will be the color of water streak and then I changed the blending mode of the second layer to vivid light. You can try other blending options and see which one gives best results. For different colors different modes were best suited and on some layer I used overlay too.

step 12 of 13
After creating one layer of streak I transformed it down to match the size of image and then copied and joined the layer to itself to create a long straight streak. After that I used wrap transform again to obtain desired curves on water streaks of various colors.Filled the different color for water on a layer underneath by using selection of water streaks layers as I made them one by one.

step 13 of 13
Once all water streaks were done, I merged them all to one layer and then lowered he opacity a bit to make the things just very little visible throug the water. Then I took a new layer under this layer to make color adjustments and taking selection of water streak layer, I drew colors on color adjustment layer as to make it seem like the surrounding colors were affecting the lighting of water. Finally, I used brush tool to draw dark parts around the source of water on each gumdrop with water running through it.

Final result
Comments
Pxleyes
Photography and photoshop contests
We are a community of people with
a passion for photography, graphics and art in general.
Every day new photoshop
and photography contests are posted to compete in. We also have one weekly drawing contest
and one weekly 3D contest!
Participation is 100% free!
Just
register and get
started!
Good luck!
Follow us:


© 2015 Pxleyes.com. All rights reserved.
Good SBS, can be easily turned into tutorial
(5 years and 2652 days ago)