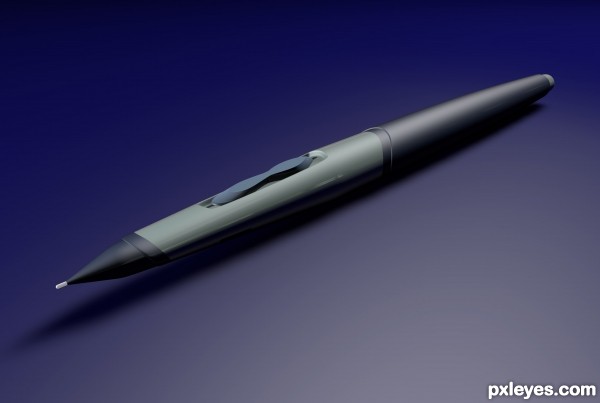
A Work in Progress: Wacom_Pen


This guide was made for entry:
Wacom_Pen
In Contest:
favourite gadget


step 1 of 9

I created a plane and then added my reference images to it.
I then created an oil tank ( A rounded shape in CINEMA 4D) and then changed the size to fit the reference.

Creation of Wacom_Pen: Step 1

step 2 of 9

Next, I changed some of the points around to create a bevel along the side of the pen.
I then added a Hypernurb to smooth it out and also to see how it looked at this point.

Creation of Wacom_Pen: Step 2

step 3 of 9

I decided that the end part of the pen would be better as a seperate piece.

Creation of Wacom_Pen: Step 3

step 4 of 9

I created a cone and then moved it into place.

Creation of Wacom_Pen: Step 4

step 5 of 9

Next I added the Nib of the pen, which is just a capsule shape.

Creation of Wacom_Pen: Step 5

step 6 of 9

Now I need to create the bevel for the switch, so, using the same technique as I did to create the side bevel, I select various points and move them to where I think they fit the best.

Creation of Wacom_Pen: Step 6

step 7 of 9

When I have moved the points into place, I then select the face and extrude it downwards.

Creation of Wacom_Pen: Step 7

step 8 of 9

Now I create the Pen Switch by making a Spline and copying the shape from the reference image.

Creation of Wacom_Pen: Step 8

step 9 of 9

I now lpace the Spline into a Loft Nurbs and copy it several times to creat the shape I need.
Then I move it into position.

All I do now is add basic color and light and then render it out...
Enjoy.
Comments welcome !!! :)

Creation of Wacom_Pen: Step 9

Final result

Creation of Wacom_Pen: Final Result

LOGIN or REGISTER FOR FREE
to rate this guide and create your own guides.