
Original image
step 1 of 9
Loved the pose, but she isn't exactly wearing a wedding gown

step 2 of 9
Using the brightened fabric, I stitched together a wedding dress using warp and liquify

step 3 of 9
I used a mask on the fabric and punched it full of holes using Assorted brush texture #1. Lace! I warped the lace over the bodice and used Layer>Layer Style>Color Overlay to make it red. Warped the hair to fit.

step 4 of 9
This shows the progression of the dress. I eventually made the sleeves lace, as well, adding skin tone under it. To shade the dress, I used a solid color adjustment layer. A dark blue with reduced opacity does well for shading white.

step 5 of 9
The finished bride. I used a hard smudge on her hair to make it flow.

step 6 of 9
I started out with the dragon leaning over the wall, but changed the pose later. I layered the wings to make the scales, then copied and place them.

step 7 of 9
Liquify helped me make the head.

step 8 of 9
The new pose. I used a chunk of the source (stone arch) to make the claws and spikes. After I placed all the scales, I merged them to make the body, then tweaked it using liquify. A color fill adjustment layer made it look greener.

step 9 of 9
To shade, I used inverted adjustment layers and painted in the shadows and high lights.

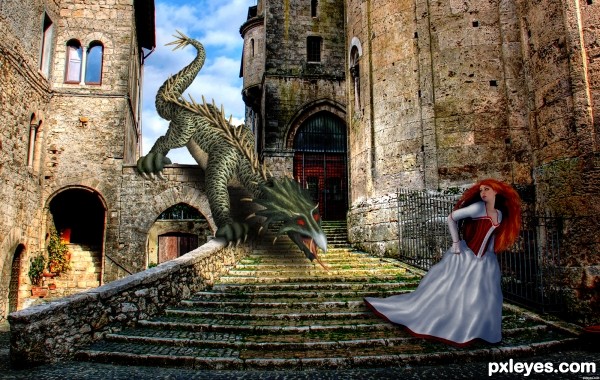
Final result
Pxleyes
Photography and photoshop contests
We are a community of people with
a passion for photography, graphics and art in general.
Every day new photoshop
and photography contests are posted to compete in. We also have one weekly drawing contest
and one weekly 3D contest!
Participation is 100% free!
Just
register and get
started!
Good luck!
Follow us:


© 2015 Pxleyes.com. All rights reserved.