A Work in Progress: Macaroni


This guide was made for entry:
Macaroni
In Contest:
pasta


step 1 of 11

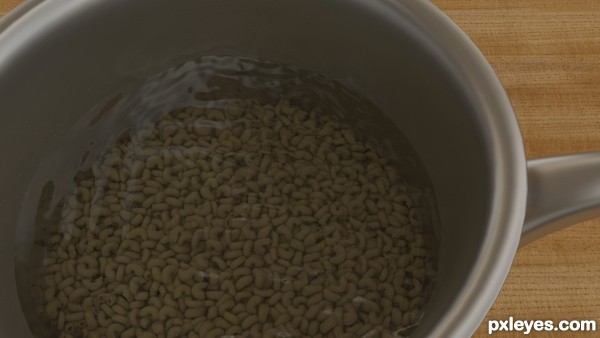
Ok, how to do macaroni :P Its super easy to do so it shouldnt take you more than 10 minutes to do this, i think..

Lets start by opening up Blender 2.64. This is the version i use, so to make it easier for you, you should use the same one. Get it at vlender.org, its a free open source software so anyone can do this. :)

Now, delete the default cube and add a circle.

Creation of Macaroni: Step 1

step 2 of 11

Go into editmode and move the circle along the Z axis 2 steps (press G+Z+2)
Now press the spin button in the left toolbar.

Creation of Macaroni: Step 2

step 3 of 11

Change the degrees to something above 180.

Creation of Macaroni: Step 3

step 4 of 11

Go into edit mode and selecvt everything(Alt+A) then flip the normals by pressing Ctrl+N.
After you have done that, go to the modifier panel and choose the Solidify modifier.
Set the thickness of the shell to -0.1570(thats what i did)

Creation of Macaroni: Step 4

step 5 of 11

Scale it down and apply the solidify modifier, then press Ctrl+A and choose rotation & scale. This will apply the scale and rotation to it.

Move the macaroni up on the Z axis, then add a UV Sphere.
Delete the top half of the sphere in edit mode and scale it down on the Z Axis.

Creation of Macaroni: Step 5

step 6 of 11

Now change the renderer, theres a drop down menu at the top in the middle part of the window. Set it to Blender Game Engine.
We will use this for physics and then save the animation so we can use it with Cycles.

Creation of Macaroni: Step 6

step 7 of 11

Open up the physics panel for the object as in the image, then change the macaroni to rigid body, set the radius to 0.010 and tick the box that says "Collision Bounds" make sure the bounds are then set to Convex Hull.
After that change the margin to something low like 0.01887, you might have to play with this yourself to get a nice result.

Creation of Macaroni: Step 7

step 8 of 11

Now choose the half sphere and go into the physics panel again. The only thing you really need to do here is to change the collision bounds are set to triangle mesh. The Collision Bounds box needs to be ticked aswell.

Then choose the macaroni and duplicate it(Shift+D) a couple of times and change its rotation for som variation. Now select all the macaroni and copy them and do so until you are happy with the amount. But dont go with too many, it will be super slow :P

If you forgot to add a material to the objects do so now. I forgot to add a material to my macaroni so i salected one and duplicated it, gave it a material and then selected ALL macaroni and made sure i selected the duplicate i just made last. I then pressed Ctrl+L to link the materials.

Creation of Macaroni: Step 8

step 9 of 11

Ok, now its time to do the physics. Find the game menu at the top and click "record animation", this will make sure youre macaroni will be animated when not using the game engine later on.

Creation of Macaroni: Step 9

step 10 of 11

Add a plane just underneath the bowl and give it the same physics properties as the bowl. This will catch any macaroni trying to escape out of the bowl :P

Now press P to start the game engine where the physics happen, just sit back and watch them fall and when its done just press escape to get back to the viewport.

To make sure youre on a good frame to render, pull out a new window and make it show the timeline.
To do that, go to the lower left corner of the main window, look for the small stripes, move your mouse over them(the mouse will change to a crosshair) click and pull it up.
Then click the little box with a cube and one arrow up and one arrow down in it. Choose timeline.

Creation of Macaroni: Step 10

step 11 of 11

I put mine at frame 250 since thats the last one. You can have longer animations, but we dont need it now.
Now when youre done with this, go the render panel at the top again and choose Cycles.

Im gonna let you play with the materials yourself for now, i dont really have the time to help you there yet. but if youre wondering something feel free to ask, ill do what i can to help out.

The texture and HDRI i used in the final render:

HDRI: http://www.ignorancia.org/uploads/tools-and-objects/pHDRI/wips/sm_jvp_office-sun-3.jpg

Wood texture: http://www.cgtextures.com/texview.php?id=19681&PHPSESSID=er6ge9rhpenami6a2oni3r6b47


Thanks for reading!

Creation of Macaroni: Step 11

Final result

Creation of Macaroni: Final Result

LOGIN or REGISTER FOR FREE
to rate this guide and create your own guides.