A Work in Progress: minolta HI - MATIC G


This guide was made for entry:
minolta HI - MATIC G
In Contest:
photo camera


step 1 of 3

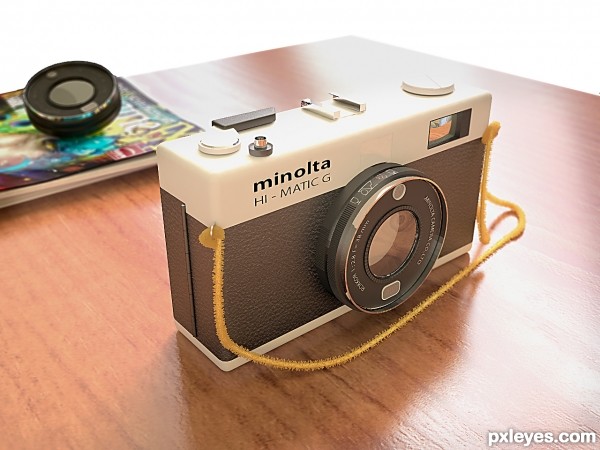
i started whith a simple chamfer box so i won't spend time with edge smoothing later on especially because ther were't any elements on the edge that could had problems with the roundness from the begining.After this i started to position the elements with a minimum of detail,elemets that i tried to make them as independent as they are in real life.

Creation of minolta HI - MATIC G: Step 1

step 2 of 3

At the main lens i started with a simple cylinder copy-scale it for different parts with o combination of inset bevel extrude to create others and at the same step tried to add a few details to add depth and to see how it starts to take shape.The "bumpy" aspect i made with a ring of edges, chamfer a few times then extrude edges

Creation of minolta HI - MATIC G: Step 2

step 3 of 3

I made the symbols in autocad and the written stuff in photoshop so i can insert them as texture with the opacity map. The opacity map is really great and let's you make invisible part of the photo that you don't want to make visible.The principle is simple. what is white appears and what is black is hidden.

Creation of minolta HI - MATIC G: Step 3

Final result

Creation of minolta HI - MATIC G: Final Result

LOGIN or REGISTER FOR FREE
to rate this guide and create your own guides.