A Work in Progress: A Dangerous Life


This guide was made for entry:
A Dangerous Life
In Contest:
shrunk 2


step 1 of 18

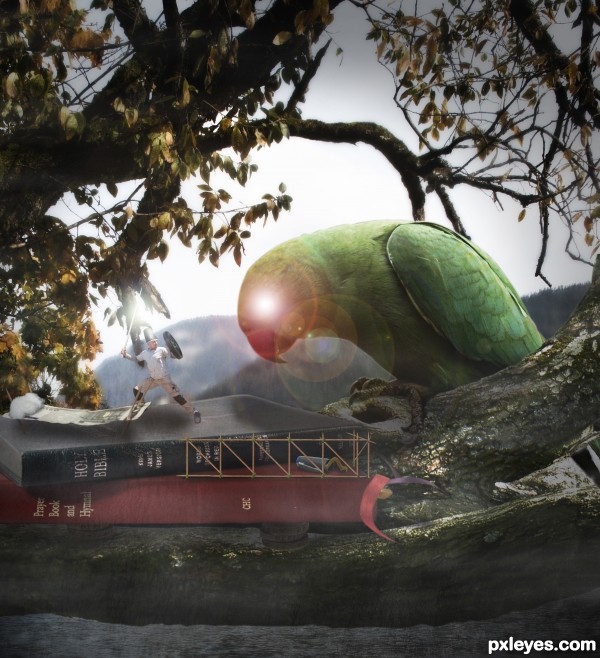
This picture is made with several parts, some took from web and some with my camera. It is a long job because of the various selections to do, but I've had a lot of fun creating it.
Import the tree, make a selection of a branch and enlarge it. Set it close to the bottom. Duplicate it, desaturate the copy by pressing ctrl-shift-U and blend it to soft light. Next duplicate the not-desaturate branch and apply: filter-high pass filter and set it to 3.5. Then set it to overlay.

Creation of A Dangerous Life: Step 1

step 2 of 18

Then extract the parrot, set it beneath the tree, revert it horizontally and set it on the tree branch, use the clone tool to reconstruct the missing claw. Then create a layer mask and hide the part behind the branch with a black brush (is more easier to select the brush and then paint the area where the parrot should be).

Creation of A Dangerous Life: Step 2

step 3 of 18

Next, add the books and the coins, duplicate the coins and set them under the books layer. I duplicated the books and set the copy to multiply. Do some distortion to place the books more linear to the branch. Then apply to books and coins a blur of 1.2.

Creation of A Dangerous Life: Step 3

step 4 of 18

Add the background and set it in the bottom of all the layers, enlarge it by pressing ctrl-t till it fits best with the branch. I chose to hide the houses behind the branch and the parrot. Convert it in smart object (press right click and choose it) then apply a blur of 13.8). Select the layer mask and grab a black crush with 69% opacity and restore the contrast on the water beneath the tree and on the leaves. Then duplicate and desaturate it (ctrl-j and ctrl-shift-U) and set the copy to soft light.

Creation of A Dangerous Life: Step 4

step 5 of 18

Add the banknote

Creation of A Dangerous Life: Step 5

step 6 of 18

Add the warrior

Creation of A Dangerous Life: Step 6

step 7 of 18

Took a shoot to a needle

Creation of A Dangerous Life: Step 7

step 8 of 18

took a shoot of a thimble

Creation of A Dangerous Life: Step 8

step 9 of 18

Took a shoot of some cotton wool

Creation of A Dangerous Life: Step 9

step 10 of 18

Took a shoot of a pen cap

Creation of A Dangerous Life: Step 10

step 11 of 18

Took a shoot of a button

Creation of A Dangerous Life: Step 11

step 12 of 18

And one of a toothpick

Creation of A Dangerous Life: Step 12

step 13 of 18

Add the needle and the warrior. Extract the warrior, button, thimble, needle, pen cap, toothpick, and the cotton wool, make a selection of them (I usually use the pen tool because it works better.
Place the warrior upon the book, then the banknote bed , then set the needle, rotate it and put it on the warrior’s hand. Create a layer mask to the warrior layer and paint with a black brush on the sword of the original picture. Next, create a layer mask of the needle and paint with a black brush the right side of the hole. Now the hand seems to be into the needle’s hole.
Set the pillow on the banknote’s top, rotate the button to fit it to the warrior’s hand.
Then select the thimble, rotate it and put in on the warrior’s head, create a layer mask of it and paint with a black brush the lower side, which will be the part behind the head.
Place the pen cap on the lower book. Place the pen cap on the red book. Here is the result.

Creation of A Dangerous Life: Step 13

step 14 of 18

Place the worm, make a selection of it, rotate it and apply a layer mask, then put the worm’s head in front of the pen cap’s hole and clean with a black brush the head that will be inside the pen cap (obviously do it on the layer mask, i twill not damage the real source)

Creation of A Dangerous Life: Step 14

step 15 of 18

Now some creativity, By duplicating the toothpick let’s go creating a fence, by rotating every single piece in the direction and shape you mostly like. Once you’ve done, select all the toothpicks and press ctl-e. Now we will have a hence in a single layer.
Then, let’s make some thread to unify the hence and the shield to the hand. Create a new layer, Select a small size brush of whichever colour you prefer ( I selected a green), let’s zoom and create some curves on the toothpicks crosses and two on the shield.

Creation of A Dangerous Life: Step 15

step 16 of 18

Add some fog, so create a new layer, select: filter-rendering-clouds and set the fore and background colours to black and white. Apply the filter. Double click on the layer and go to blending options, pressing the alt button move the “this level” black lever to the right till the black clouds will be gone. Then apply a blur to it to make it feel real. Clean with a black brush of 69% opacity some fog, where is not necessary (I left it more on the bottom).

Creation of A Dangerous Life: Step 16

step 17 of 18

The worst thing to do now is to create all the shadows, place every shadows layer beneath every single source, I often use a 65% opacity and paint it with black. In this case the light source is up in the sky, so the shadows will be under every single element of the picture. Once the shadow has been created, reduce the opacity of the layer tilli it works best. ( Be careful, the closer the item is to the soil, the darker the shadows have to be)

Creation of A Dangerous Life: Step 17

step 18 of 18

Now that the composition is done, press ctrl-shift-alt-e, and place it on top, rename it dodge and burn. Now pressing the “o” button let’s go dodging and burning the darker and the lighter areas. Be careful not to abuse this tool, so is better to work on the halftones with low-medium exposition. Then, on the same level apply: filter-rendering-flare-35mm and set it on the parrot’s eye with a 85% luminosity. Then on the same layer apply a 50-300mm flare on the needle.
Last item to place is the texture, set it to overlay with a 34% opacity. then add a new layer and fill it with black, take the eraser tool (E) and clean the main part of the picture. Whit a lower opacity clean the rest of the image. now the work is done.
If you wish you can apply a curves or level layer to calibrate the right exposition or contrast.
I hope this tutorial might be helpful. Is just my first one.!
Goodbye!

Creation of A Dangerous Life: Step 18

Final result

Creation of A Dangerous Life: Final Result

LOGIN or REGISTER FOR FREE
to rate this guide and create your own guides.