
Original image
step 1 of 6

step 2 of 6
Make a cup selection from original source.
Make balustrade and arch from this using liquefy filter and shaping to suit.
Make balustrade and arch from this using liquefy filter and shaping to suit.

step 3 of 6
Create some shadows on the structure by burning.
Create a chequerboard floor by taking square selections from red and yellow cups and repeating into a pattern.
Create a chequerboard floor by taking square selections from red and yellow cups and repeating into a pattern.

step 4 of 6
Add the garden and pool into the background. This will be used as a guide, especially for perspective.
Distort the chequerboard to flatten into the correct perspective.
Copy the balustrade and paste into position. The longitudinal pieces were made by pasting individual pieces.
Distort the chequerboard to flatten into the correct perspective.
Copy the balustrade and paste into position. The longitudinal pieces were made by pasting individual pieces.

step 5 of 6
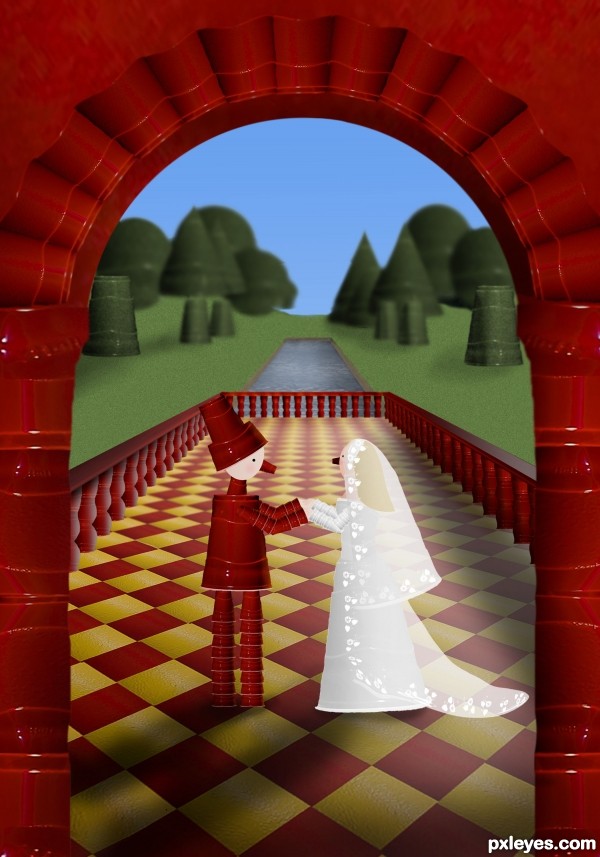
Create the bride and groom from cup selections.
Liquefy filter to alter shape for dress, veil and train, adding these as separate layers and reducing transparency. Add some flower shapes to dress.
Liquefy filter to alter shape for dress, veil and train, adding these as separate layers and reducing transparency. Add some flower shapes to dress.

step 6 of 6
Using background garden and pool photos as a guide, paint over, add noise and blur. Cup selections were used for the plants.
Arrange the couple in position.
Paint on a water effect onto pool.
Paint on shadows.
Add some further highlights, and gradient filter to the sky.
Arrange the couple in position.
Paint on a water effect onto pool.
Paint on shadows.
Add some further highlights, and gradient filter to the sky.

Final result
Pxleyes
Photography and photoshop contests
We are a community of people with
a passion for photography, graphics and art in general.
Every day new photoshop
and photography contests are posted to compete in. We also have one weekly drawing contest
and one weekly 3D contest!
Participation is 100% free!
Just
register and get
started!
Good luck!
Follow us:


© 2015 Pxleyes.com. All rights reserved.