A Work in Progress: Nostromo Hitchhiker


This guide was made for entry:
Nostromo Hitchhiker
In Contest:
man the rigging


step 1 of 14

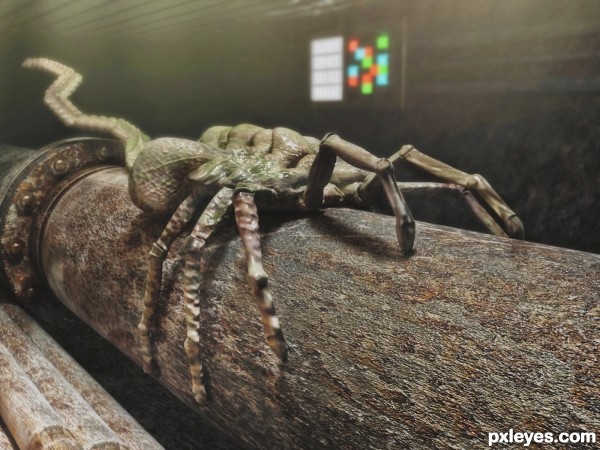
The first thing to do was lay out the face hugger model and give it some bones. In max to create bone it's "Animation>bone tools" this will open the bone tools rollout and from there click "Create bones" draw out the bones for each limb. Right clicking to finish the limb. Here you see the bones already configured for the limbs and tail, with a central centre of mass or back bone.

Creation of Nostromo Hitchhiker: Step 1

step 2 of 14

The next thing to do was add an IK solver so the limb behaved much as a real limb would. Although the face hugger is an alien creature it is still bound by the constraints of it's own limbs.

Creation of Nostromo Hitchhiker: Step 2

step 3 of 14

To help move the limbs when they are finished, I created these helpers. All they are is a simple circle spline copied 3 times and arranged in the fashion you see. They are attached to the ends of the IK solver by clicking on the "select and link" in the top left corner of the max UI. The I locked out the IK solver cross hairs so that I could only move the limbs by selecting the helpers. It's much easier to see these helpers, and as they are splines they don't show up in the final.

Creation of Nostromo Hitchhiker: Step 3

step 4 of 14

Here you see all the helpers for the main body and the crosshairs for the IK solvers. In other words the completed articulated limb.

Creation of Nostromo Hitchhiker: Step 4

step 5 of 14

The tail is slightly different as it can move in all directions, so to solve this draw a spline the length of the tail, add vertices down the length of the spline, align the spline with the bones of the tail, then select the SplineIK Solver from the Animation rollout. At every point you placed a vertices a box helper will appear, it's these you use to manipulate the tail bones.

Creation of Nostromo Hitchhiker: Step 5

step 6 of 14

here you see the model now with it's bones and fully rigged ready for either animating or posing as desired.

Creation of Nostromo Hitchhiker: Step 6

step 7 of 14

The rigged model is now wrapped around the pipe I created from a simple cylinder. The joint is made from simply extruding certain face of the cylinder then chamfering away the sharp edges.

Creation of Nostromo Hitchhiker: Step 7

step 8 of 14

Here's a standard spot light I used for lighting part of the scene. You can see I used the far attenuation to precisely control the light amount and the volume light I added in the next step.

Creation of Nostromo Hitchhiker: Step 8

step 9 of 14

So I modelled a tunnel from a plane by extruding and moving edges to get the shap I wanted. The grated floor is a plane with an inset and a shell modifier. I then simply deleted the inset poly's, this created a grate like effect. The control box on the wall is a box primitive with faces extruded and chamfered, The pipes are all simple cylinders.

Creation of Nostromo Hitchhiker: Step 9

step 10 of 14

I placed the camera, which you can see on the left, you can also see the hugger is now on the pipe right uunder the volume light I created earlier.

Creation of Nostromo Hitchhiker: Step 10

step 11 of 14

This is the wireframe of the whole scene, you can see thr ig in the hugger and also the construction of the box on the wall. Along with the pipes and the bolt assemblies on the joint on the main pipe.

Creation of Nostromo Hitchhiker: Step 11

step 12 of 14

This is a shaded view of the whole scene

Creation of Nostromo Hitchhiker: Step 12

step 13 of 14

Earlier I told you about creating a volume light to light the beast, here are the settings for that volume light.

Creation of Nostromo Hitchhiker: Step 13

step 14 of 14

Here are all the materials I used. The pipe, was a difficult one. It's a VRayBlend Material. It enables me to mix certain materials and create quite complex ones, either proceduralyor by mixing bitmaps which is what I did for the main pipe. I used a noise map and a cell map to get the rust to spread out and be quite bitty. I then used that map to slip into the bump slots of each bitmap material creating quite a detailed effect. The alien skin was blue when I downloaded it so I changed the colour of the main bitmap which was with the texture by slippin a color correction material in the diffuse slot and playing around until I found a colour I was happy with.

Creation of Nostromo Hitchhiker: Step 14

Final result

Creation of Nostromo Hitchhiker: Final Result

LOGIN or REGISTER FOR FREE
to rate this guide and create your own guides.