
Original image
step 1 of 12
Source for pattern layer over background

step 2 of 12
Source is duplicated, then dark blue background added. With background eraser tool, the leaf is 'skeletonized' leaving mostly the veins and allowing background to show through. This is a technique that is often used by flower arrangers.

step 3 of 12
Areas around leaf now chopped out with eraser tool.

step 4 of 12
Leaf is duplicated and duplicates are resized and rotated as needed to form stems of leaves.

step 5 of 12
Here is the finished branch of leaves which will be sized and rotated as needed. Burning and dodging will be done later to apply shadows and highlights where needed.

step 6 of 12
Source is liquify warped and then will have polar coordinate filter used. Container for arrangement will be made from this image.

step 7 of 12
Roses are created from the liquify-warped image using the liquify warp and smudge tools, shaping petals. Then burn and dodge tools created dark, deeper spaces between the petals and color changing in the process. Highlights will be made with the dodge tool.

step 8 of 12
Roses are now sized in various sizes, rotated to view at different angles, and some are changed further using the distort tool. Stems will be added using the hard brush tool and thorns are 'pulled' out using smudge tool. Shadows made with the burn tool.

step 9 of 12
Leaves are added, also sizing them using scale tool and curving some slightly with the distort tool. Shadows and highlights added with burn and dodge tools. Stems of leaves are layered to appear to be between flowers.

step 10 of 12
Leaf image is shaped to look like a table surface for the arrangement and will be shadowed behind the container.

step 11 of 12
Pattern layer image is added over background layer then reduced in opacity 50%. Edges of background are slightly burned.

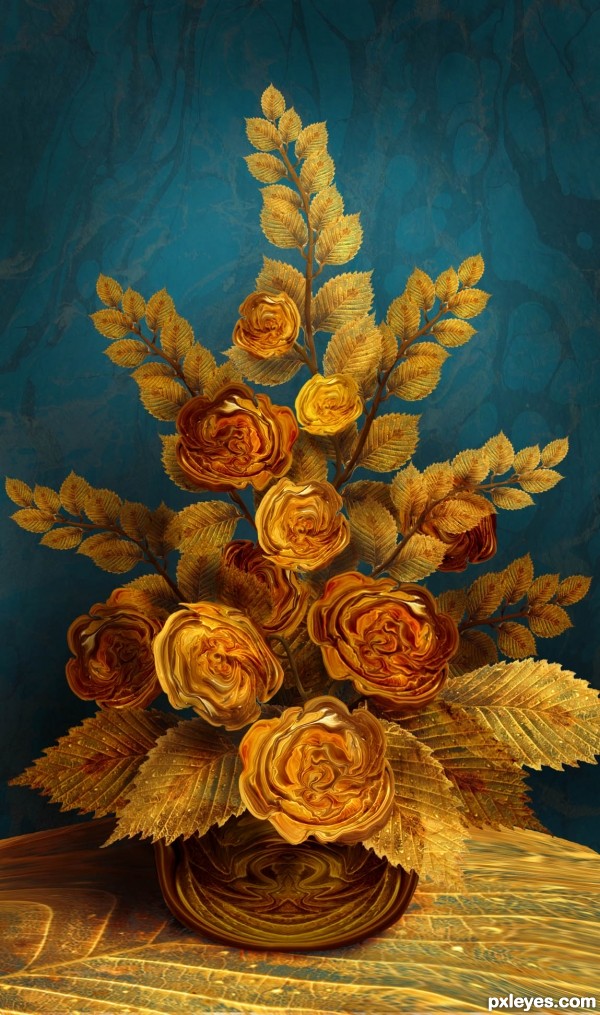
step 12 of 12
Final shadows and highlights are added, then layers except for background are merged before a brown filter is added at 50%.

Final result
Pxleyes
Photography and photoshop contests
We are a community of people with
a passion for photography, graphics and art in general.
Every day new photoshop
and photography contests are posted to compete in. We also have one weekly drawing contest
and one weekly 3D contest!
Participation is 100% free!
Just
register and get
started!
Good luck!
Follow us:


© 2015 Pxleyes.com. All rights reserved.