A Work in Progress: Ploop


This guide was made for entry:
Ploop
In Contest:
water drops


step 1 of 4

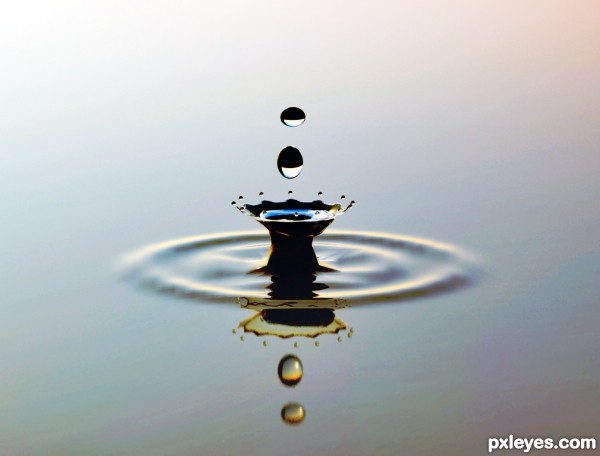
This image was rendered using the mental ray render engine. Here is the basic setup. 3 planes were used. 2 of them are for the water surface, both of these planes has the 3D Max pro material (water) applied to them. In the center the smaller plane has a displacement modifier with a map i produced using CS5 as the modifier. The 3rd plane is there to produce a reflection. To it another color texture is applied, this was also made with PS. Mental Ray sun and sky used to illuminate the scene.

Creation of Ploop : Step 1

step 2 of 4

These are textures created with Photoshop. Black with white rings used as a displacement to simulate ripples. Color is for the plane at a right angle to the water planes....for reflections.

Creation of Ploop : Step 2

step 3 of 4

With the displacement map applied to smaller plane (this plane has a high segment count in order to create more vertices) and it being centered in the world...X,Y and Z coordinates zero, I used soft selection to the vertices of the center most section of the splash bump map area and drug them upwards to give more height to the water plume. Inside and centered I created a tube geometry and transformed it's vertices to make the "crown" effect on the plume. The vertices points at the top portion of the tube were drug outward and upwards while other segments were scaled to create shape conforming with the main bump map created plume. Spheres used as water drops.

Creation of Ploop : Step 3

step 4 of 4

The plane for displacement map shown here with all it's vertices highlighted in red. (the red tick marks) Modeling was accomplished by selecting individual and specific groupings of these vertices and changing the azimuth, elevation and scale of them.

Creation of Ploop : Step 4

Final result

Creation of Ploop : Final Result

LOGIN or REGISTER FOR FREE
to rate this guide and create your own guides.