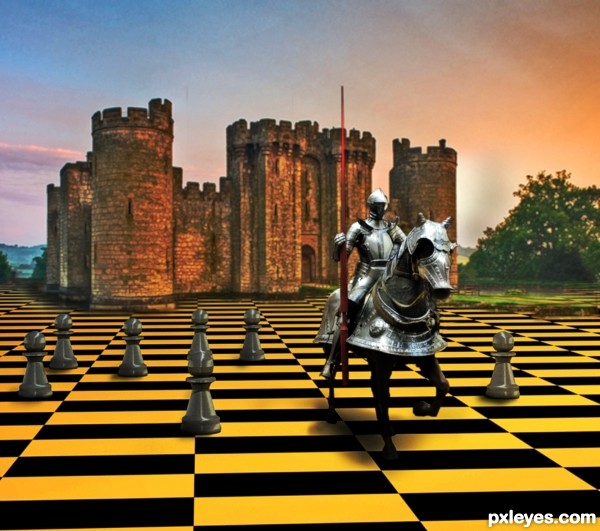
A Work in Progress: A Knight and His Pawns


This guide was made for entry:
A Knight and His Pawns
In Contest:
game based


step 1 of 5

I used PS to mask the knight and created an Opacity map texture for use in Studio Max. The diffuse color map is shown here. The opacity mask map is the same only the visible part (i.e. the knight) is in white...very similar to the way masking works in PS. These maps were placed onto a plane in Max.

Creation of A Knight and His Pawns: Step 1

step 2 of 5

This is the set up in Max. The red arrow is pointing to the place which the Knight is on. The floor is a plane with checker texture inherent to 3d max. The pawns are spline or line s that have been "lathed" texture for them was made using the material editor in Max.

Creation of A Knight and His Pawns: Step 2

step 3 of 5

this view is of the opacity map and the pawns...camera is the blue line

Creation of A Knight and His Pawns: Step 3

step 4 of 5

This is the finished render from 3D Max, Ready for post processing in CS5.

Creation of A Knight and His Pawns: Step 4

step 5 of 5

Using a layer mask I blended the background over my 3d render...I put a slight box blur on this for some DOF.

Creation of A Knight and His Pawns: Step 5

Final result

Creation of A Knight and His Pawns: Final Result

LOGIN or REGISTER FOR FREE
to rate this guide and create your own guides.