
Original image
step 1 of 8
Firstly isolate the subject to be used...
did that with a combination of eraser, pen and magnetic lesso.... Mostly pen though
did that with a combination of eraser, pen and magnetic lesso.... Mostly pen though

step 2 of 8
here used parts of the source pic...
removed the piece of metal using the stamp tool and covered it up with a copy of the plate
removed the piece of metal using the stamp tool and covered it up with a copy of the plate

- : source
step 3 of 8
wrapped it up to form the bonnet and roof...

step 4 of 8
similarly added the remaining parts from the source file... most of the selection was done using the pen tool...

step 5 of 8
then added the shadows.. for the car's shadow i simply painted a lil patch and blured it... white for the pipes i copied them, filed it with black and then blured it

step 6 of 8
Now for the wood.. open a new document change background and foreground colours to shades of brown and then render fibres..

step 7 of 8
used prespective to place the wood base and then placed the car over it...

step 8 of 8
then duplicated the entire car layers,inverted it and added a mask... a gradent over the mask helped create the reflection..

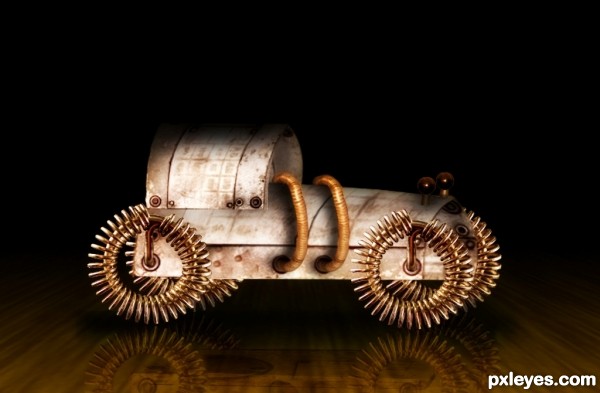
Final result
Pxleyes
Photography and photoshop contests
We are a community of people with
a passion for photography, graphics and art in general.
Every day new photoshop
and photography contests are posted to compete in. We also have one weekly drawing contest
and one weekly 3D contest!
Participation is 100% free!
Just
register and get
started!
Good luck!
Follow us:


© 2015 Pxleyes.com. All rights reserved.