A Work in Progress: The Daily


This guide was made for entry:
The Daily
In Contest:
mixed media 15


step 1 of 7

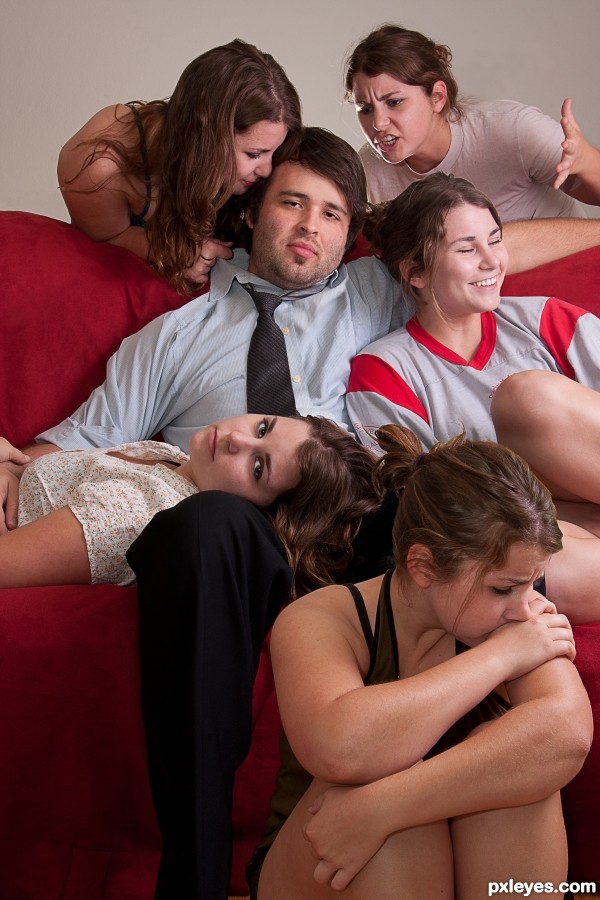
Here is the base shot. I used 2 lights, one speedlight on the ground behind the couch aiming at the wall for separation light, and one large softbox just off camera right. It was just the two of us, so she had to get up and change clothes for every shot and I tried to stay as still as possible. I set markers on the couch and the floor in case I moved (of course I did). I had the camera set to manual focus and hit the timer.

Creation of The Daily: Step 1

step 2 of 7

I made it hard on myself and tried to get the multiples to interact with me more than just masking out the subject and piecing them together like I've seen everywhere else online. I had the 'sultry' version pulling on my shirt. I attempted to put pillows under my right arm to simulate the base 'dull' shot, because I knew the shirt wrinkles would be a problem...and ohhh were there lol.

Oh and a note, all these shots are the RAW files, straight out of the camera.

Creation of The Daily: Step 2

step 3 of 7

This wasn't a hard shot as the couch separated her from me. The only difficult part was me trying not to laugh because I tried to get her to act pissed off at me. It just came out hilarious. Therefore when I laughed.... she laughed. Piece of cake for post this one was.

Creation of The Daily: Step 3

step 4 of 7

For more interaction I had her lean into me. This is the 'happy' shot (obviously). Hindsight I hadn't noticed how much my tie moved between shots, but her pulling and sitting on me moved it around. I used the tie as a marker to join the right half of me to the left half. Having the change of dark tie to light shirt make the blending simple. Mask the tie. For the 'sultry' shot I had to use the collar and tie together with some cloning and healing.

Creation of The Daily: Step 4

step 5 of 7

The 'sad' shot ended up throwing me a curveball. The camera was 6-7 feet in front of the couch, and I didn't think about the perspective change of her being 2-3 feet closer to the camera.

A) she took up more space in the frame than I thought, and B) her head appears much larger than mine. I had to mask her out and shrink her down about 20%.

There was some pretty noticable color fringing going on in her hair from the red couch (when put in front of the grey 'happy' t-shirt). My solution was to select the color picker with a correct hair color, and paint with a soft brush in "Color" blending mode. This basically colors the red fringing back to brown.

I do have to say that the key to pulling something like this off is proper masking. I used combinations of color range, channels, quick select, and edge adjustments. Feathering your mask a smidge always helps to curb the sharp transitions of elements within your composite.

Creation of The Daily: Step 5

step 6 of 7

Here is a screen shot of my layers and their layer masks. There is a high pass sharpening layer at the top (the grey one) set to overlay, in case you're wondering.

I did some work on the eyes, slight skin smoothing, cleaned up the couch of dust bunnies, evened out the wall tone in the back (it was somehow not all the same shade towards the left of the frame in the shot I decided to use). I cleaned up my slacks.

I softened some of the harsh edges of the 'sad' layer as it was the only one that was stacked on top of everything else. All the other layers were basically set side-by-side and blended together, much like putting together puzzle pieces.

Creation of The Daily: Step 6

step 7 of 7

Here is an animated GIF, to hopefully show you some of the editing I did to the shirt. As soon as I started editing everything together I most definitely regretted wearing a striped shirt.

Oh the horror!!

None of the pinstripes followed the folds of the shirt from frame to frame. *pre-production facepalm*

This drove me to cloning parts of the shirt that looked good, from several different frames. Some cuts just weren't good enough. I had to essentially create folds so I could find an excuse for the pinstripes to change direction. Being the perfectionist I am I couldn't bear the thought of leaving pinstripes suddenly changing direction for no reason. This was the most difficult part of the entire process.

You can tell I did some work on the eyes and adjusted the color fringing and darkened up the edges of the hair of the 'sad' layer. I also lightened the teeth just a bit. It looks like there's some red popping up in her ponytail.... dunno how that got there, but it's not there in the final image haha.

I avoided going through the tedious step-by-step use-this-tool-at-this-opacity method because there are MANY methods to doing a single thing, as well as even more tutorials online about how to do it. Hopefully I've relayed some concepts and you can shoot and edit with the big picture in mind. If you've made it this far, thanks for taking the time to! There's cereal in the pantry.. you're probably hungry by now ;). Enjoy!

Creation of The Daily: Step 7

Final result

Creation of The Daily: Final Result

LOGIN or REGISTER FOR FREE
to rate this guide and create your own guides.