A Work in Progress: Pxleyes Me


This guide was made for entry:
Pxleyes Me
In Contest:
mixed media 15


step 1 of 14

All photos were taken with the camera on a tripod. I marked off various places that I would move to next in each photo by placing pennies on the floor and running back to the camera to set the timer then forward and in position again.
I did it this way to keep the lights consistent, so I could work where the shadows should fall easier.
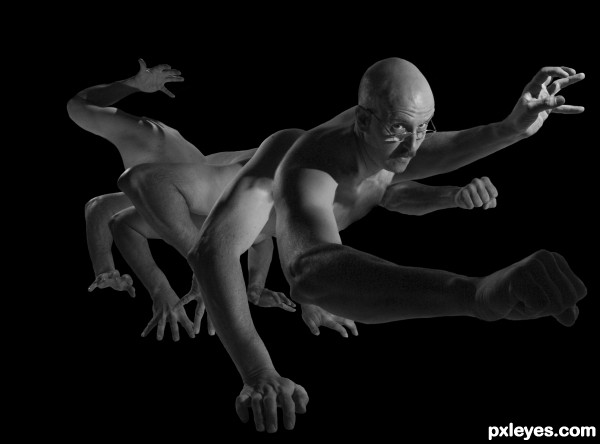
Here are the photos I shot and used.

Creation of Pxleyes Me: Step 1

step 2 of 14

Creation of Pxleyes Me: Step 2

step 3 of 14

Creation of Pxleyes Me: Step 3

step 4 of 14

Creation of Pxleyes Me: Step 4

step 5 of 14

Creation of Pxleyes Me: Step 5

step 6 of 14

Creation of Pxleyes Me: Step 6

step 7 of 14

Creation of Pxleyes Me: Step 7

step 8 of 14

Creation of Pxleyes Me: Step 8

step 9 of 14

Creation of Pxleyes Me: Step 9

step 10 of 14

First I placed all the photos into layers, reducing the opacity of each newly added photo to move it to where I wanted an appendage to look like it could come naturally from. I then put the opacity of that added layer back to 100%, added the next photo and repeated the process. Once happy, I linked all layers so they would move together, added a magenta and black layer beneath everything (explained in next Step), and added Masks to all the photo layers. Painting away and back again with soft and hard brushed of various sizes was a trial and error experiment to say the least.

Creation of Pxleyes Me: Step 10

step 11 of 14

First I placed all the photos into layers, reducing the opacity of each newly added photo to move it to where I wanted an appendage to look like it could come naturally from. I then put the opacity of that added layer back to 100%, added the next photo and repeated the process. Once happy, I linked all layers so they would move together, added a magenta and black layer beneath everything (explained in next Step), and added Masks to all the photo layers. Painting away and back again with soft and hard brushed of various sizes was a trial and error experiment to say the least.

Creation of Pxleyes Me: Step 11

step 12 of 14

This Step is to explain why I used the Magenta and Black Layer.
I used magenta because it firstly was not present in my photos. It's ideal for checking that I didn't leave any not quite black borders around my masked body parts. Since Black would be my final background colour, I didn't want any artifacts standing out should someone with a higher brightness than I was using, viewed the image. The black also came in handy while masking to ensure that I got rid of any ghosting or brighter than body pixels from the original photos background. So I would continuously switch between the two, checking at high magnification for unwanted artifacts.

Creation of Pxleyes Me: Step 12

step 13 of 14

This is how the image looked in Colour before the next step.

Creation of Pxleyes Me: Step 13

step 14 of 14

In the final phase, I Flattened the entire works, then from the menu used IMAGE > ADJUSTMENTS > BLACK and WHITE, scrolling through the various options and finally settling on MAXIMUM BLACK.
Saved the high rez JPG and uploaded to PXLEYES.com :)

Creation of Pxleyes Me: Step 14

Final result

Creation of Pxleyes Me: Final Result

LOGIN or REGISTER FOR FREE
to rate this guide and create your own guides.