
Original image
step 1 of 13
Difference clouds and filter swirl used on source. This will become the background.

step 2 of 13
With liquify warp tool, the source is shaped into a star shape to be used for tree branches and ornaments.

step 3 of 13
Star shapes just formed are color/hue changed to greens, then duplicated and formed into branches for the tree.

step 4 of 13
Limbs have been merged in small sections, then are duplicated and stacked to form the tree. Burning is done between layers as they are stacked.

step 5 of 13
Decorative swags are made with the star shape, duplicating the shape and color changing into a variety of colors. These are added on a new layer, then they will be merged to tree.

step 6 of 13
Source circular shape is stretched horizontally, then compressed vertically to flatten for the floor covering. This will be color changed as color pallet is set up.

step 7 of 13
Ornaments are made for the tree by trimming one of the star shapes into a circle, then duplicates are made and sized and color changed for all over the tree and on mantle. Background formed in first step is moved onto layer behind the tree. It has noise added, and color will be changed and darkened.

step 8 of 13
Table top is formed with source copy, flattening it as when floor covering was made. Legs for table are made with the brush tools.. Edge of table has more depth drawn on edges using hard brush tool. Burn tool will be used to make shadows where needed on the top and legs, Dodge tools for the highlights.

step 9 of 13
A smaller version like the table top is used for the cookie tray which is color changed then crystallized and noise added. Later, artistic filter also adds a different look to the tray. Cookies are made with one cookie drawn in, then duplicated after adding noise filter. Cherries are added with brush tool. Burn and dodge tools add highlights and shadows.

step 10 of 13
Cup of cocoa is drawn in with brush tool, then face added to look like a snowman face. Burn and dodge tools are used for highlights and shadows again. Dark area of cocoa is painted in, then lassoed and filter used to give it a different texture. Soft brush tool is used for the hot, steamy look.

step 11 of 13
Cat is sketched in with brush tool.

step 12 of 13
Cat details are finished, tree is moved to left, and fireplace is brushed into background. As fireplace is finished, the cup horizontally flipped and moved to right side of table. It seems to show up better with fireplace as its background.

step 13 of 13
Stockings and greenery and ornaments are added to fireplace.

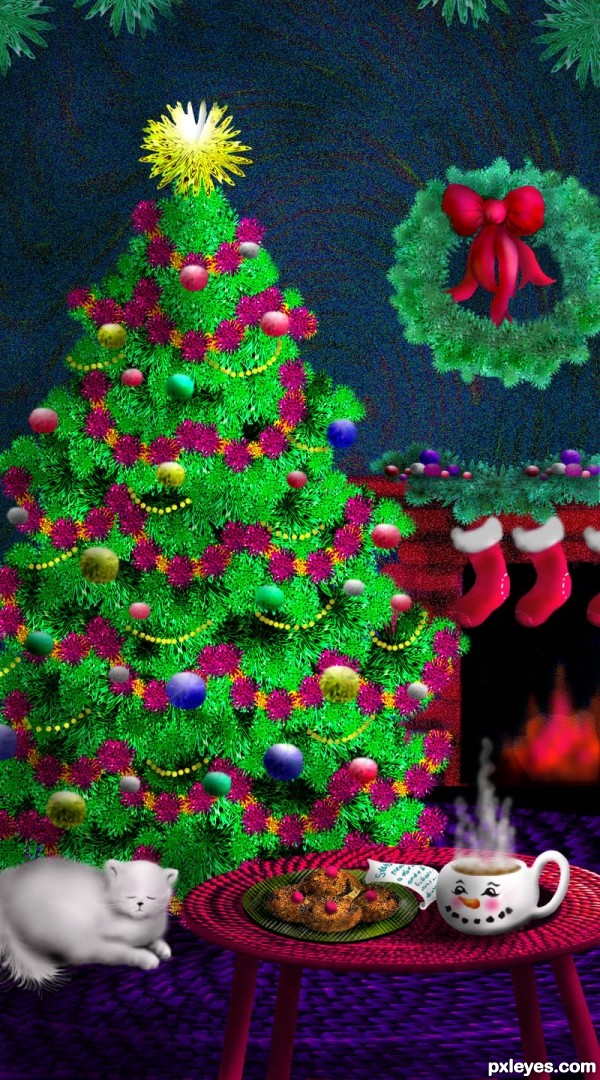
Final result
Pxleyes
Photography and photoshop contests
We are a community of people with
a passion for photography, graphics and art in general.
Every day new photoshop
and photography contests are posted to compete in. We also have one weekly drawing contest
and one weekly 3D contest!
Participation is 100% free!
Just
register and get
started!
Good luck!
Follow us:


© 2015 Pxleyes.com. All rights reserved.