
Original image
step 1 of 8
With lasso tool, center section of source is removed and moved to new canvas.

step 2 of 8
Sections of source are lassoed to be made into the gown.

step 3 of 8
Upper part of gown is shaped using distort and rotate tools.

step 4 of 8
Bodice and skirt are being shaped here to fit woman's body using scale and distort tools. Liquify warp will also be used to move shape into place.

step 5 of 8
Opacity of gown is lowered so that areas can be erased where arms and hands are in front of the gown.

step 6 of 8
After edges of gown are finished, filters are used to give gown the look of the rest of the image (dust and scratches and craquelure)
Before gown is merged to the figure, it is also darkened with burn tool, then highlights are slightly brightened with dodge tool.
Before gown is merged to the figure, it is also darkened with burn tool, then highlights are slightly brightened with dodge tool.

step 7 of 8
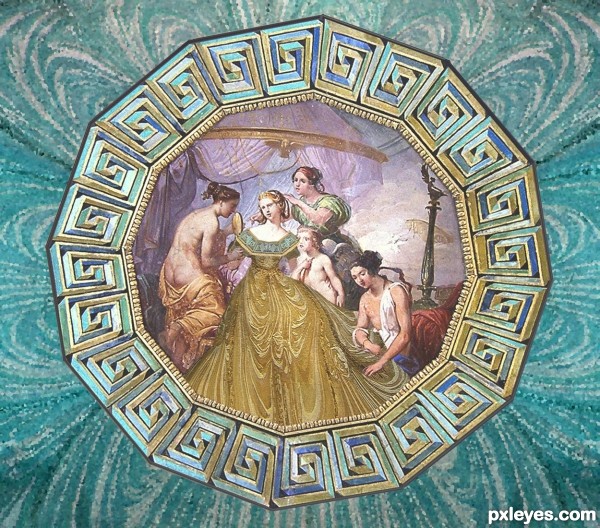
After gown is merged onto scene, the scene is moved over original image which is now color changed to match blues in octagonal border. Edges are slightly burned with a soft brush dodge tool.

step 8 of 8
Finally a yellow filter at 35% is added over entire merged image.

Final result
Pxleyes
Photography and photoshop contests
We are a community of people with
a passion for photography, graphics and art in general.
Every day new photoshop
and photography contests are posted to compete in. We also have one weekly drawing contest
and one weekly 3D contest!
Participation is 100% free!
Just
register and get
started!
Good luck!
Follow us:


© 2015 Pxleyes.com. All rights reserved.