
Original image
step 1 of 10
All lined up

step 2 of 10
Left handed shot from a right handed person.

step 3 of 10
Print screen button >File > New > Clipboard> Edit> Paste

step 4 of 10
Hand on screen

step 5 of 10
Warp and liquify

step 6 of 10
painted pen

step 7 of 10
More warp and liquify

step 8 of 10
Shading adjustment layers

step 9 of 10
More Print Screens, then dragged the layers copy to working image

step 10 of 10
Gaussian blur shadow

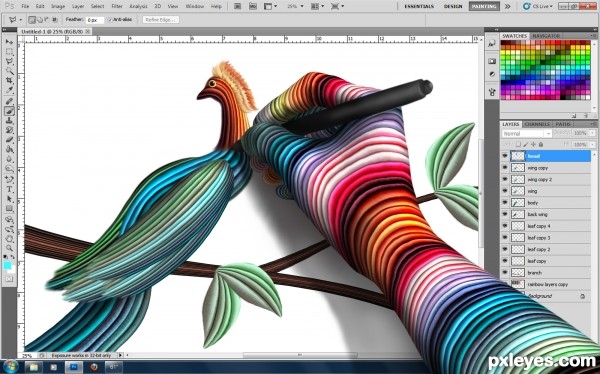
Final result
Comments
Pxleyes
Photography and photoshop contests
We are a community of people with
a passion for photography, graphics and art in general.
Every day new photoshop
and photography contests are posted to compete in. We also have one weekly drawing contest
and one weekly 3D contest!
Participation is 100% free!
Just
register and get
started!
Good luck!
Follow us:


© 2015 Pxleyes.com. All rights reserved.
im confused. how did u get step 5 - 6. the colors dont match at all what so ever. how did you blend the fingers into it? and why is step 6 way to smooth compared to step 5 which looks like it has ripples?
(5 years and 3211 days ago)Sharp eye there, Dragoncide. In step 5, I had the colors going from bright at the edge of the screen to dark at the wrist. I didn't like that, so I flipped the order, dark at the edge, bright at the wrist. I did each finger individually, using different sections of the source. And step 6 is so smooth compared to step 5 because I spent a lot of time using liquify to smooth and round the colors. Hope this helps.
(5 years and 3207 days ago)