
Original image
step 1 of 13
Front of wasp head is magnetic lassoed, then with liquify warp tool it is shaped into the beak and eyes. Next, the eyes are made larger and rounder using the liquify bloat tool.

step 2 of 13
Using the same source piece from wasp face, the tail feathers are shaped using liquify warp tool. Edges will be refined with the eraser tool and blurred a little with blur tool. With the fine, hard brush tool, the shape of the bird is sketched in.

step 3 of 13
Using the same piece of wasp body scaled larger, a body is shaped, once again using the liquify warp tool. Surface of body is shaded with airbrush tool, then dodge and burn tools will give it more shape. Edges are refined with eraser tool and blur tool on edges then.

step 4 of 13
Using a wasp leg part which has been magnetic lassoed from source, small feathers for head are shaped. The bottom of the beak is magnetic lassoed and then rotated slightly before being deselected. Wasp will be distorted and put 'into' the beak.

step 5 of 13
Feet and limb are now drawn in with brush tools, wasp is in the beak (placed on layer on top of beak, opacity reduced, then top beak erased where it will go over the wasp. Opacity then back to 100 % on wasp.

step 6 of 13
Body of mother bird is duplicated then scaled to smaller size for baby bird. Head (which was not merged with mother's body) is also duplicated and used for babies head, but eyes are 'bloated' even larger. The 3 baby heads will be turned (rotated) different directions with beaks open.

step 7 of 13
Tail feathers are formed from wasp leg part, and smudge tool pulls out little feathers on it and also around the body.

step 8 of 13
Here the baby birds are grouped ready for a nest.

step 9 of 13
Nesting material (sticks) are formed from wasp leg section, scaling it to thin piece which is duplicated then rotated into a small group, merged, then the group is duplicated and made into the nest. Some groups are placed on layer behind the baby birds and merged. Others are placed on layer in front of babies and merged. These two groups are now easily color changed, burned and dodged to desired colors and brightness.

step 10 of 13
Nest is constructed here and ready to dodge, burn, and color change.

step 11 of 13
At first, a green background with difference clouds was put in, but will be changed shortly.

step 12 of 13
The image really needed some leaves on the branch, and they didn't show up very well against the green background, so background was changed to blue using the hue/sat tool. Fine tuning was then done where needed on image.

step 13 of 13
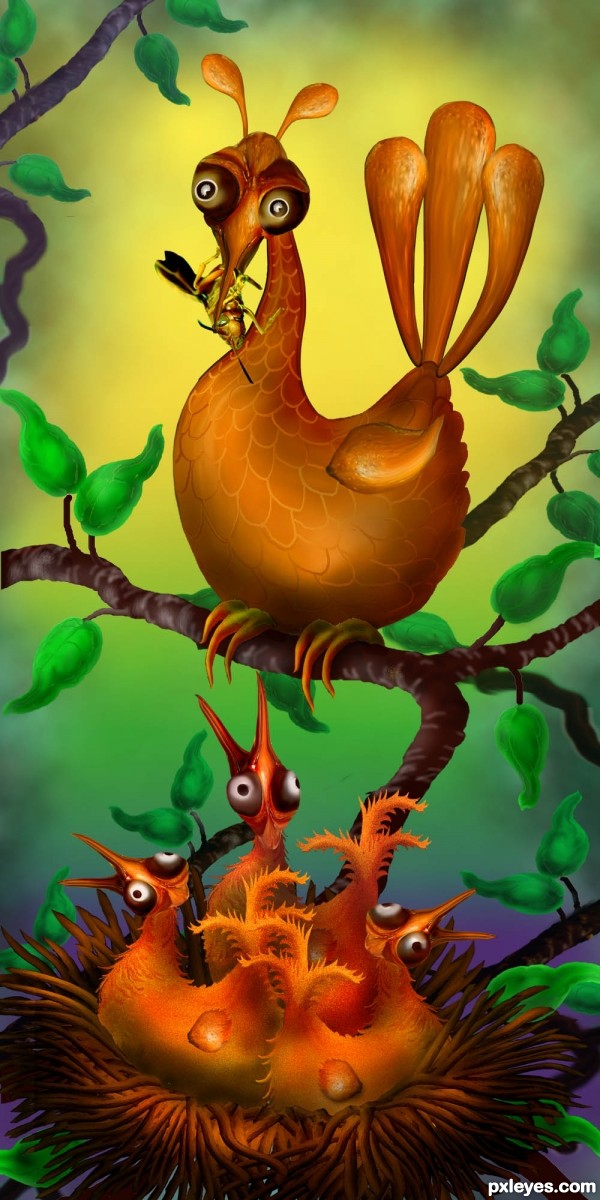
Thanks to Wazowski, I did away with the cloud difference in exchange for a pattern layer of my own with a gradient layer over it. I also added duplications of the limb and leaves scaled and rotated to smaller sizes and at a little less opacity.

Final result
Pxleyes
Photography and photoshop contests
We are a community of people with
a passion for photography, graphics and art in general.
Every day new photoshop
and photography contests are posted to compete in. We also have one weekly drawing contest
and one weekly 3D contest!
Participation is 100% free!
Just
register and get
started!
Good luck!
Follow us:


© 2015 Pxleyes.com. All rights reserved.