
Original image
step 1 of 9
a sketch of how I wanted my characters to stand

step 2 of 9
the parts I used to make the robot. I used the pen tool, distort, warp and masking.

step 3 of 9
the parts I used to make the wizard's clothes. I was experimenting with the different layer styles when I stumbled across this. To make the clothes appear to sparkle, I used color balance and brightness reduction to change the color. Then I copied the layer, set it to dissovle and reduced the fill. I reduced the opacity of the bottom layer. The "sparkles" will take on the color of the layer under it.

step 4 of 9
I took parts of the source and changed the color for the bottle, hands and head. Masking to shape the parts and then levels adjustment layers (light and dark) for shading. I painted in the beard and hair, then used a strong smudge to wisp it.

step 5 of 9
the wizard parts

step 6 of 9
brightness/contrast adjustment layers for shading

step 7 of 9
more levels adjustment layers for shading the clothing

step 8 of 9
reduced the saturation and used curves to make the background more bland. Low opacity gradient fill on each side. I also blurred the farthest part under the arch.

step 9 of 9
the parts I used from the source

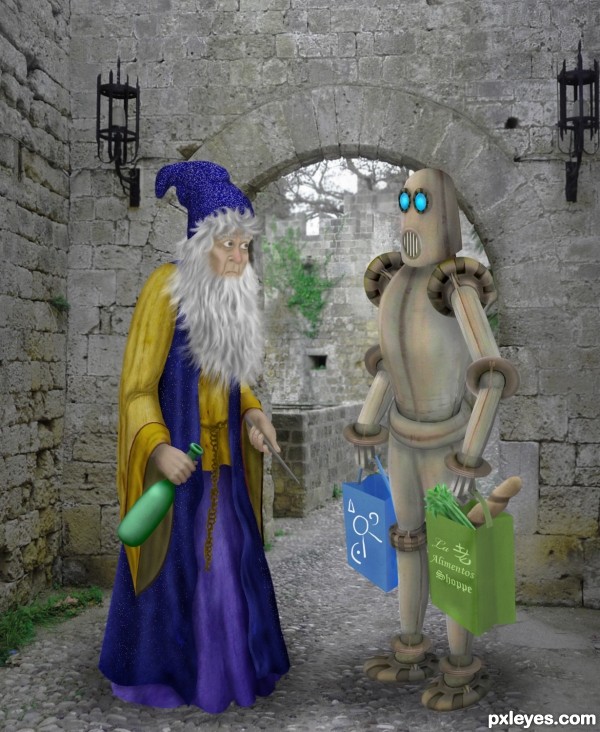
Final result
Pxleyes
Photography and photoshop contests
We are a community of people with
a passion for photography, graphics and art in general.
Every day new photoshop
and photography contests are posted to compete in. We also have one weekly drawing contest
and one weekly 3D contest!
Participation is 100% free!
Just
register and get
started!
Good luck!
Follow us:


© 2015 Pxleyes.com. All rights reserved.