
Original image
step 1 of 15
Fabric photo (my own) used on table

step 2 of 15
To begin, the clock area is removed with eraser tool as well as all the background. Then the frame, which is left, is cut in half down the middle, then duplicated and will be merged together again. There is now an angle from the front view. Some distorting has to be done in order to merge them.

step 3 of 15
Here the frame has been merged together. It will be duplicated again, with the backward image being scaled a little smaller which will give depth to both the frame (which will be the flower container), and also to the table.

step 4 of 15
Background is started by using liquify warp to change the entire original clock source into an interesting design. This is then scaled into narrow strip, which is duplicated. Strips are joined to fill canvas.

step 5 of 15
Strips are duplicated the same way several times, then joined to fill canvas.

step 6 of 15
Gradient layer has been added over the background. Canvas size is now changed to 15 by 25, and the frame is moved to top layer over the background, scaling it to a taller shape.

step 7 of 15
Here are the steps for making small purple/blue flowers from the knot in the rope. Smudge, eraser, and brush tools are used to create the flowers. A green stem will be brushed in and the flowers scaled to various sizes to be added to the stem.

step 8 of 15
From the ornament at the top of the frame, another flower shape is created, with brush tool adding stem. Leaves are also made with this ornament using smudge, eraser, and brush tools. The flower shape will be duplicated and overlapped to do larger flower.

step 9 of 15
The flowers are now being added to the frame, using it as a container. Some flowers will be put in layer behind frame for a more dimensional look. Flowers will be scaled to different sizes and rotated to fit where they are needed. The ornament on the top seemed too large, so it was isoslated with the magnetic lasso, scaled smaller, then deselected.

step 10 of 15
Clusters of purple/blue flowers and more of the rose colored flowers have been added, trying to create an arrangement with good movement to lead the viewer's eye to travel through the design.

step 11 of 15
The table seemed too empty, so a clock (from the source) is added and a book has been started using the brush tool.

step 12 of 15
Text is added to book 'back' .

step 13 of 15
Text is added to front of the book and some flowers added on top of the book. Shadows will be filled in using burn tool.

step 14 of 15
Here I decided to add a fabric under the book and arrangement. Fabric was added over table area, shaped into place with liquify warp tool, then opacity reduced to see where to erase the curved legs of the frame. It is then layered behind the book with flowers and the clock.

step 15 of 15
Final color changes are made and lighting (filter/render/lighting effects) changes are made to background layer and to arrangement.

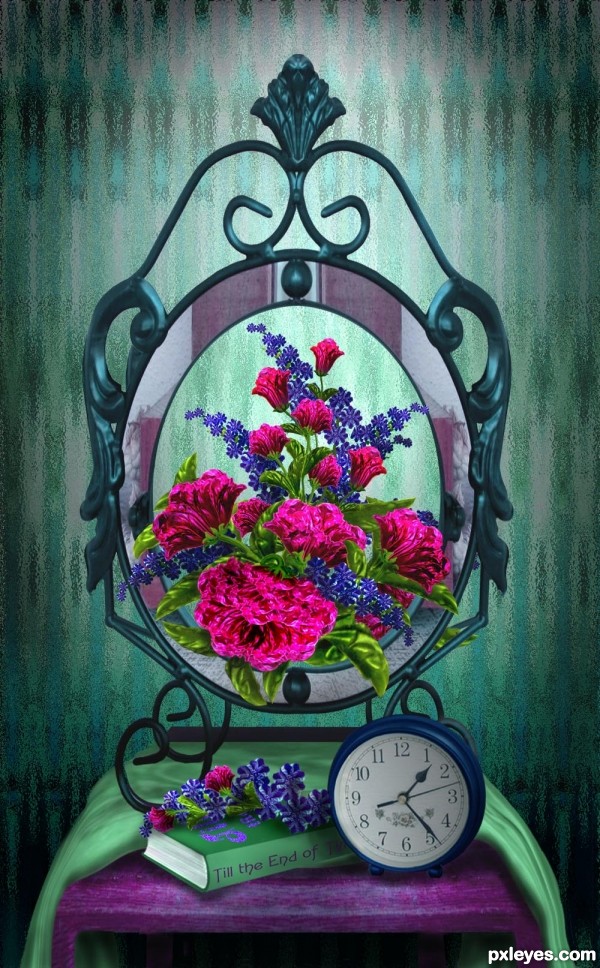
Final result
Pxleyes
Photography and photoshop contests
We are a community of people with
a passion for photography, graphics and art in general.
Every day new photoshop
and photography contests are posted to compete in. We also have one weekly drawing contest
and one weekly 3D contest!
Participation is 100% free!
Just
register and get
started!
Good luck!
Follow us:


© 2015 Pxleyes.com. All rights reserved.