A Work in Progress: Forest Lights


This guide was made for entry:
Forest Lights
In Contest:
orange fantasy


step 1 of 7

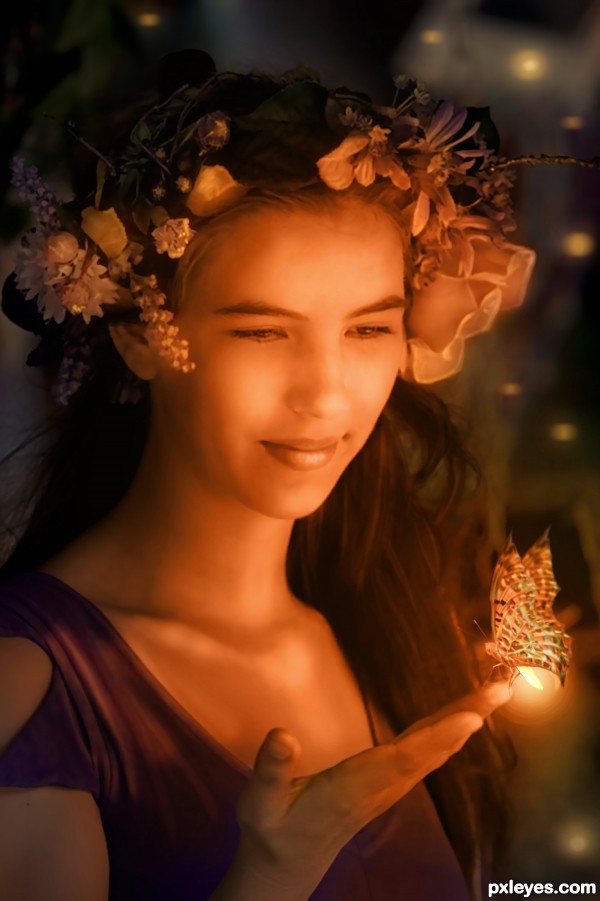
Prepare the base image - brush out minor skin flaws, blend jpeg moire artifacts. Also masked the hand and then the forefinger separately, to make it easier to isolate and paint shadows and light later.

Duplicated the base layer and applied Surface Blur to soften the image. Erased eyes and lips to bring back the definition on original layer underneath.

Creation of Forest Lights: Step 1

step 2 of 7

Masked the butterfly, flipped horizontally, and moved it into position on the base layer. Changed the position of the legs to better fit the fingertip.

Selected, copied and pasted the wing. Used Puppet Warp and Distort to change its position and its shape (to create a more "fantasy" insect).

Duplicated wing layer, positioned second wing behind, and applied a little Gaussian blur to this back wing.

Erased underlying natural wing, leaving insect body.

Creation of Forest Lights: Step 2

step 3 of 7

To create the glow, first selected, copied and pasted the lower body, set the layer to Linear Dodge. Placed this layer to the very top to preserve its color and brightness (which avoided any changes the various color adjustment layers could cause).

Using a soft round brush with low opacity, created a white glow layer over the lower body segment. Duplicated the layer two more times. Set Blending Mode of two layers to overlay, and one to soft light. These blending modes allowed the color adjustment layers to turn the original white to golden yellow orange.

Creation of Forest Lights: Step 3

step 4 of 7

Speaking of adjustment layers, four main layers were used that would affect the entire image: Exposure to darken, plus a yellow Hue/Saturation set to colorize, a golden orange Hue/Saturation set to colorize, and a fourth layer of solid orange set to Color blending mode with opacity at 75%.

Creation of Forest Lights: Step 4

step 5 of 7

To paint in selective (and exaggerated) highlights on the flower crown and face, duplicated the yellow and orange Hue/Saturation layers so a harder brush could be used. Separate paint layers were also used to make lights harder or softer than the mask layers allowed.

Three additional masking fill layers were added: a peach color, the golden orange, and a white. Lights were painted on flower edges and facial features, using a soft round brush set to varying hardness, size, and opacity.

The exposure layer was dabbed throughout the painting process, to allow light and color to show through.


Creation of Forest Lights: Step 5

step 6 of 7

Background insects were added using soft round brush and golden orange paint, varying the size of the paint daubs to create distance.

The layer was duplicated and motion blur applied to the under layer. Gaussian blur was applied to top layer. The Exposure layer was dotted in the lower/center of the glowing orbs to make those spots brightest.

Finally (after I re-read the contest "rules" about permitting other color besides orange), the outermost areas of the solid orange layer were erased with soft round brush to reveal some of the original color.

Created a little animation of this piece. (You may have to click on the image in Step 7 to launch the animation).

Creation of Forest Lights: Step 6

step 7 of 7

I'll try an animation for this one...

Creation of Forest Lights: Step 7

Final result

Creation of Forest Lights: Final Result

LOGIN or REGISTER FOR FREE
to rate this guide and create your own guides.

Votes


uservoted
Rod13
Rod13
arca
Mad
layerstack
Score:
9.2


Comments

avatar arca
arca says:

Great work. Love the Gif!

(5 years and 2823 days ago)
avatar Rod13
Rod13 says:

Very good job on the Animation.

(5 years and 2821 days ago)