
Original image
step 1 of 11
Flowers are created using small sections of the bubbles with liquify warp and smudge tools helping to shape the petals. Petals are then duplicated, scaled and rotated to form blossoms.

step 2 of 11
Leaf and petals being created, the bottom will be further detailed with brush and smudge tools to make the final daisy shape.

step 3 of 11
Background is started by using polar coordinate on the source photo, then scaling it into a long, thin strip. This strip is then duplicated and merged with other strips for the background

step 4 of 11
Here the strips have been merged into a background design which will next have a gradient layer added so that design will not overpower the flower design later.

step 5 of 11
The source 'bubble-like' shapes are chopped out and the underneath part is then stretched using liquify warp tool. This image will be flipped vertically and be used as the container for the arrangement.

step 6 of 11
Container has been flipped vertically here, then, using the warp tool, leaves are 'pulled' out of it, then shaped with smudge and eraser tools. Veins will be made in leaves using the burn tool and fine, hard brush tool.

step 7 of 11
Some green stems are brushed in to set up lines of flower design.

step 8 of 11
Flowers have been added here, setting up an 'S' like pattern through the arrangement. Flowers have been scaled to various sizes and rotated as needed, then highlights and shadows added using dodge and burn tools.

step 9 of 11
More detailing is done on flowers, and wrinkled cloth at bottom added using my own photo.

step 10 of 11
Fabric source photo

step 11 of 11
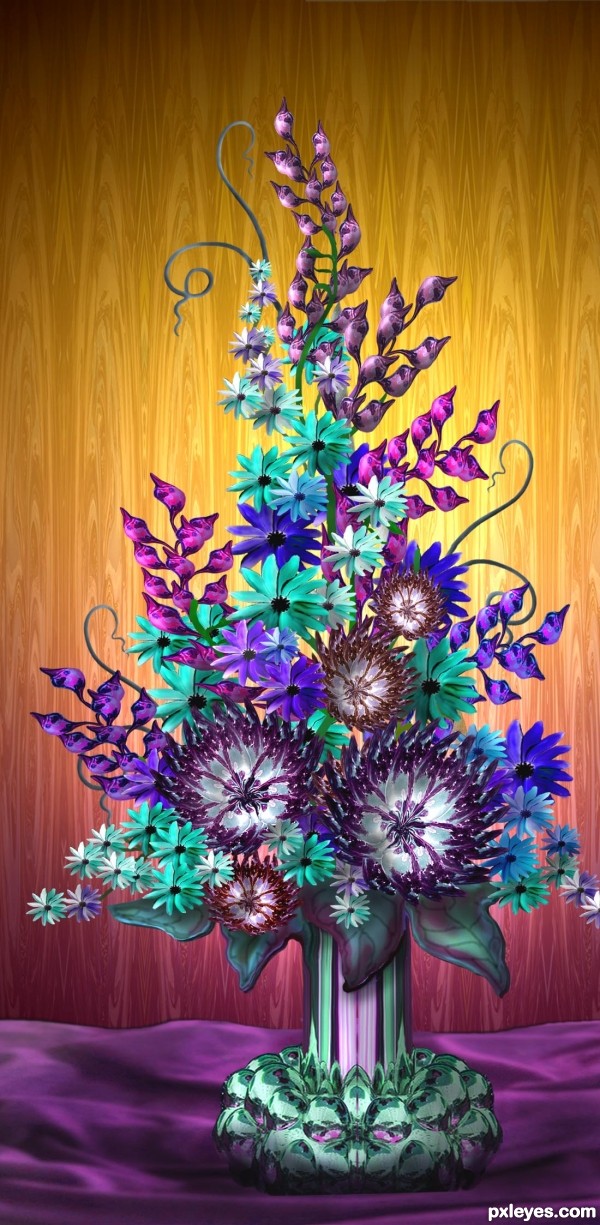
Finally, a soft omni light is added to background (gradient is merged to background design first)

Final result
Pxleyes
Photography and photoshop contests
We are a community of people with
a passion for photography, graphics and art in general.
Every day new photoshop
and photography contests are posted to compete in. We also have one weekly drawing contest
and one weekly 3D contest!
Participation is 100% free!
Just
register and get
started!
Good luck!
Follow us:


© 2015 Pxleyes.com. All rights reserved.