
Original image
step 1 of 7
Source liquify-warped, then cropped to smaller size. Nothing particular was planned at this point, just to try to create an image from the result of warping.

step 2 of 7
The blue pattern layer was added here in layer behind the warped source. The eraser tool is being used to remove areas between what will be trees and water, allowing the blue pattern to show through.

step 3 of 7
Background has all been removed now. A new layer is duplicated of the trees, this one being color changed to blues (for water). All of this layer is removed except for the foreground waterfall and water.

step 4 of 7
Section of source is brought to a new canvas and using the clone tool is formed into a branch shape, then trimmed with eraser tool.

step 5 of 7
Branches are duplicated and placed across top of image in offsetting pattern .

step 6 of 7
A gradient layer is added behind tree layer with difference cloud added to the gradient layer.

step 7 of 7
Burn tool has been used to add dimension to the trees and to the elephant. Dodge tool add highlights. Also, on another new layer (clear this time), a large circle-shaped sun is added. It is reduced in opacity.

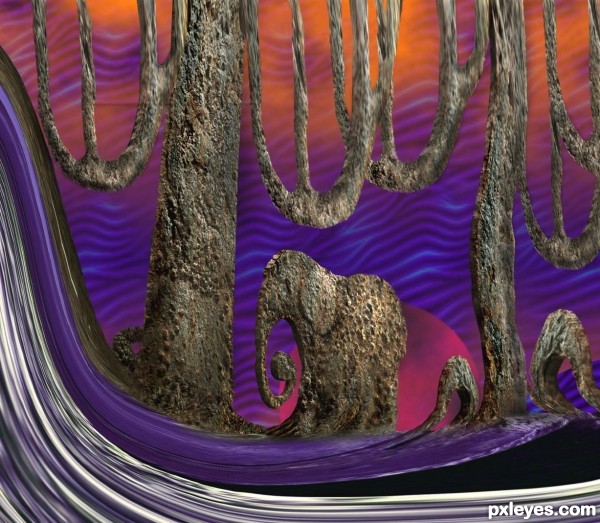
Final result
Pxleyes
Photography and photoshop contests
We are a community of people with
a passion for photography, graphics and art in general.
Every day new photoshop
and photography contests are posted to compete in. We also have one weekly drawing contest
and one weekly 3D contest!
Participation is 100% free!
Just
register and get
started!
Good luck!
Follow us:


© 2015 Pxleyes.com. All rights reserved.