
Original image
step 1 of 11
Tree source used for creating background. (winter scene my own) A small section of winter scene was cropped out and then scaled, zooming into a few branches to feature behind image. Closeup sections of brown trees added later for sparkling branches.

step 2 of 11
Here is the section cropped and color changed to begin background.

step 3 of 11
More color is added using airbrush at low setting, and a lighter area is lightly erased and light render (omni) added in that area.

step 4 of 11
Here the toy with the blue flower has been chopped, then flower is lassoed with magnetic lasso and placed above figure. Green stem has been liquify-warped to elongate it and then leaves are pulled out of stem with liq-warp. Hair is brushed in where flower was removed, and face will be brushed to remove imperfections. Legs are elongated using liquify warp as well. Burn and dodge will be used to created highlights and shadows.

step 5 of 11
Background has been duplicated, rotated, and added to first background, lowering opacity so that first background shows through. Figure with blue flower is added, and figure with green flower is added as well. It has been changed in the same way as first figure using liq.-warp tool to change flower stem and legs. Details are repainted on head, and body has soft airbrushing to look more like soft feathers. Next the brush tool is used to begin drawing in the vine and leaves which will be refined with eraser and smudge tools, then shadowed and duplicated. Duplicates will be resized and rotated to create final background image.

step 6 of 11
3rd figure is added. Flower is removed with lasso tool then flipped vertically so that figure can 'sit' in it. Hair and face are brushed in where flower was removed. A leaf is created with brush tool for the flower to rest on. More layers of vines are being added. Eventually, an attempt is being made to make the background look 3 dimensional by layering vines, (by duplicating, scaling and rotating), butterflies, etc.

step 7 of 11
More refining of vines and leaves, and praying mantis added at bottom.

step 8 of 11
Praying Mantis source photo

step 9 of 11
This butterfly is being created here and will be color changed into varying colors with hue/sat tool. Side view of butterfly will be made by cutting away one wing w lasso tool, then flipping it and placing it behind other wing.

step 10 of 11
Butterflies have been added in various colors, some duplicated and moved to back layers. Vines and flowers have also been duplicated and sent to back layers, some are desaturated and added as silhouettes before being moved to back layers.

step 11 of 11
Final refinements are done with smudge and eraser tools, then yellow filter at 50% is added over entire merged image to light it up.

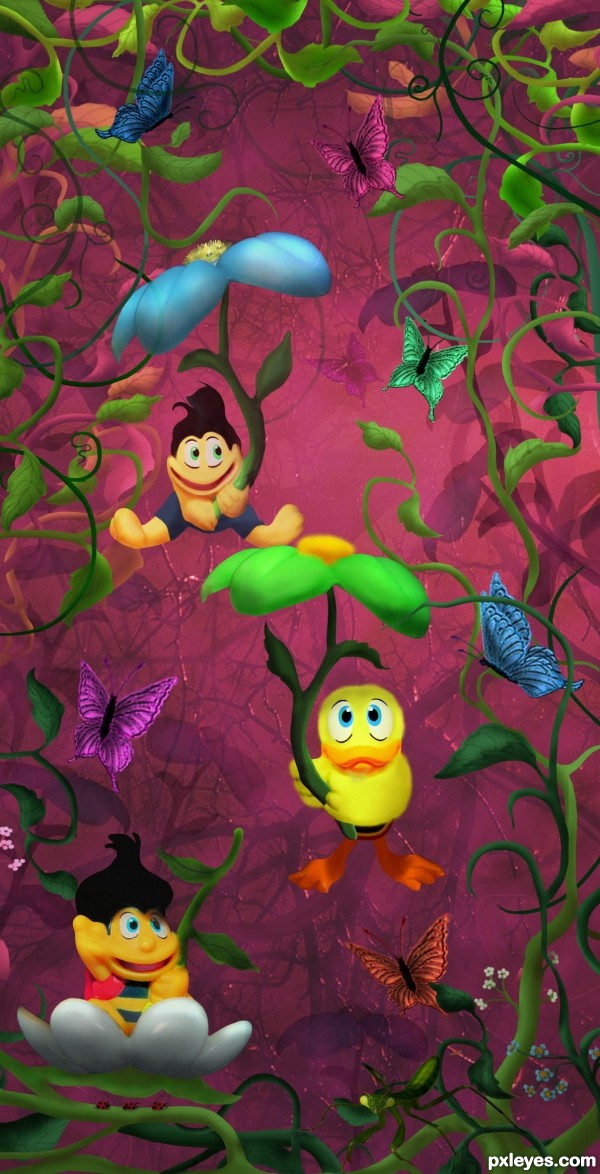
Final result
Pxleyes
Photography and photoshop contests
We are a community of people with
a passion for photography, graphics and art in general.
Every day new photoshop
and photography contests are posted to compete in. We also have one weekly drawing contest
and one weekly 3D contest!
Participation is 100% free!
Just
register and get
started!
Good luck!
Follow us:


© 2015 Pxleyes.com. All rights reserved.