
Original image
step 1 of 18
i chopped the flowerpots

step 2 of 18
i duplicated the flowerpot, resized and transformed them and made the image

step 3 of 18
chopped the pole and the hose

step 4 of 18
to create the empty flowerpot, i chooped a peace it, transformed-wrap it, placed it behind the flowerpot layer and burned the bottom part.
then i transformed the hose and pole to make the water carrying pole
then i transformed the hose and pole to make the water carrying pole

step 5 of 18
chopped the dry grass

step 6 of 18
i used smadge tool - strengh 80-100%
i duplicated every layer about two times and placed them to create the field
i duplicated every layer about two times and placed them to create the field

step 7 of 18
i used to more brushes to create another grass layer and placed it behind the grass
for the brushes i sampled the original grass colors (darkest and brightest) did shape dynamics, scattering and color dynamics
for the brushes i sampled the original grass colors (darkest and brightest) did shape dynamics, scattering and color dynamics

step 8 of 18
duplicated the flowerpots again, resized them and placed them behind to make the mountains

step 9 of 18
i used adjustment layers to make the far away mountains more bright and closer dark
the i merged the mountains into one layer and blured it
the i merged the mountains into one layer and blured it

step 10 of 18
used clouds brush to make two clouds layers
first one behind the mountains and second one infront
did a fog layer - render clouds, then screen mode, and exposed part of it with a mask behind the image
first one behind the mountains and second one infront
did a fog layer - render clouds, then screen mode, and exposed part of it with a mask behind the image

step 11 of 18
duplicated the flowerpots again to make the water jugs

step 12 of 18
to make the water i chopped a part of the original image again

step 13 of 18
first i used filter - sketch chrome, then i transformed it perspectively to create depth, finally i used color and hue adjustment and masked it to feet the water jugs

step 14 of 18
i strengthen the shadows on the image and jugs

step 15 of 18
to create a kind of paper texture, i made a render fibers layer, then selected the green chanell
from the selection i made a mask and set the layer to color burn (70% opacity)
from the selection i made a mask and set the layer to color burn (70% opacity)

step 16 of 18
merged the layers to a top new one, set it to overlay and did highpass filter (70% opacity)
finally, added color balance adjustment
thats the final image
finally, added color balance adjustment
thats the final image

step 17 of 18
another variation

step 18 of 18

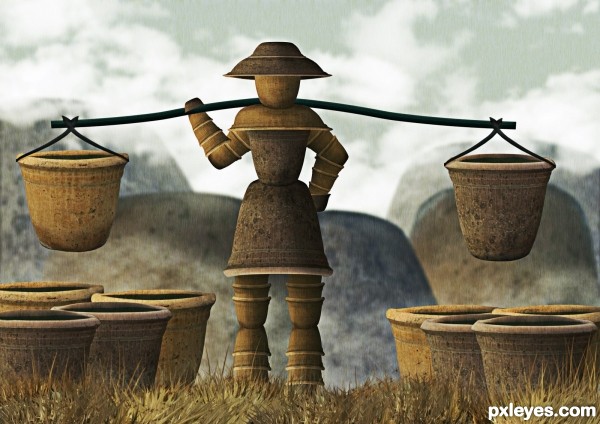
Final result
Pxleyes
Photography and photoshop contests
We are a community of people with
a passion for photography, graphics and art in general.
Every day new photoshop
and photography contests are posted to compete in. We also have one weekly drawing contest
and one weekly 3D contest!
Participation is 100% free!
Just
register and get
started!
Good luck!
Follow us:


© 2015 Pxleyes.com. All rights reserved.