
Original image
step 1 of 4
Built up the area where the top of the cap will be placed.
(I also desaturated the image (which I mention later) as there was a pronounced blue cast to it. You can't see that on the SBS as I did the SBS after completing the whole thing, but you can see it on the source link.)
(I also desaturated the image (which I mention later) as there was a pronounced blue cast to it. You can't see that on the SBS as I did the SBS after completing the whole thing, but you can see it on the source link.)

step 2 of 4
Cut out the statue and placed it on the mountain side, lining the cap up with the rocks behind it, trimming and building up again where needed. Put the layer on "multiply" blend, this gives me some shadows to work with, whilst taking out the bright highlight on the side of the face. Also patched up a shadow on the cheek which just looked wrong, in this context.

step 3 of 4
Duplicated the first face layer, and then, having put on a layer mask, painted away the highlights, and bascially tweaked here and there reasing and rebuilding til satisfied with the results.

step 4 of 4
Copy the eyes from one of the other carvings, position on the face and blend in. Also cut, paste and blend the bow from the cap and the ear, which had faded out too much with the initial work.
Additional working: Desaturate the mountain and the layers of the statue to get a common tonality. Then group, duplicate and flatten the layers and add a tiny bit of blue to take away the "greyscale" feel, then erase the trees to show the green of the layers beneath. Do some more tweaking and such to finish up.
Additional working: Desaturate the mountain and the layers of the statue to get a common tonality. Then group, duplicate and flatten the layers and add a tiny bit of blue to take away the "greyscale" feel, then erase the trees to show the green of the layers beneath. Do some more tweaking and such to finish up.

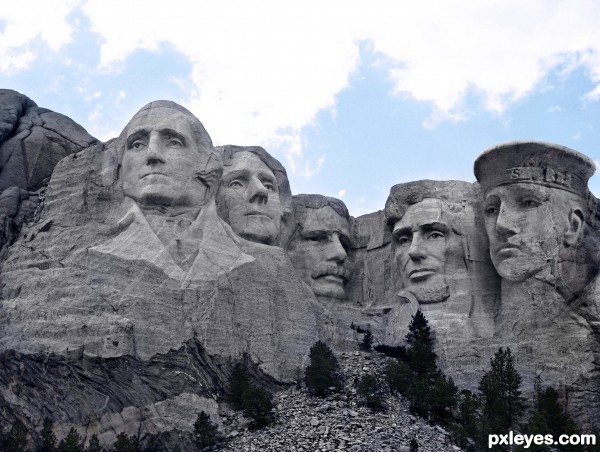
Final result
Pxleyes
Photography and photoshop contests
We are a community of people with
a passion for photography, graphics and art in general.
Every day new photoshop
and photography contests are posted to compete in. We also have one weekly drawing contest
and one weekly 3D contest!
Participation is 100% free!
Just
register and get
started!
Good luck!
Follow us:


© 2015 Pxleyes.com. All rights reserved.