
Original image
step 1 of 12
Sign is chopped out of source, then scaled sideways, and then duplicated and merged together to create background.

step 2 of 12
Background is color changed with hue/sat tool, then noise layer added as well as difference cloud filter.

step 3 of 12
Section of the background design is cut out with lasso tool and shaped into a container using the filter/distort/spherize tool, then color changed. to a darker orange/brown to harmonize with background and to work with the flowers which will be in yellow and lavendar.

step 4 of 12
Bottom portion of scene is sprayed with purple, container put in place, then strips of original source lassoed to be liquify warped into branch shapes.

step 5 of 12
Here the pussy willow blossoms are made from the 'o' on the sign.

step 6 of 12
Here the forsythia blossoms are created from the 'o' in the sign. The smudge tool pulls out the petals, then the eraser tool trims shapes of petals. Burn tool starts center shape of flower.

step 7 of 12
Pussy Willows blossoms are placed on stems which have been placed 'in' the pot created.

step 8 of 12
Forsythia blossoms are duplicated and grouped. These groups will be merged and then can be used at other places in the arrangement. Each blossom will be brightened/darkened using dodge/burn tools.

step 9 of 12
Stars from the sign are duplicated and placed on the container, noise filter added to stars, contrast raised to give edges of stars a glow.

step 10 of 12
One star is used to create lavendar flowers, scaled to a very small size, then added to a brushed stem/leavs. This first stem of flowers is merged, then is duplicated and added on a larger stem which will be used throughout the arrangement.

step 11 of 12
Star flowers have been added, highlighting and shadows added, and now the background is reshaped at top corners using liquify warp tool. Then corners are burned to darker tones.

step 12 of 12
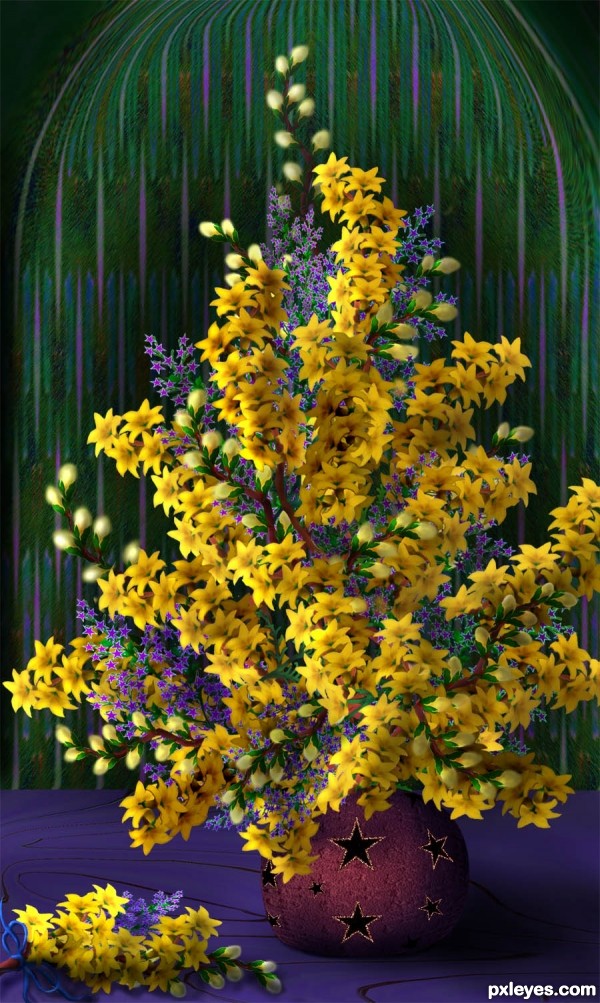
A nosegay using flowers from arrangement, and tied with a bow (brushed in) are added at bottom and then a yellow filter is added after merging arrangement and container.

Final result
Pxleyes
Photography and photoshop contests
We are a community of people with
a passion for photography, graphics and art in general.
Every day new photoshop
and photography contests are posted to compete in. We also have one weekly drawing contest
and one weekly 3D contest!
Participation is 100% free!
Just
register and get
started!
Good luck!
Follow us:


© 2015 Pxleyes.com. All rights reserved.