Step 1: Read tutorial over entirely. Contemplated what I wanted to do. So I decided to stay simple as this tutorial has.
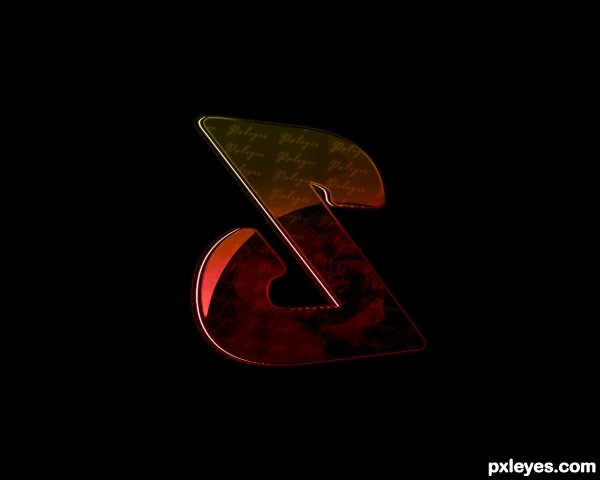
Step 2: Upon following the steps, I did make my own adjust ments for the font itself. Which I used "Alternity". Not sure where I got this font, I've had it for many years.
Step 3: For 'Step 3' in his tutorial, I did not exactly follow how he 'cleaned' up his image. I went a much more simpler route, with same results. "Select > Modify > Smooth" is the tool I used. I smoothend it by a total of 10 pixels to round up the edges.
Step 4: Followed steps except changed color to red. At 'Step 14' I repeated the 'Smooth' technique again, instead of the pen tool.
Step 5: Brilliant tutorial by "bddesign", of Pxleyes. Loved every moment of it.
Step 6: As I looked and thought it could look more spectacular. I created 1 new layer. Used the Gradient tool and filled the Layer with a sequence of colors. Changed the Blending Mode to Color. And got this nice glow shine.